How to Make Antique-Looking Sleigh Bells
In this post, I’m sharing how to make antique-looking sleigh bells.
It is an easy DIY and takes 15 minutes to make.
The appeal of old antique sleigh bells is the rustic, worn look that is a reminder of days gone by.
Back when sleigh rides were common during the winter.
Having some old-fashioned sleigh bells in my home to decorate for Christmas seemed fitting in my Victorian Farmhouse-style home.


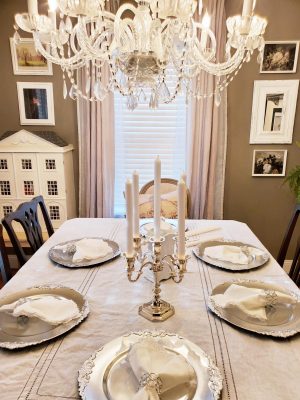
If you’d like to see my living room decorated for Christmas – here is a link.
To tour my home on YouTube, click below.
After some research, I found some real antique sleigh bells on eBay and Etsy for over $100.
That got me thinking about how to duplicate the look for less.
And this is what I came up with that ended up costing $12.99.
I used a belt I already had that is thick and has a worn brown chestnut leather look like the antique ones, as seen in the photo below.
The set of jingle bells was the only thing I needed for this DIY.
I had the glue gun and glue sticks.


List of things you’ll need:
- Brown or black leather belt
- 11 Rust bells (Comes in a pack of 40)
- Glue gun

- Gorilla glue sticks
- Plastic protective cover (trash bag, paint cloth, or paper bag, etc.)
Instructions:
Step One – Lay down a protective cover.

Because of the hot glue, it is suggested to cover your work surface using a paper grocery bag, trash bag, or whatever you have available.
Step Two – Plug in the hot glue gun.
Before you start, plug in the hot glue gun to allow it time to heat up.
Tip: Have an extra glue stick on the side in case you need it as you go along.
Step Three – Glue the bells two inches apart onto the leather belt.


Starting at the buckle, you’ll want to have 3 to 4 inch space.
This will give it an authentic look.
And room to buckle the belt together.
Apply a pea size amount of glue onto the bottom of the rusty bell. See photo above.
Center the bell onto the belt before pushing the glued side onto the area you want.
You’ll have a few seconds to adjust the bell before the glue dries.
So, work fast.
But don’t worry.


If you mess up, just pull the bell off, as I did.
Peel off the old glue that has dried on.
Reapply the glue again and place it on the belt, making sure it’s centered.
The first bell will be the marker of where you want the next 10 bells to go.

Lining them up in a straight line is essential to making an antique-looking sleigh bell.
Step Four – Continue gluing the bells every two inches.


This only takes minutes.
Once you’re in a groove, you’ll apply glue, place a bell where you want, and press for 3 seconds.
This is key.
You’ll want to hold the bell in place as you push it into the belt for 3 seconds.
This allows the glue to get a firm hold.
The Gorilla hot glue sticks are phenomenal!
So, keep that in mind for future projects.
The last bell needs to be 5 to 6 inches from the tip belt to allow buckling it up.


Depending on how long your belt is you may need to use less or more bells.
Here is a close up view.

You are now done!
Was that easy or what?
Share below how it went.
Do you have questions?
I’d love to help you figure out anything you come across when making this sleigh bell DIY.
So ask away.
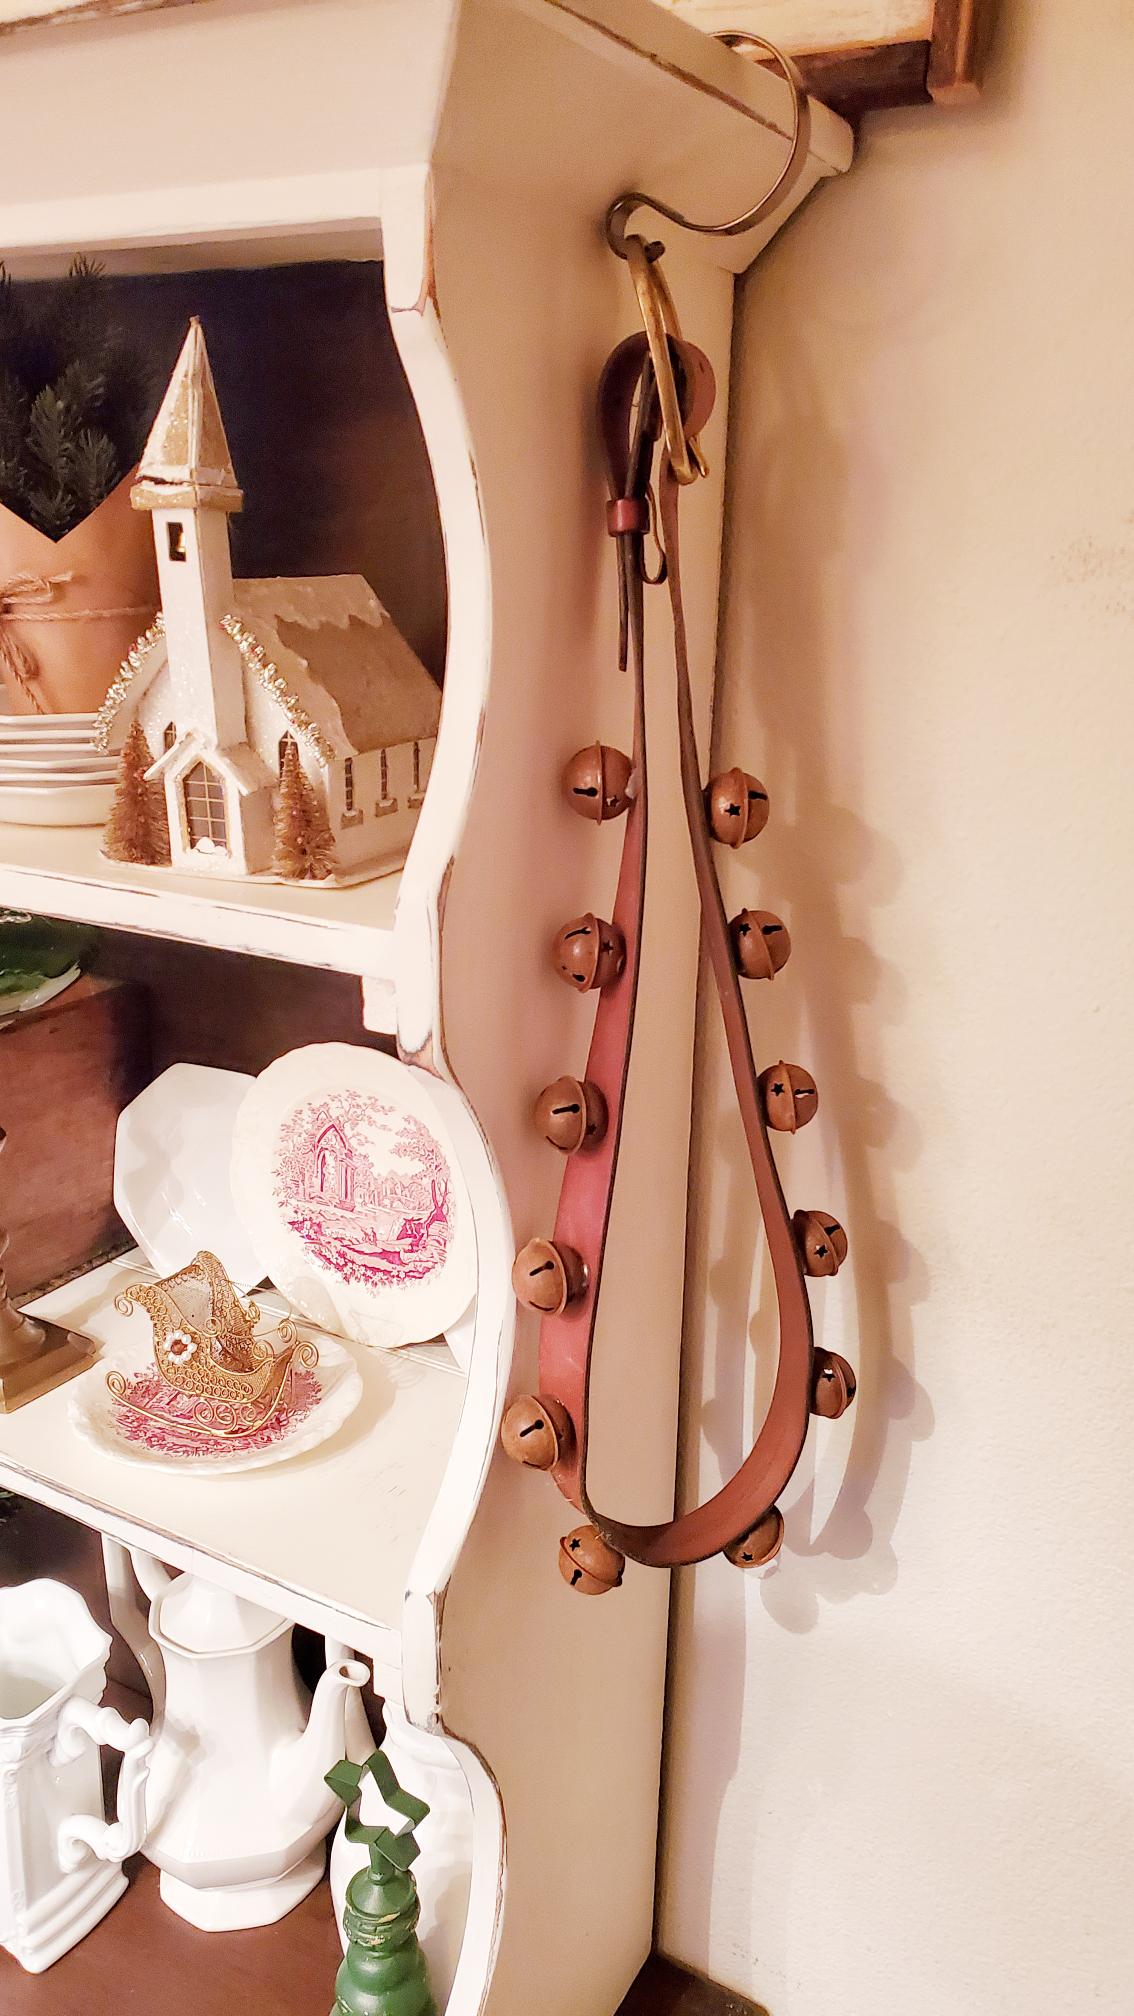
Here is the antique-looking sleigh bell hung on the side of my hutch.

I used a stocking holder to hang it from the top.
The look is amazing!
I hope this gives you an inexpensive way to add sleigh bells to your Christmas home decor.
Wishing you a Merry Christmas!
Here is PART TWO of my Christmas home tour for more Christmas inspiration.
For other DIY ideas, go here.
For Christmas decor inspirations, go here.
Thanks for coming by Victorian Lane Farms.