How to Make a Gingerbread Garland with Dictionary Pages
A quick tutorial on how to make a Gingerbread Garland with dictionary pages.
Included in this post is a printable for the gingerbread garland.
Click on the Gingerbread man image, then right-click and choose print.

Each Christmas season, there are many old traditions that can bring us together.
And this little DIY is a perfect project to enjoy making with your kids or grandkids.
For this project, I’m using dictionary paper.

But you can use any paper you like.
Several years ago I came across a huge dictionary at Goodwill for $3.99.
Here is a YouTube video sharing that thrift store haul.
It sparked my imagination!
My love for dictionary DIYs started while antiquing.
I came across expensive dictionary ornaments, garlands, and other extraordinary creations that intrigued me.
And with a dictionary in my hands, I thought up some amazing DIYs.
Like this Christmas Wreath.
Here is the link to the wreath DIY here.
And the most beautiful rose DIY.

Here is the tutorial on how to make this rose.
And now, I’m sharing this cute Gingerbread Garland.
Here is what you will need for this project:
- Gingerbread Template above
- Dictionary paper (can be found at thrift stores)
- Twine (link)
- Mini squares (2×2)- (link to cheap card stock to cut down to make small mini squares.)
- Hot glue gun – (link)
- Gorilla glue sticks – (link)
- Hole puncher – (can be found at any office or drug store)
- Vintage keys – (link)
Here are the simple steps on how to make a Christmas Gingerbread Garland.
Step One: Punch a hole at the top of each square.
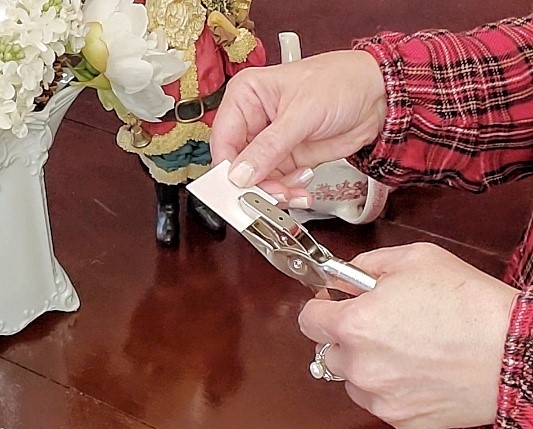
Punch a hole at the top of each 2×2 square card stock.
This will be where the twine goes through.
See the photo below.

Step Two: Measure the twine.
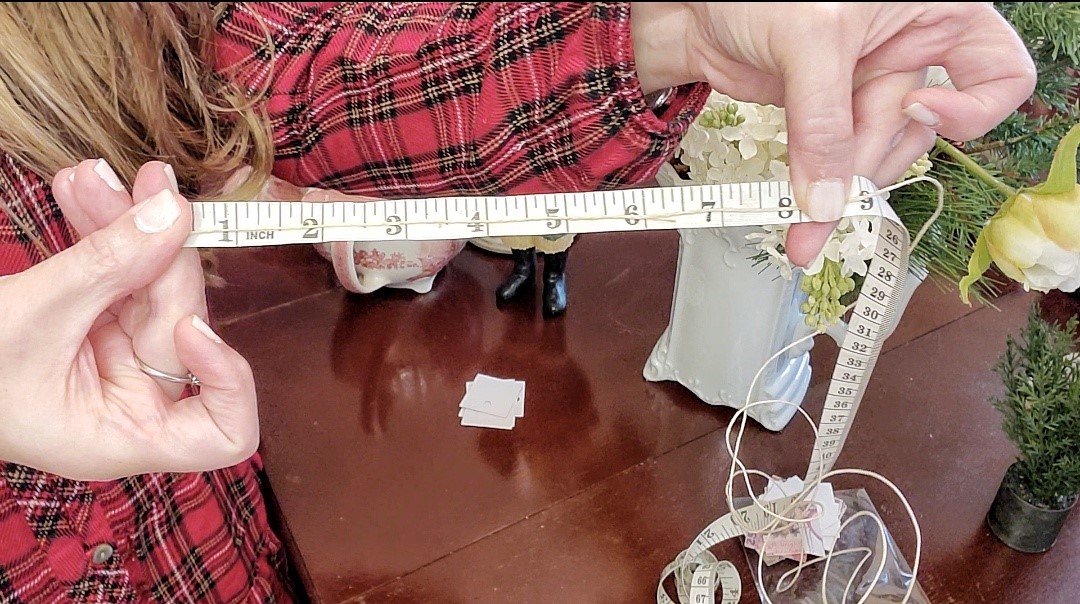
Measure 8 inches between each gingerbread.
That comes to a total of 72 inches.
Step Three: Cut the twine.

When done measuring, cut the twine.
Step Four: Add the keys.

Now, add the key.
Put the tip of the twine through the hole of the key.
Take your measuring tape and measure 8 inches.

Slide it to the measured eight inches.
Make a knot to secure it.
Step Five: Add the square.

Now, put the tip of the twine into the hole of the square and align it behind the key.
Tie another knot to secure the square.

It will look like this. See the photo below.

Step Six: Add hot glue to the square.

Place a small amount of hot glue at the bottom of the square card stock.
Step Seven: Place Gingerbread cutout on top of the square.

Place gingerbread cut-out on top of the glue, and press firmly.
Step Eight: Repeat steps 1 to 7.

Repeat these steps with the 7 remaining Gingerbread cutouts.
You are now done!!
Wasn’t that easy?
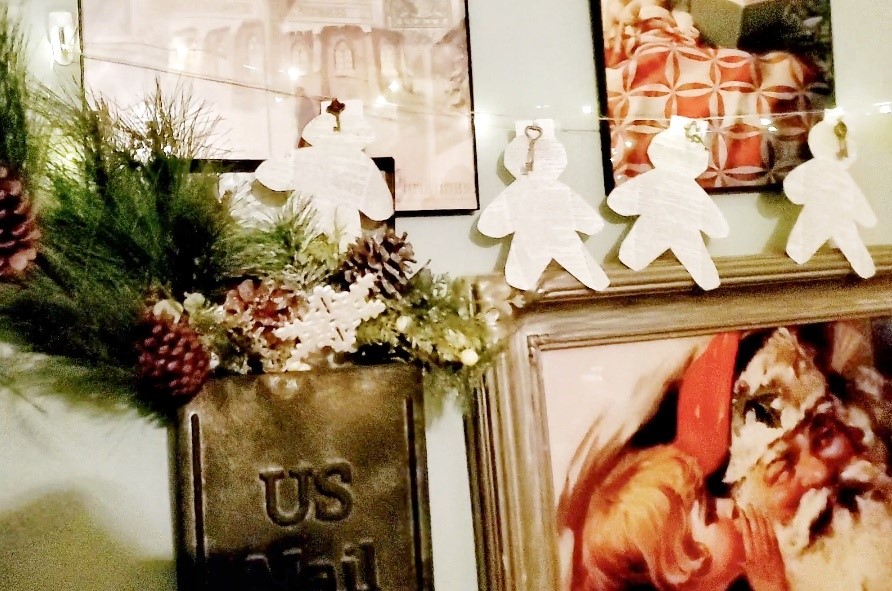
I love how it turned out.
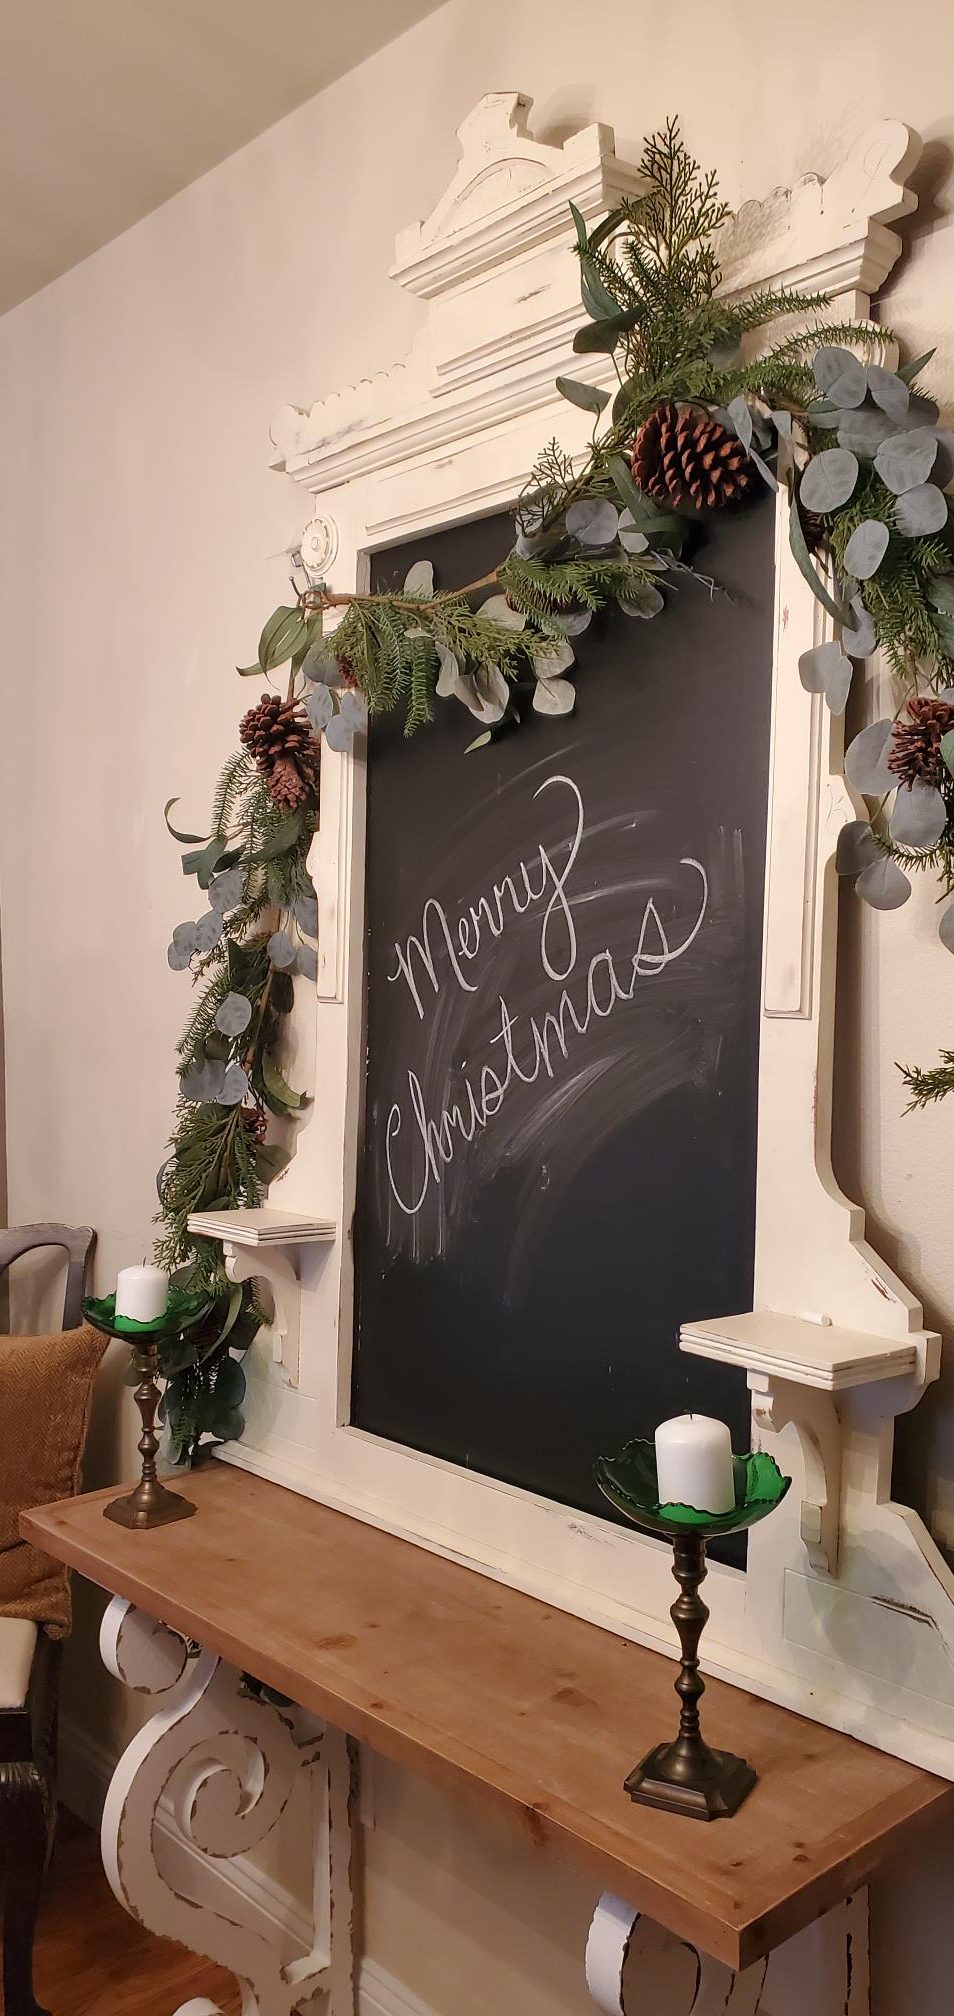
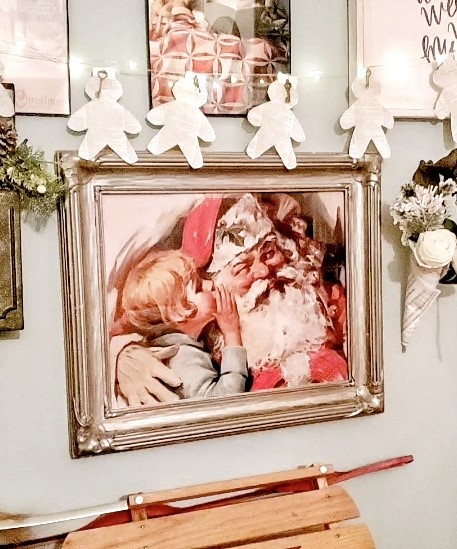
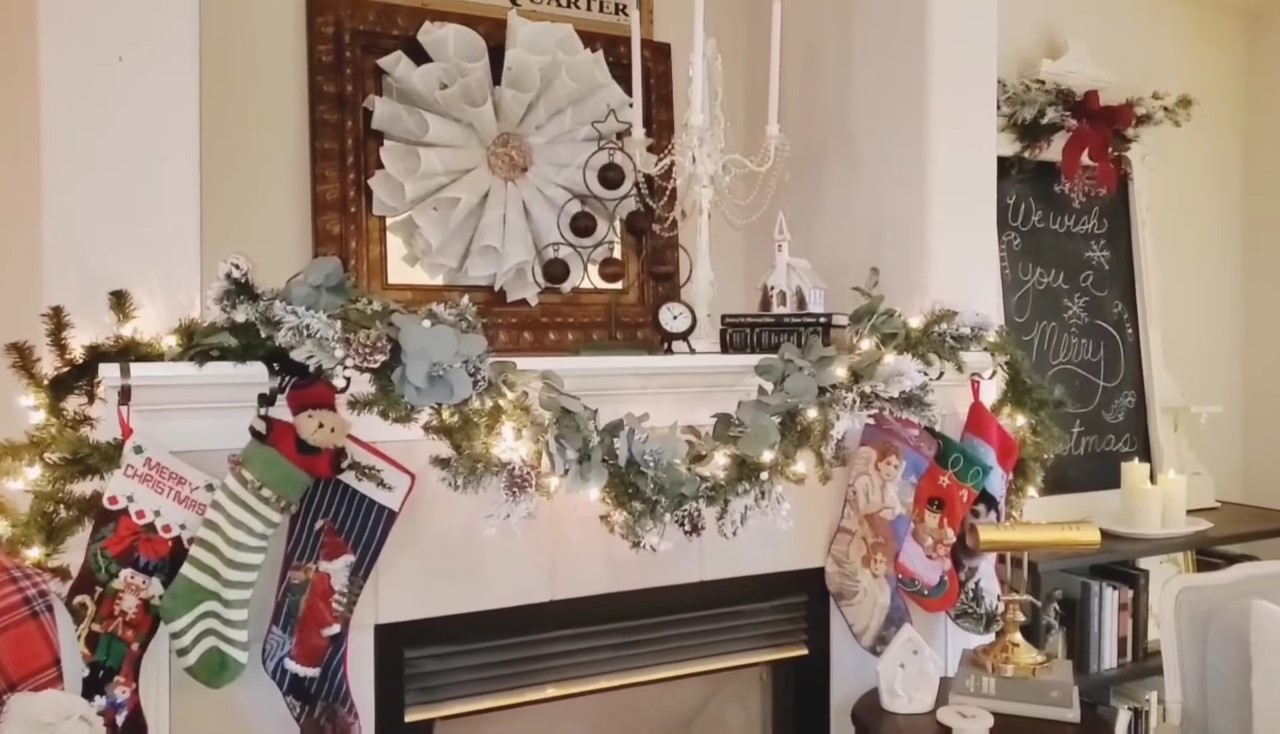
I added this garland to my gallery wall.

It’s such a sweet addition to add to my Christmas gallery wall.
The Gingerbread garland has a nostalgic vintage look.
It has the cozy Christmas feels that I was looking for.

Especially that print of the little girl.
So sweet!
There are things we love to capture from our childhood.
Or replicate from a time gone by.
No matter how we decorate our home this Christmas season, it is a magical time of year.
And I hope your year is full of blessings with those you love.
Did you enjoy this tutorial?

Please let me know below if you make this garland.
Here is a YouTube tutorial on how to make it.
Wishing you a Merry Christmas!!
For more Christmas DIYs, check out the ones below.
Easy Steps to Change Gallery Wall for Christmas
Vintage Wreath Tutorial using flow blue plates.