A Beautiful Dictionary Paper Rose DIY
Today I’m sharing a beautiful dictionary paper rose DIY.
What you will need for each rose:
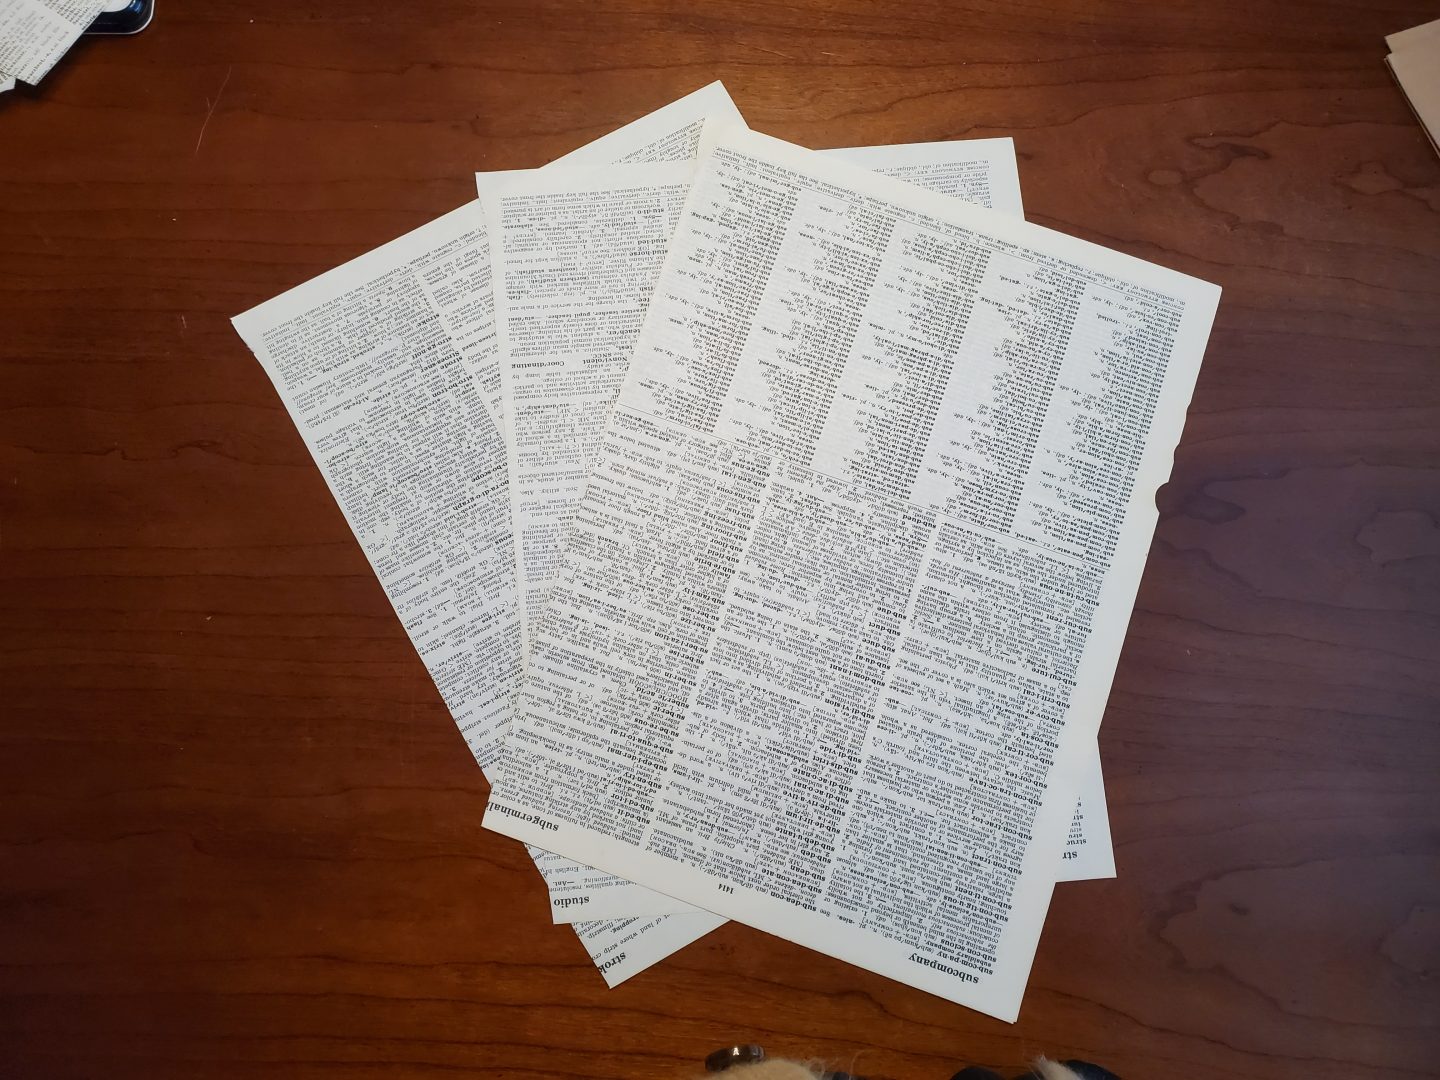
- Three pages of dictionary paper.

- 9-inch plate to draw the circle for the rose
- Pen
- Scissors
- Hot Glue Gun
Steps how to make this dictionary rose.
Step 1: Take the plate and place it upside down onto the center of the dictionary pages. Trace the plate with a pen onto the paper.

Step 2: Cut out the circle. You will be cutting all three sheets of paper at once to save time.

Step 3: Cut out a hole in the center. See in the photo below how I cut into the center of the paper and cut a smaller circle to make a hole.

The picture below shows the slit up the side and the circle that was cut out.

Step 4: Take a circle and add hot glue to the corner.

Now onto Step 5: Attach the corner to the other side, making a small cone.

Step 6: Taking the large circle, cut out petals.
There will be seven or eight petals cut from the three-layered paper, which will make 20 or so petals to make your rose.
Sorry to say my camera died, so there’s no photo for this step.
Step 7: Add glue to the edge of the first petal.

Step 8: Start adding the petals to the edge of the cone. One petal at a time.

You want the center to have a hole like this photo below. I will show you a trick later as to how we will be using the hole.

Step 9: As you add a petal, you want to glue the petal a bit upward to give it a rose look.

I stuffed a smaller cone into the center cause the hole was too big.

As I’ve added the petals, you can see a slight gap between the petals.
This is so that later you can bend the paper back.
But for now, let’s keep layering the petals.

In this photo below, I show you how much I’m raising the petals upward as the rose gets larger.

I keep adding until the rose is as big as I want it.
To make the petals look realistic, I layer the petals over the seam of the ones underneath.

This is how it looks after going around 10 to 11 times.

Step 10: Bend the edges of the rose petals back. This gives it an amazingly realistic look!

I take my fingers and bend back the petals that are hard to reach.

Step 11: Take the large circle and cut it in half.
Measure it to the bottom of the rose.

Step 12: Gluing the end of the cut circle. Make a cup-like shape and slide the bottom of the rose into this.

It will hide all the glue and the crazy look of the petals.
It gives it a smooth surface.

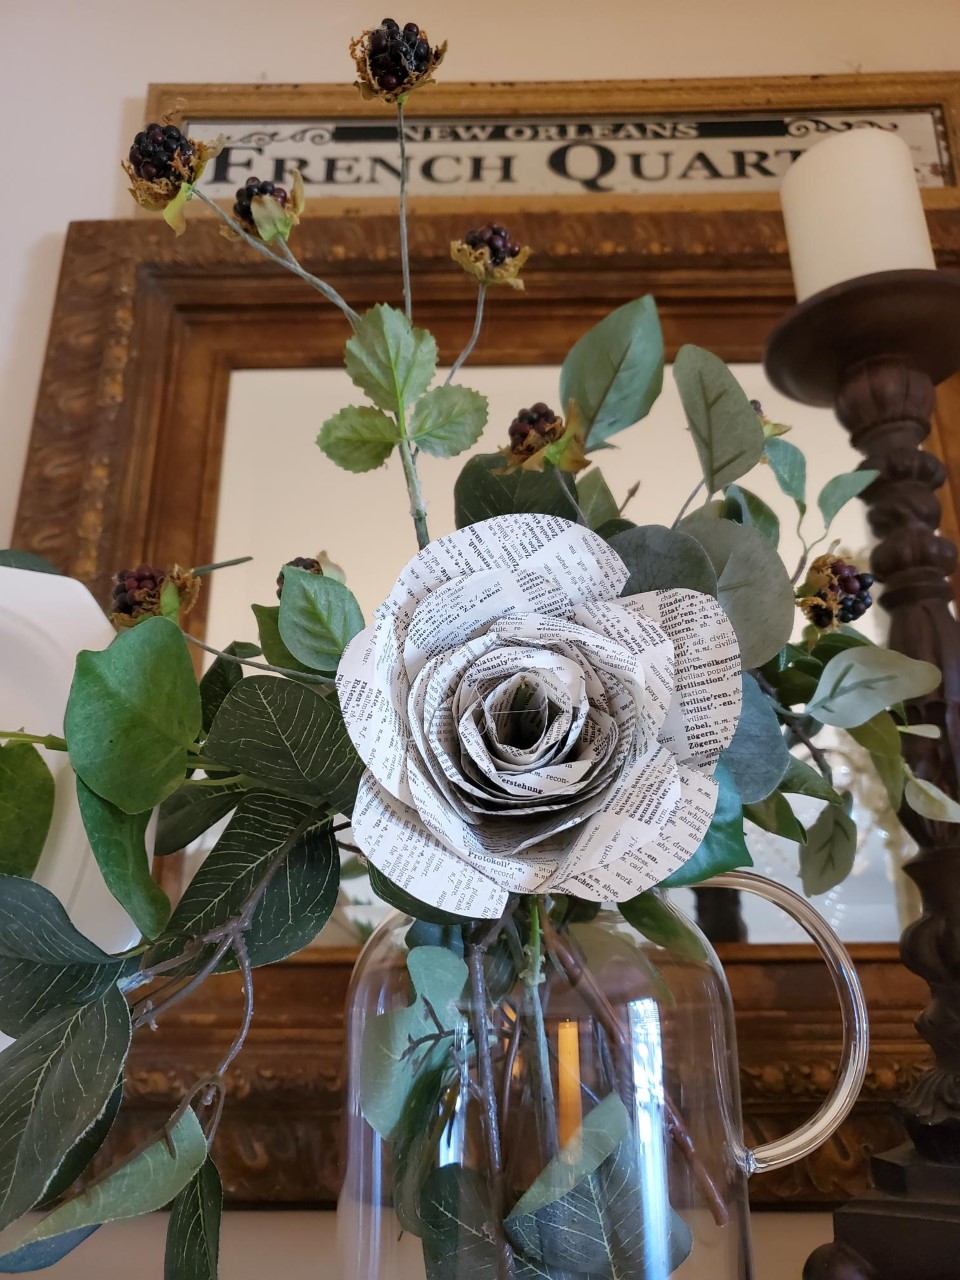
This is an up-close look at what it looks like finished.
Doesn’t that look gorgeous?

Trick: Take a green faux branch.

Remove the tip of one of the leaves.

Take that tip and place it into the hole of the rose.
Add hot glue to the tip and press it into the hole until it cools and sticks firmly.

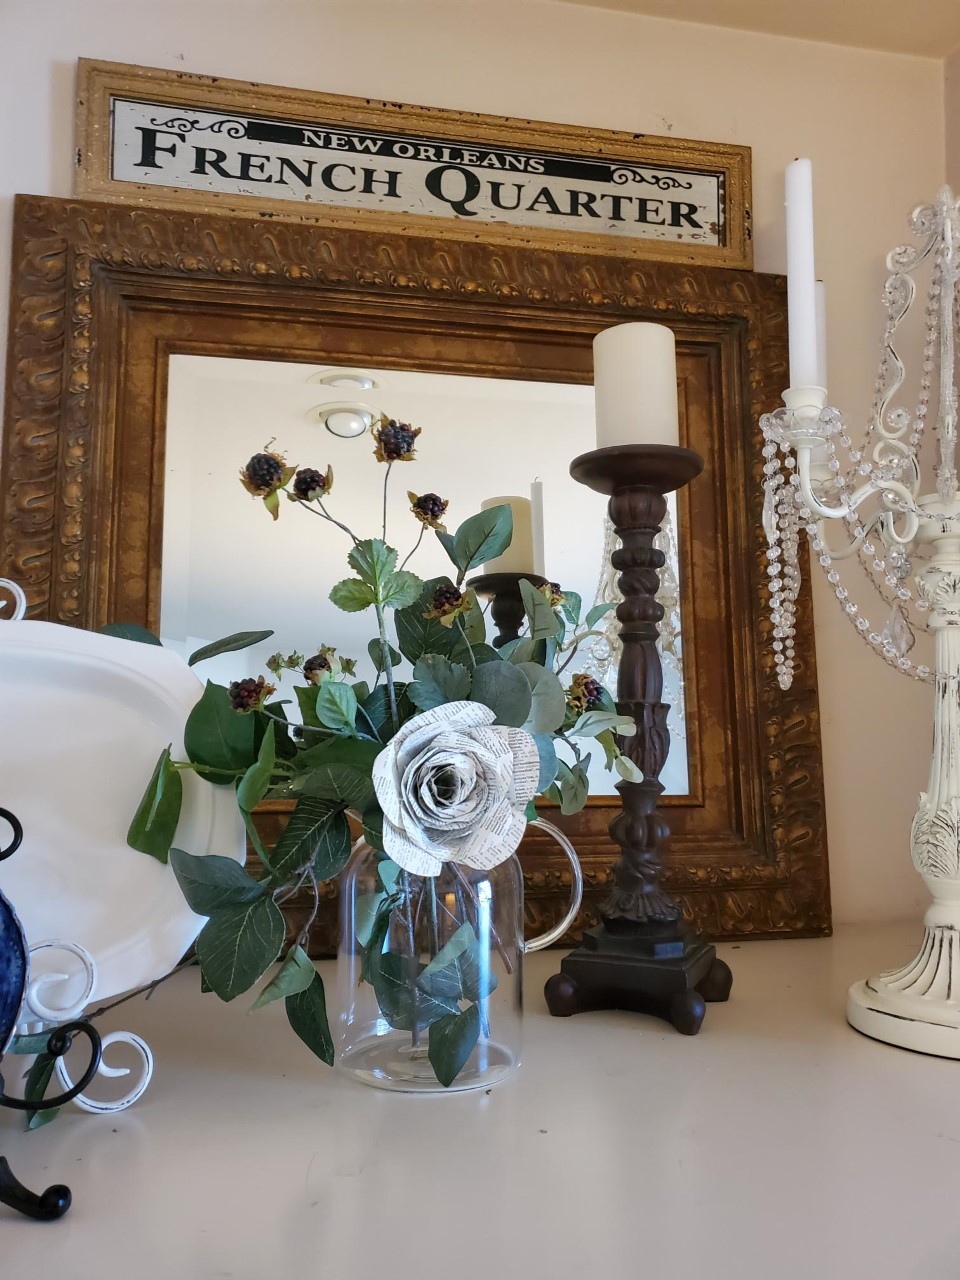
This is what it looks like when it’s all done! Isn’t she beautiful?

I placed this rose into a vase on top of my fireplace mantle.
It has a vintage charm that I love.
I hope you enjoy making a beautiful dictionary paper rose DIY.
Here is a YouTube video showing how to make this rose and 4 other DIYs.
Thanks for coming by Victorian Lane Farms.
For more DIYs, follow this link.
Have an amazing week.
Bye for now.