7 Steps to Building a Backyard Homestead
In this post, I’m sharing some quick steps to building a backyard homestead.
My husband and I live in the city on a small lot.
Over the years, we have wanted to grow food and live a holistic life by eating unprocessed foods and making things from scratch as much as possible.
Our thought was we would start when we moved onto some acreage.
But as the years went by, our vision changed.
Instead of waiting until we owned property, we decided to homestead in the city.
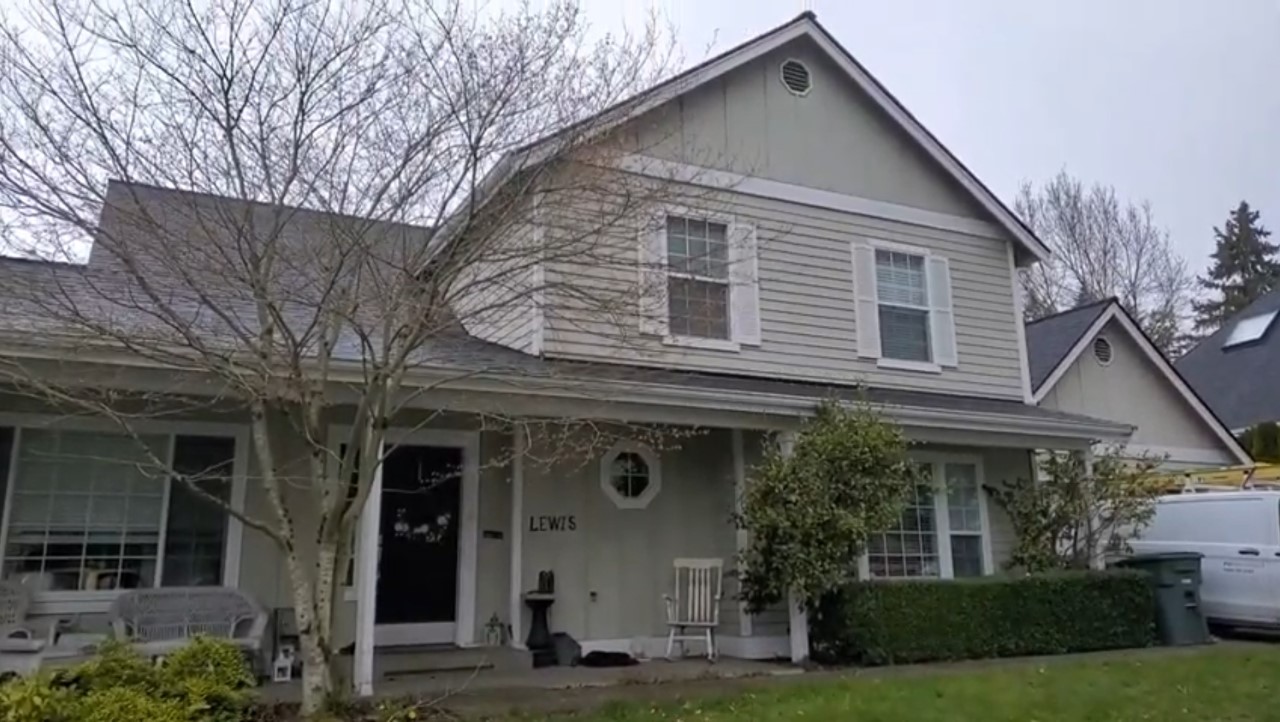
When I say city, I mean 25 minutes from downtown Seattle.
We could see the potential of turning our city yard into a backyard homestead.
And today, I’m taking you through the 7 steps we took to building a backyard homestead.
Let’s get started.
Step One: Prep the backyard.

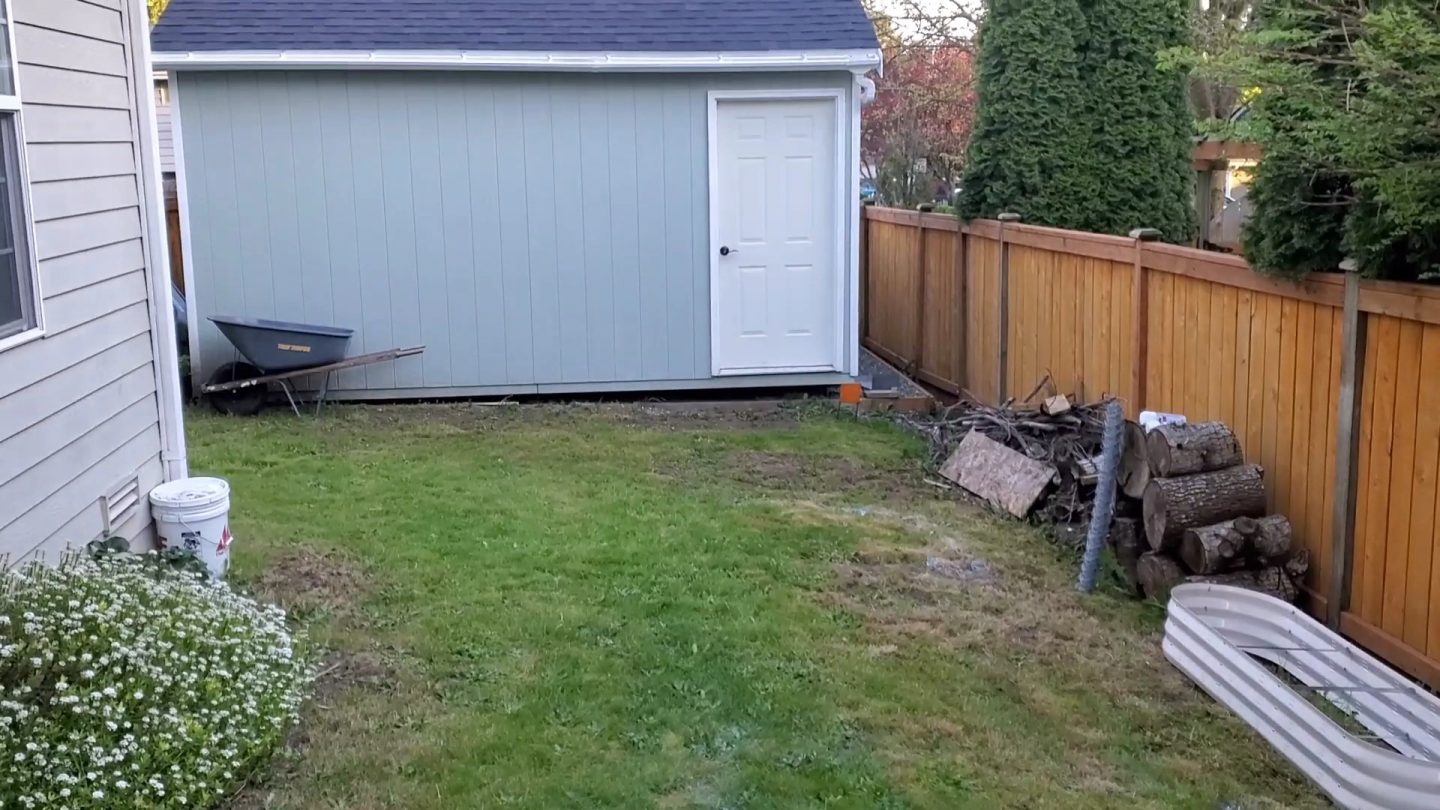
The beginning phase is to prep the backyard by cleaning away anything in the way.
This included mowing our backyard.

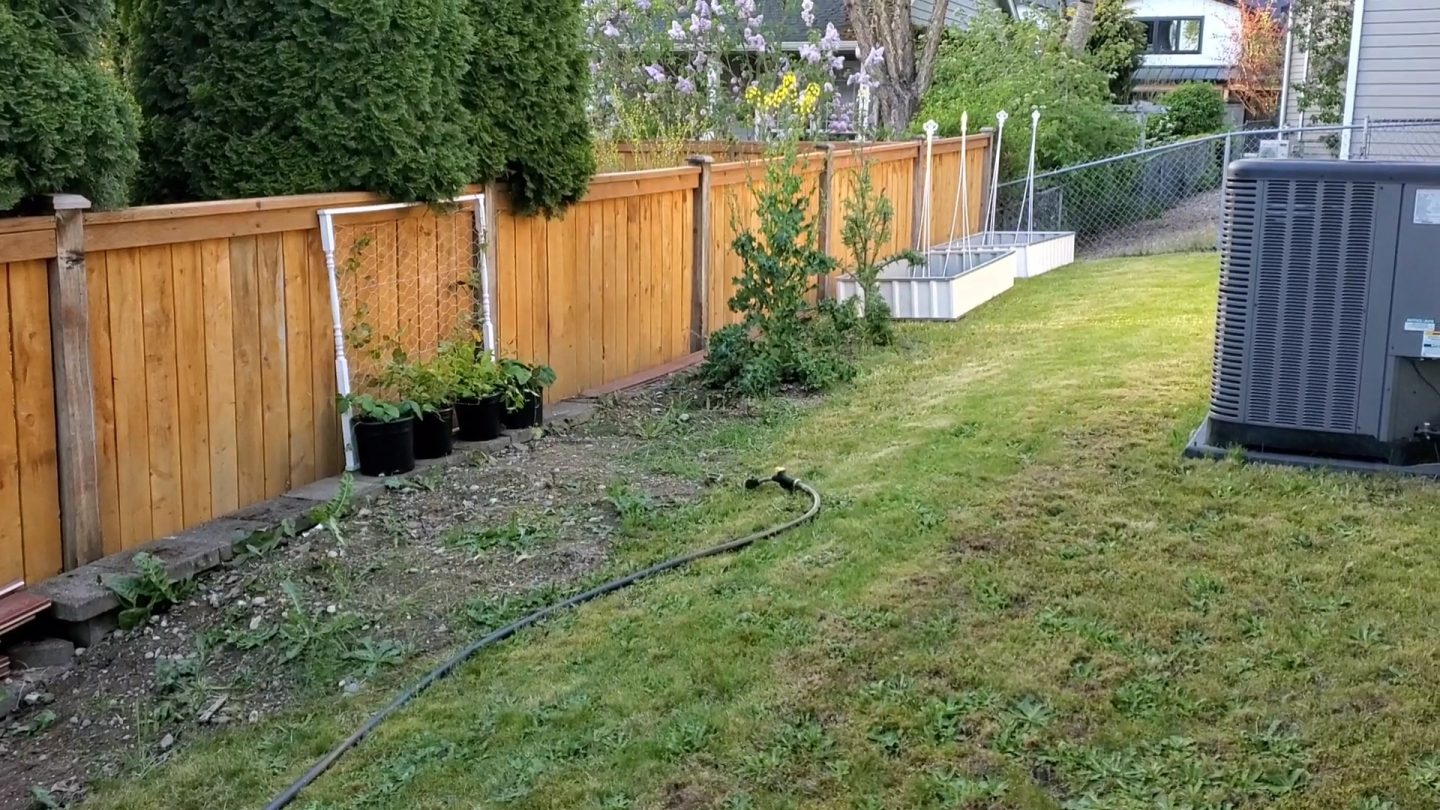
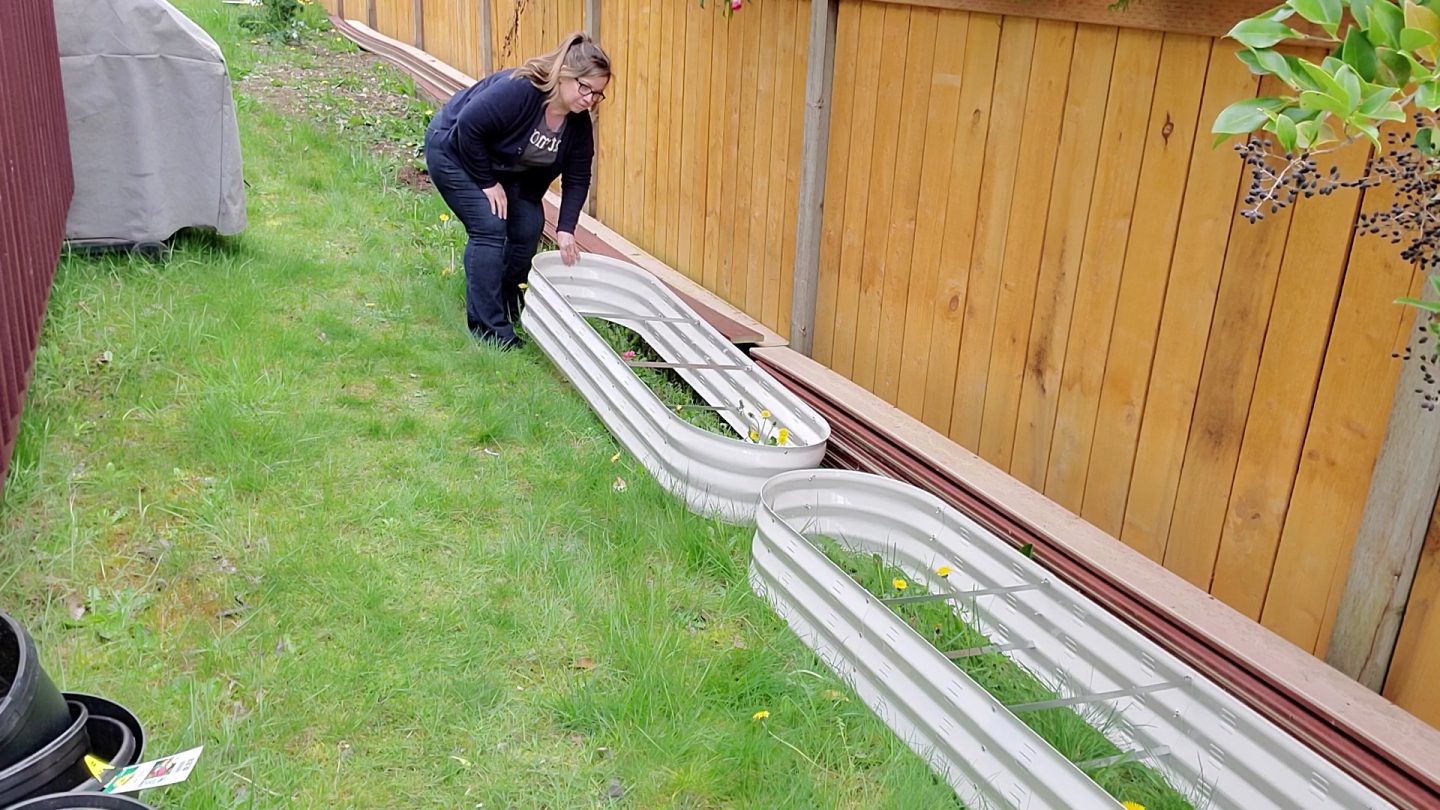
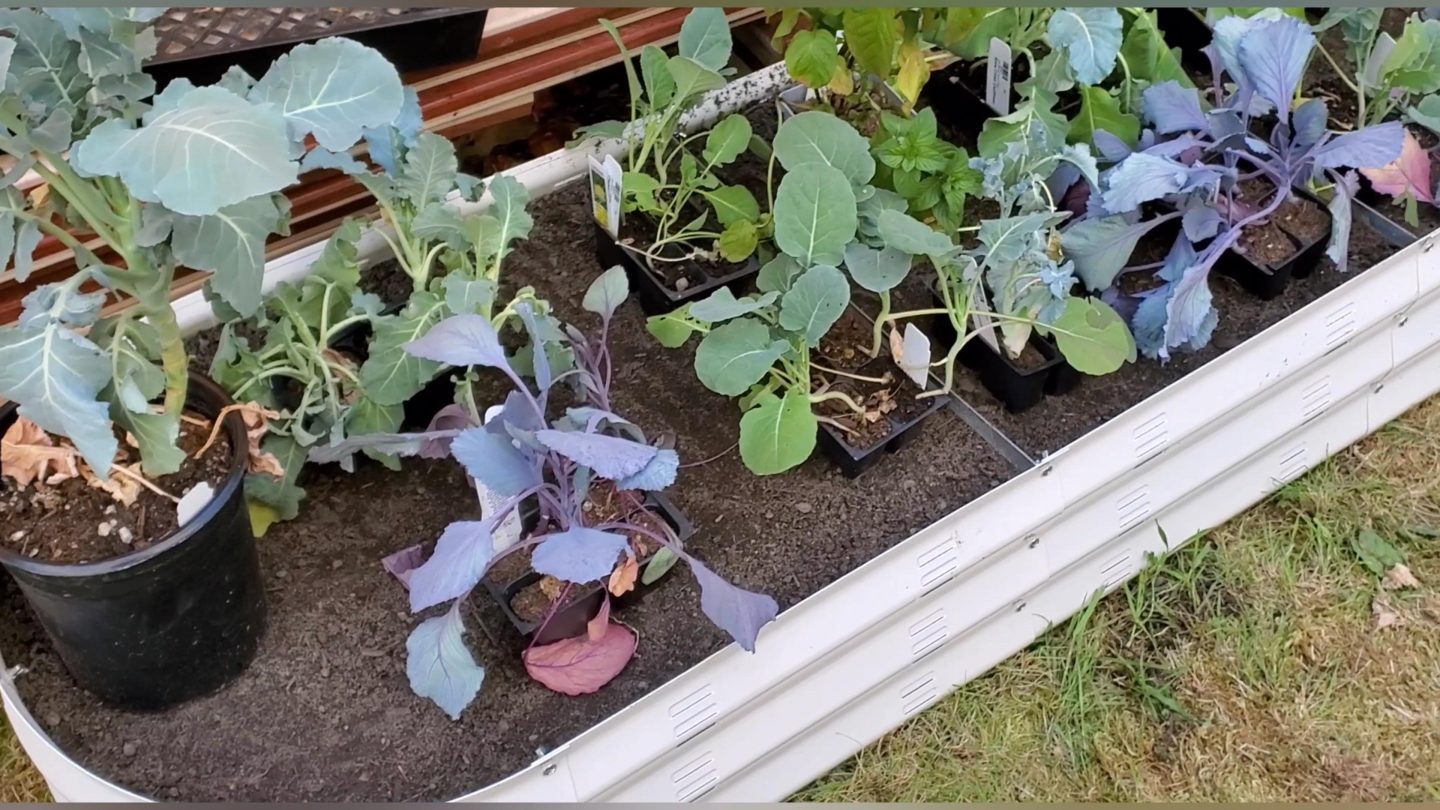
Step Two: Plan the layout.
When planning the layout of your raised beds, you need to consider what kind of plants you want to grow and whether they will get full or partial sun.
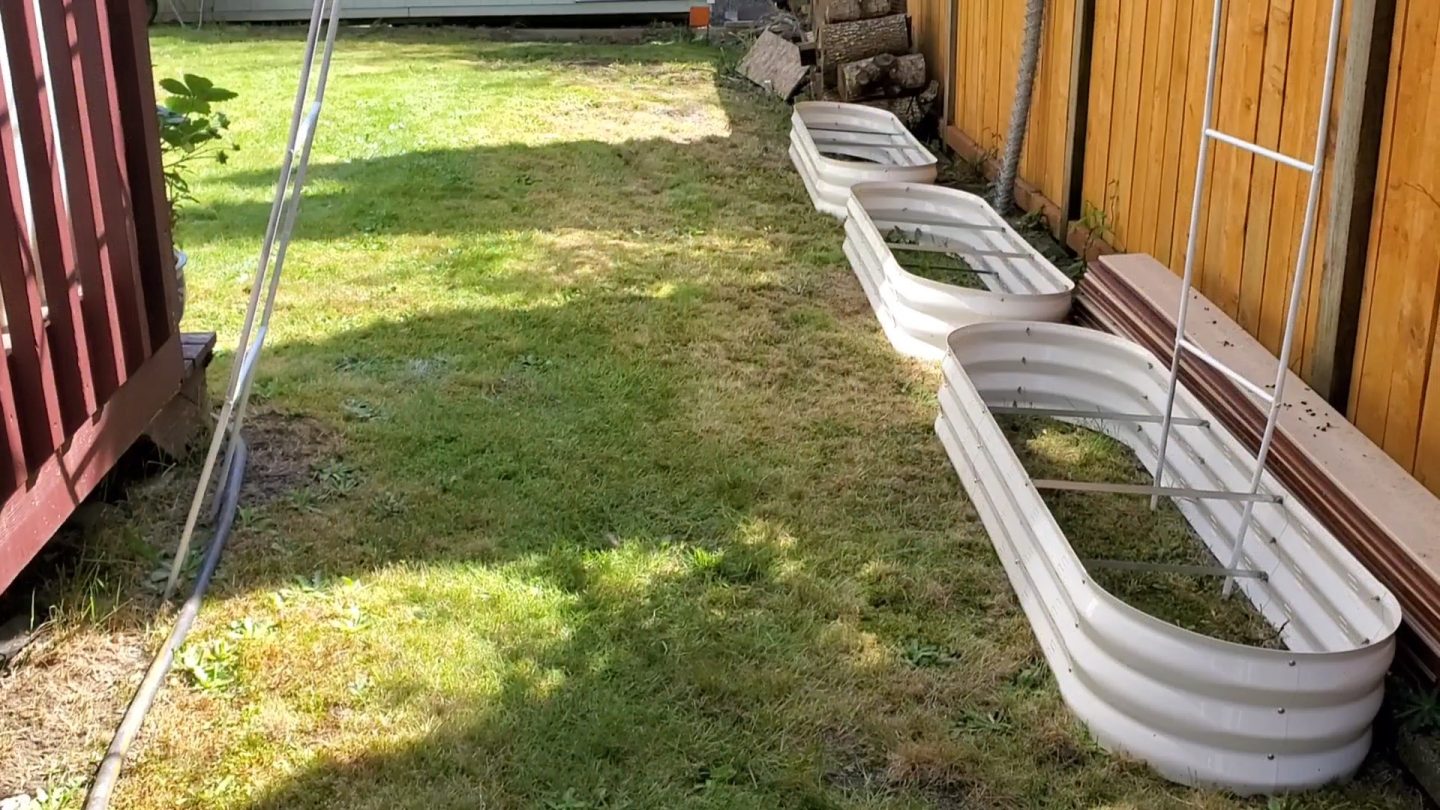
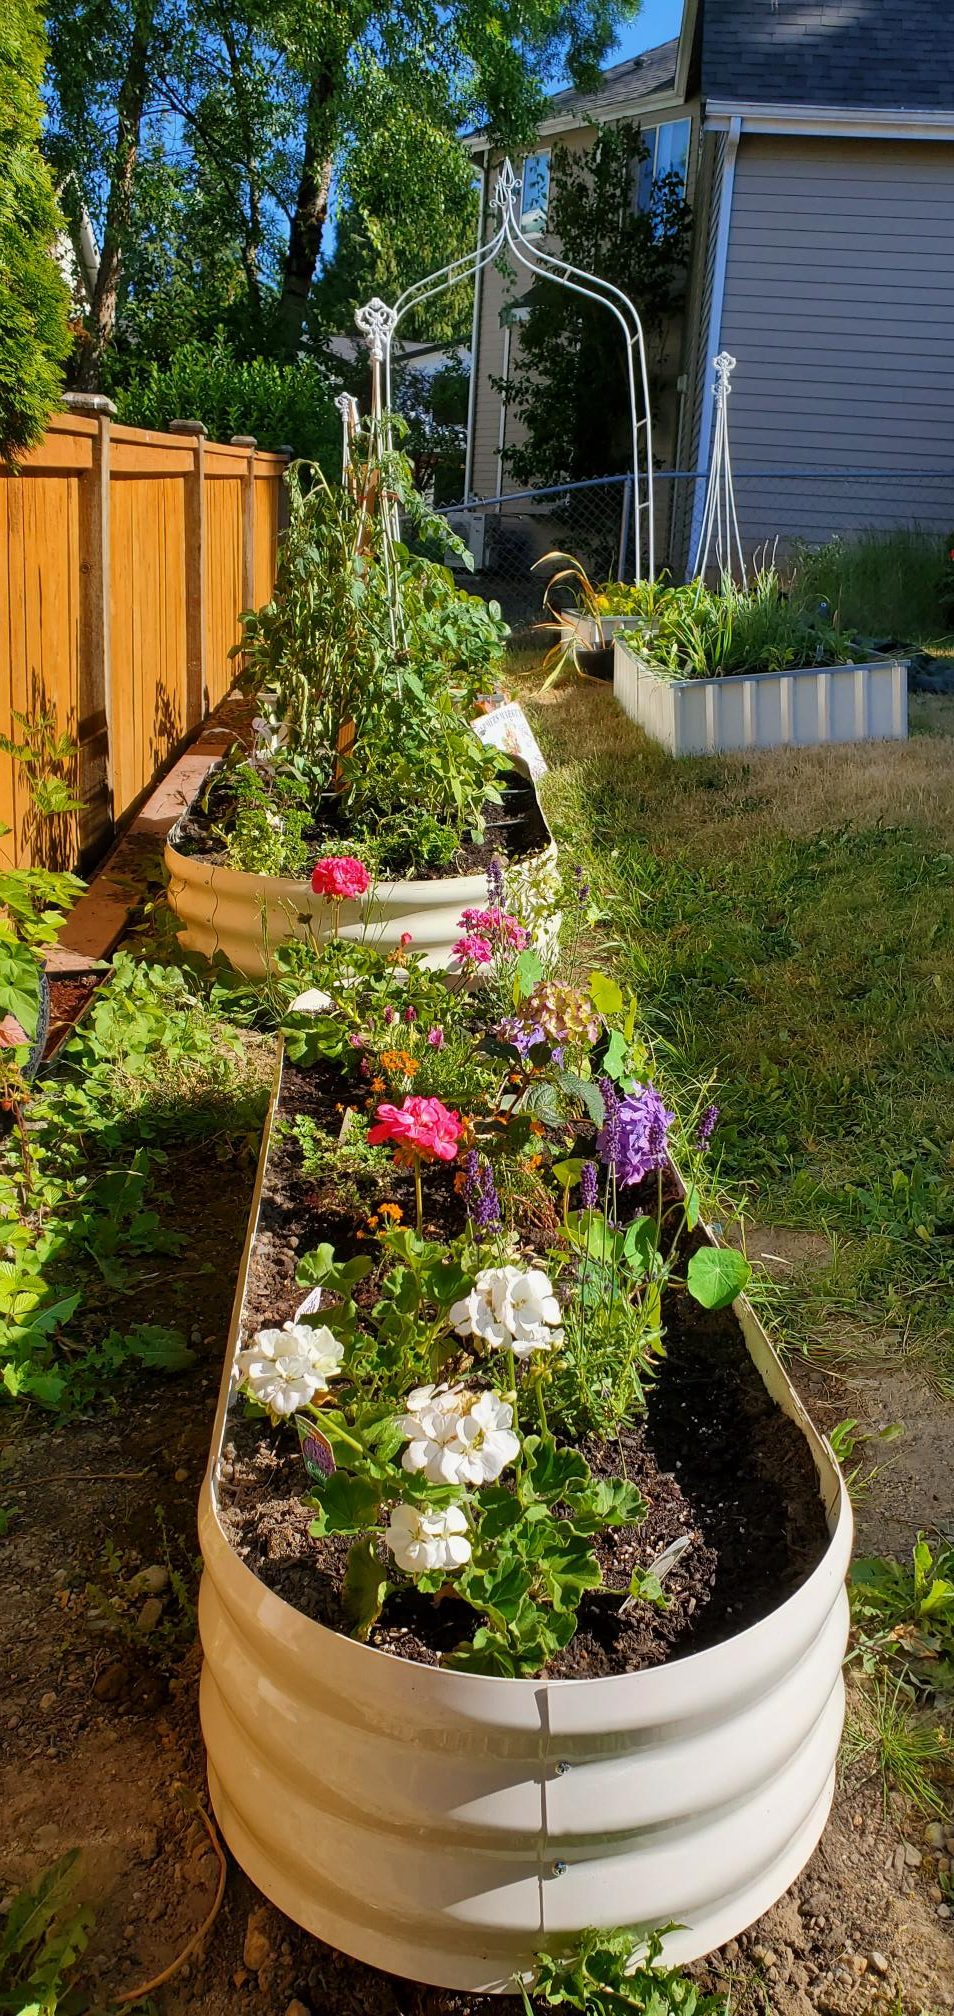
We put narrow raised beds against the fence to easily walk by.
This location gets partial sun.
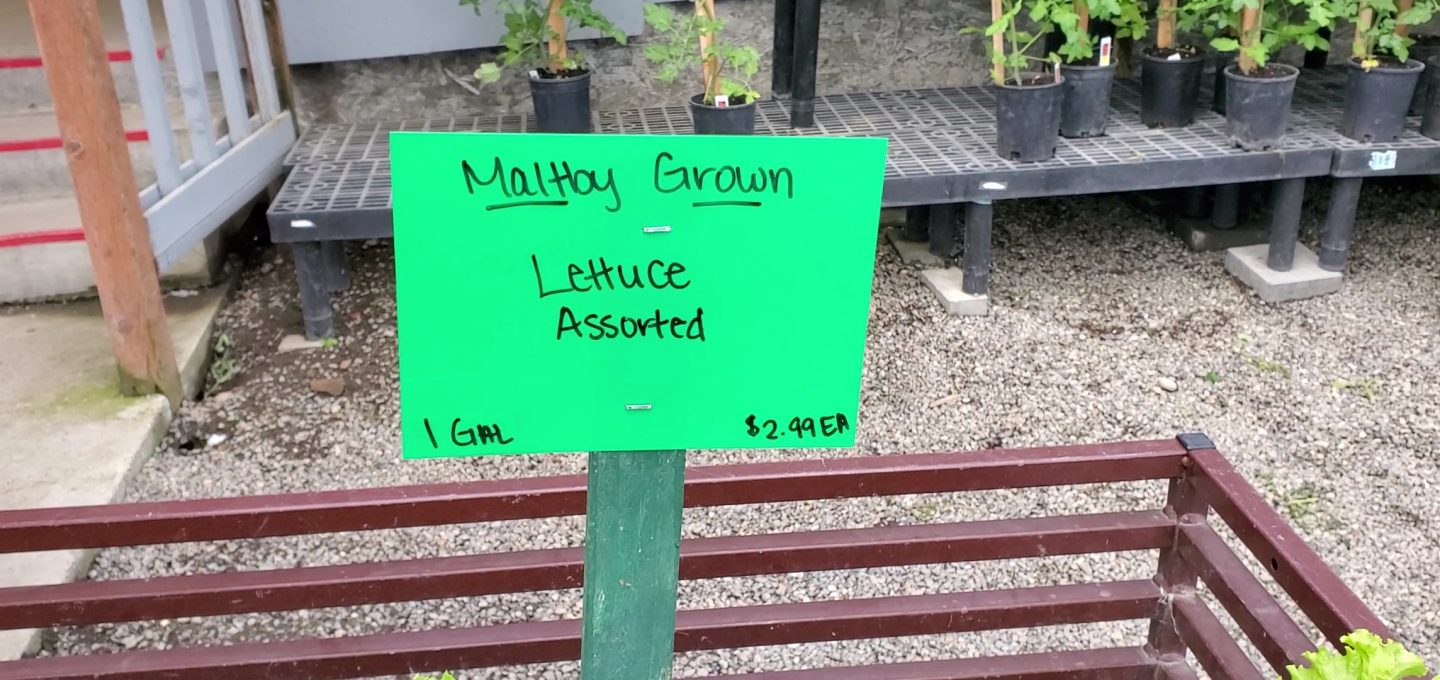
This is where we planted lettuce, broccoli, and some herbs.
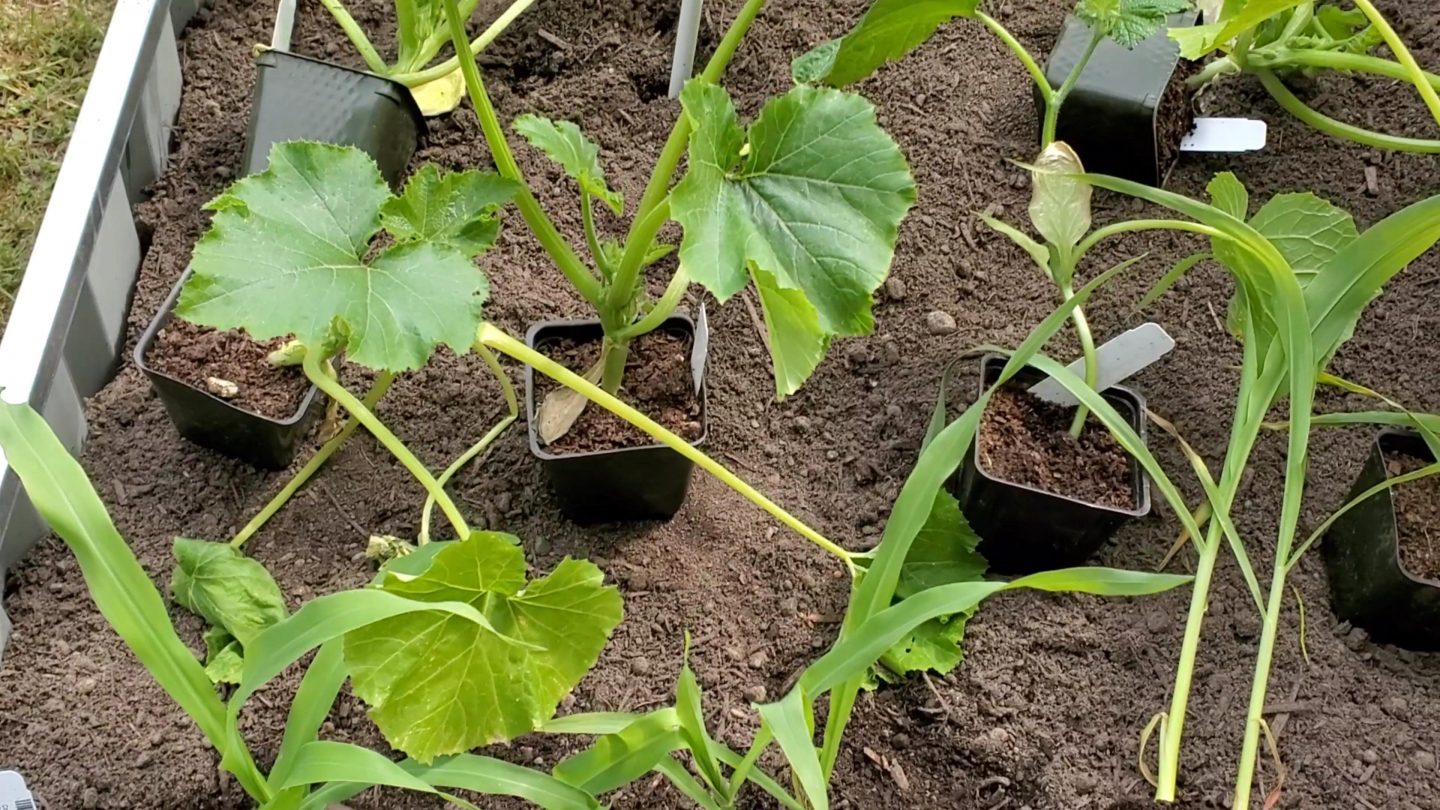
The right side of our yard gets full sun.
This is where we planted squash, pumpkins, corn, and cucumbers.
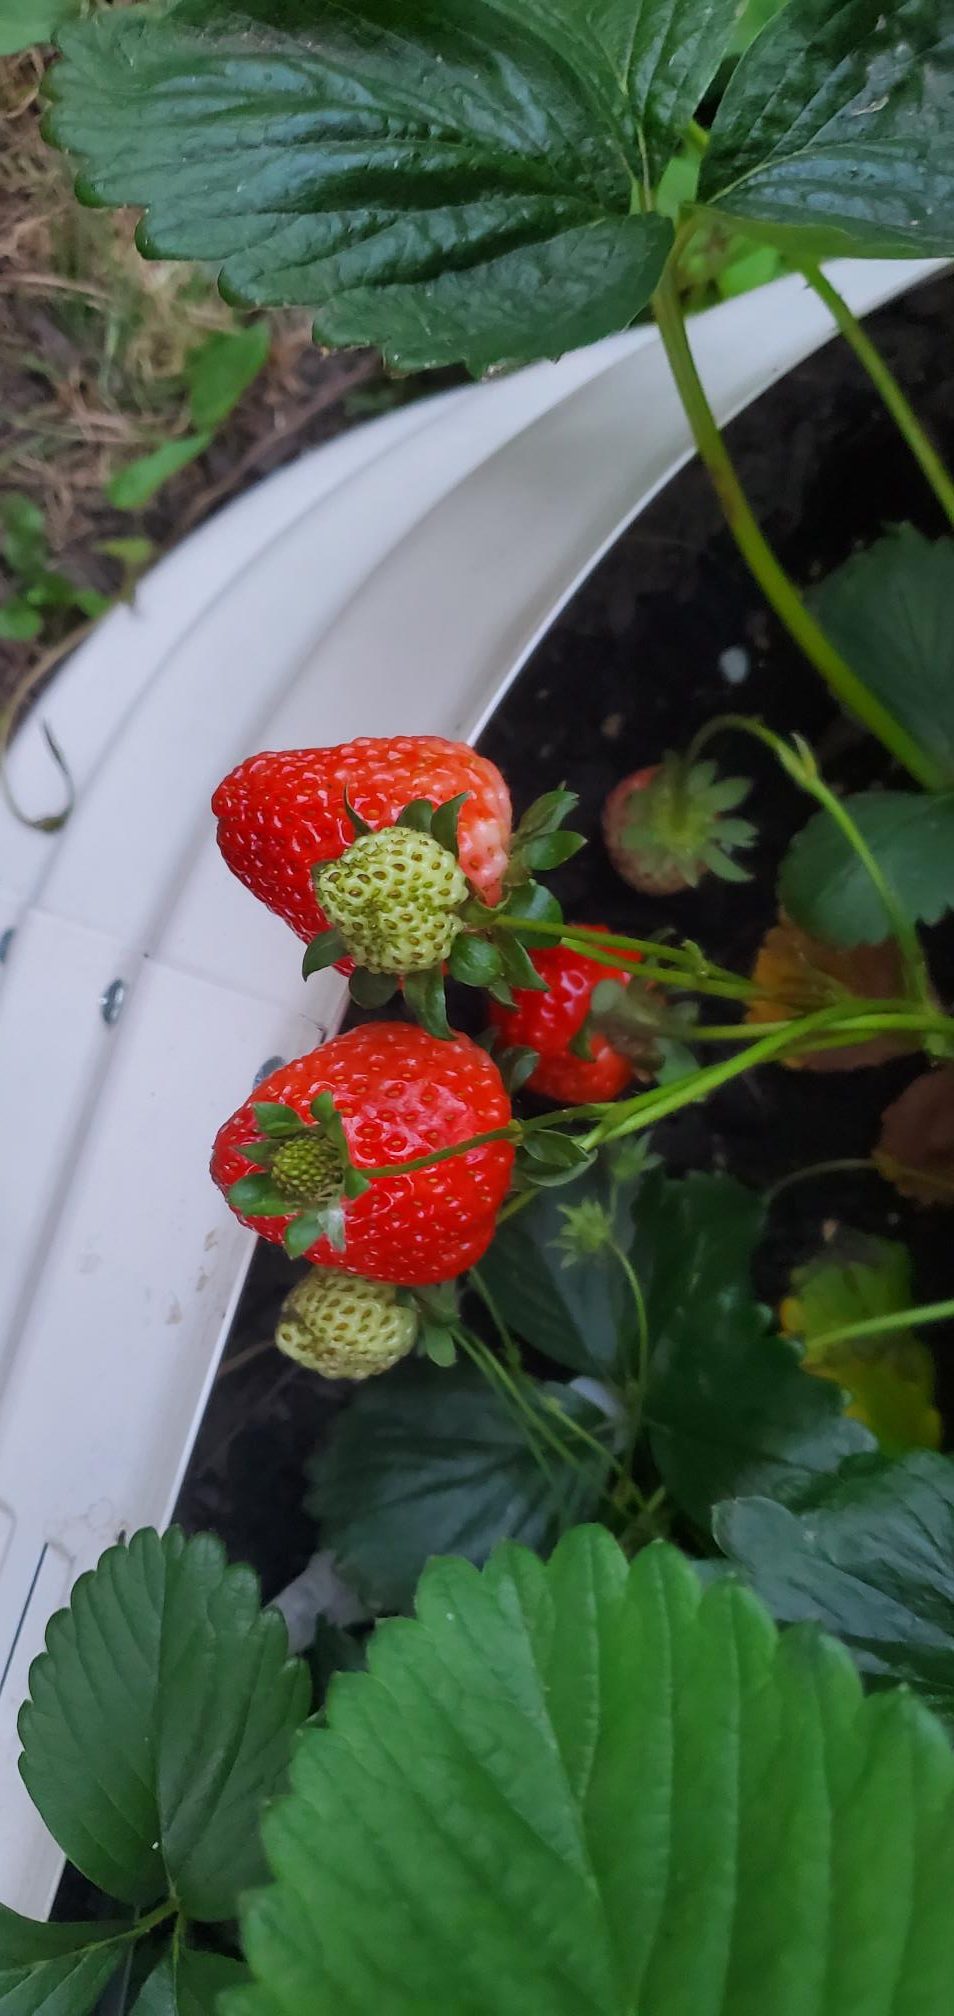
Strawberry plants.
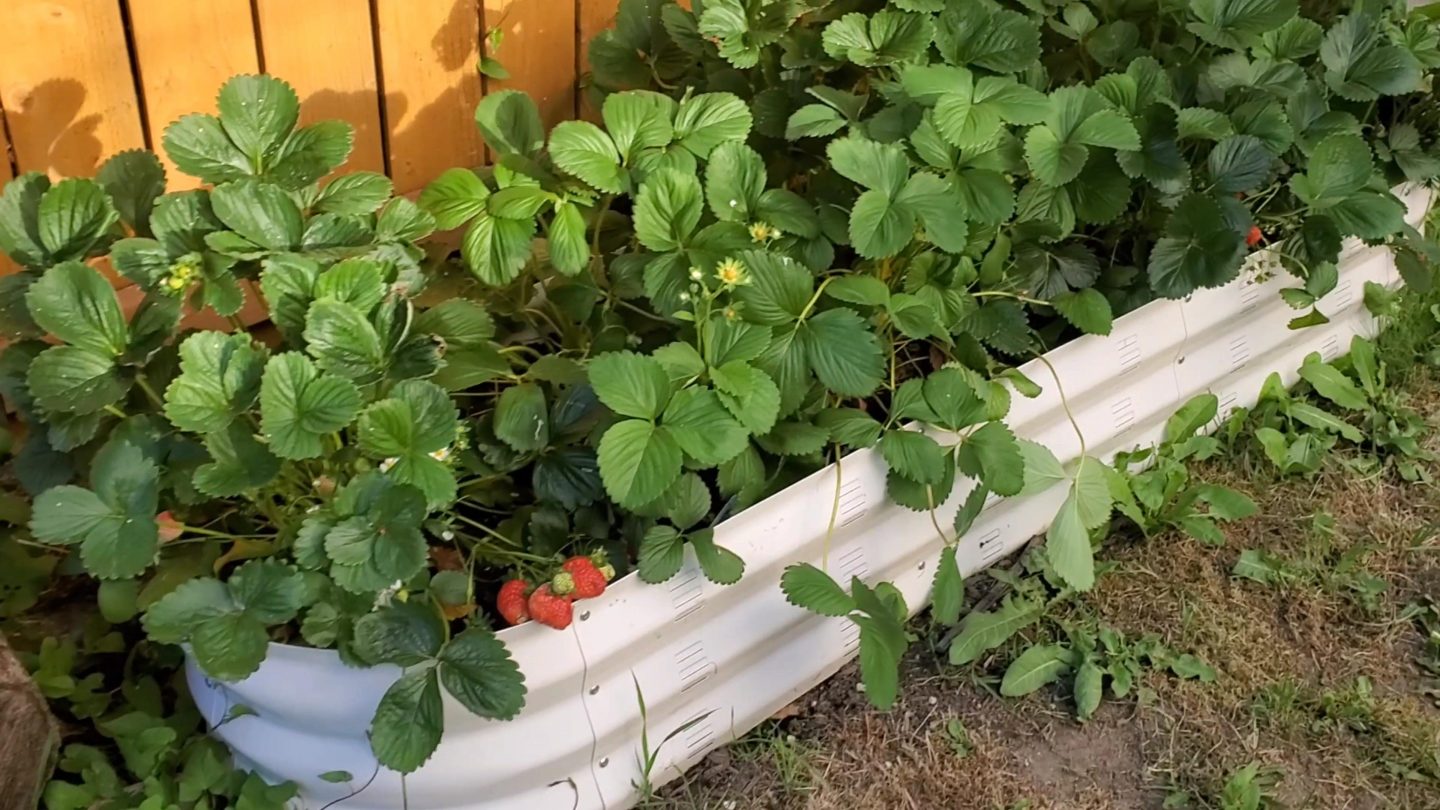
We started planting strawberry plants along the fence to get partial sun.
But they didn’t seem happy.
So, we transplanted them into one of the bigger raised beds that gets full sun.
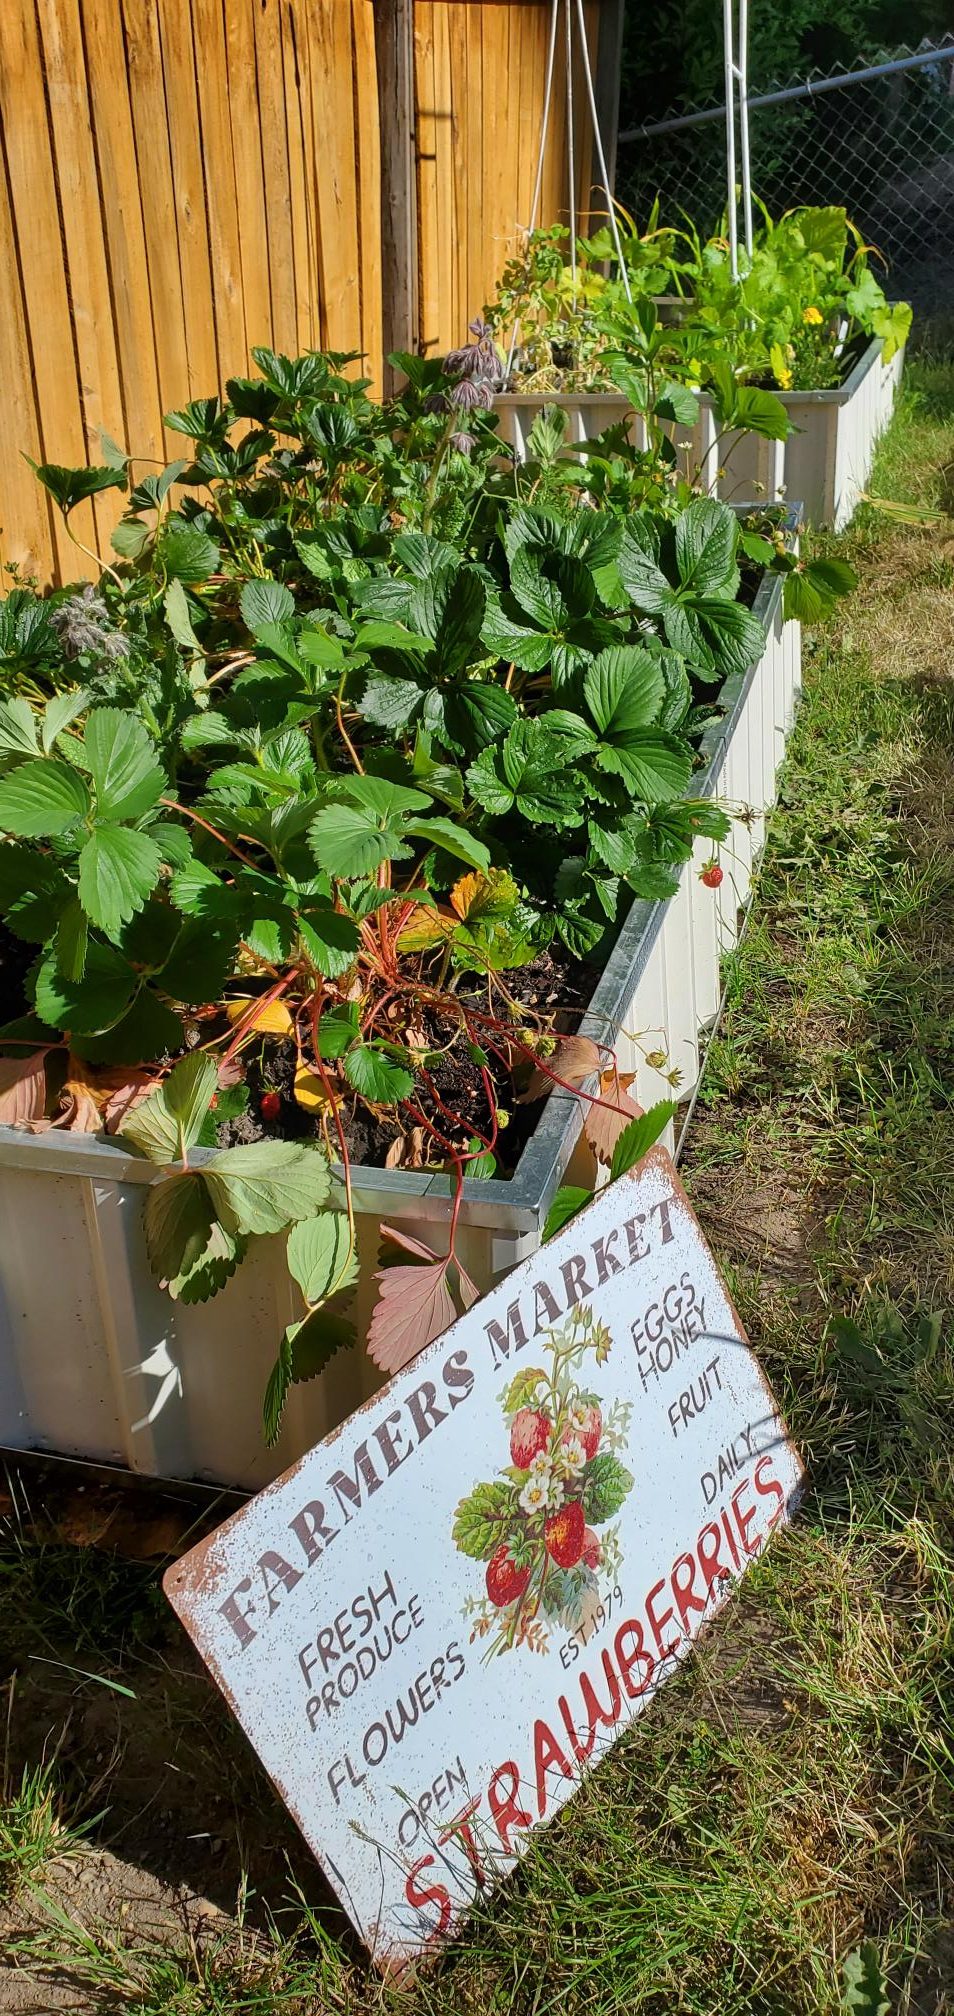
It gave them more room.
To the strawberry patch, I added some companion plants.
Borage and lavender. The bees love it!
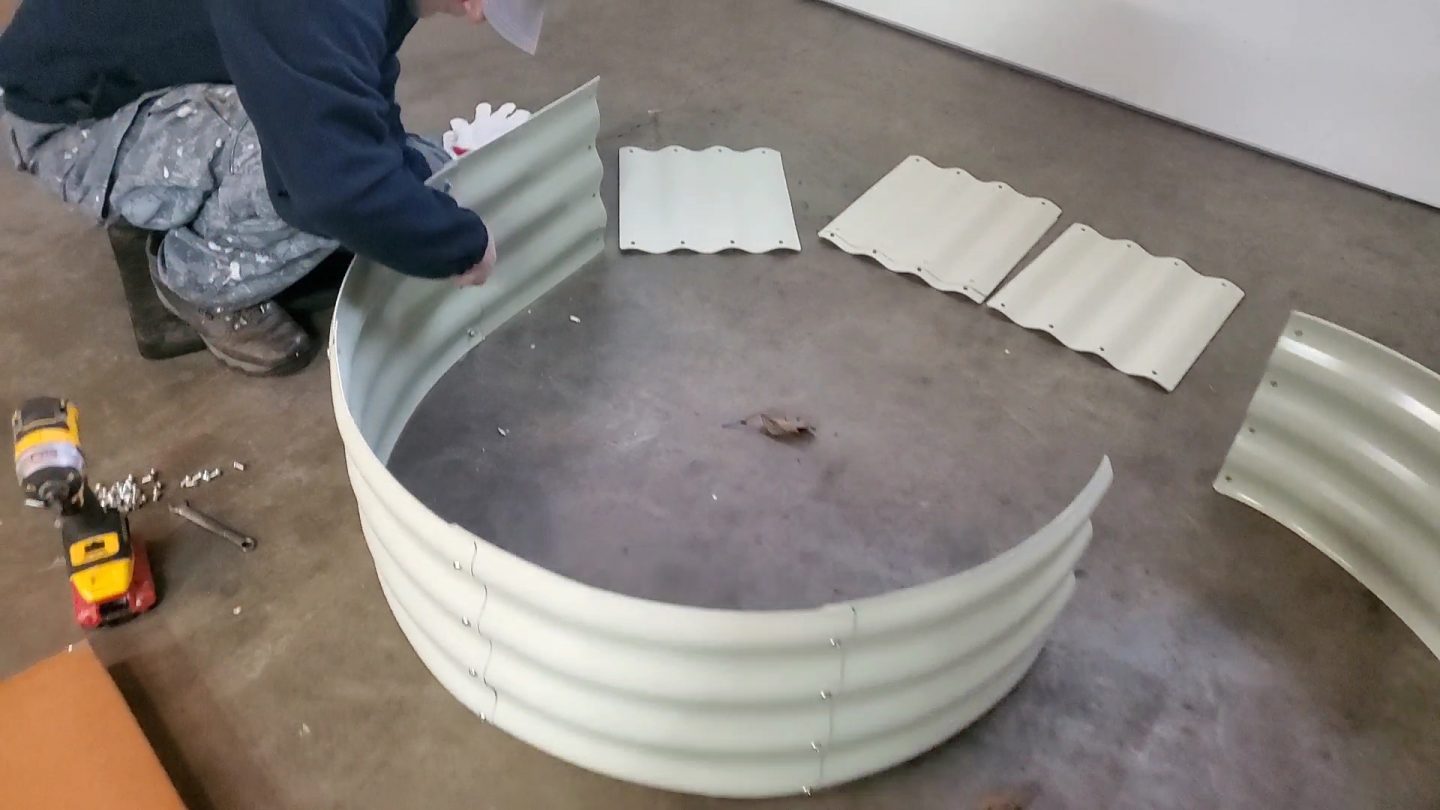
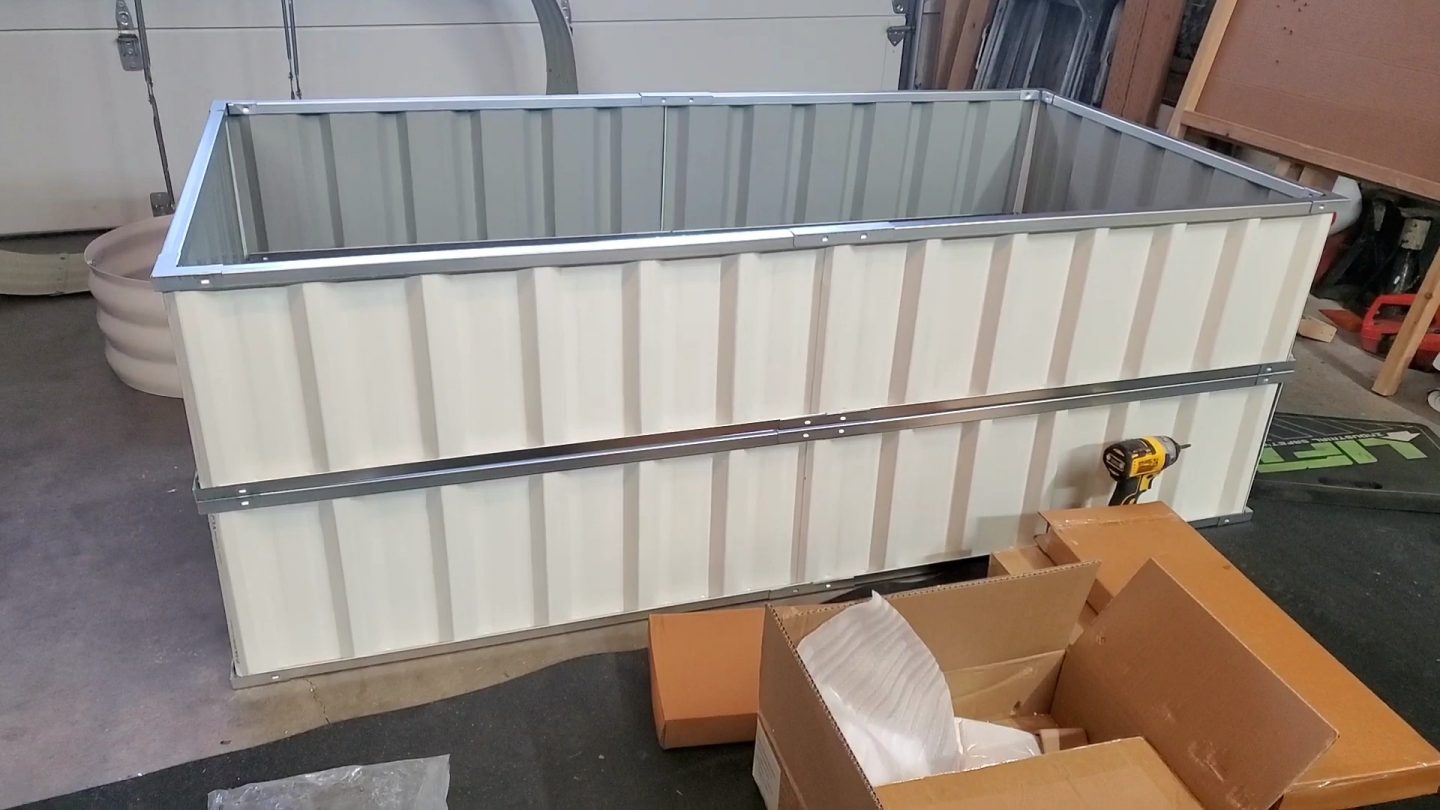
Step Three: Build the raised beds.
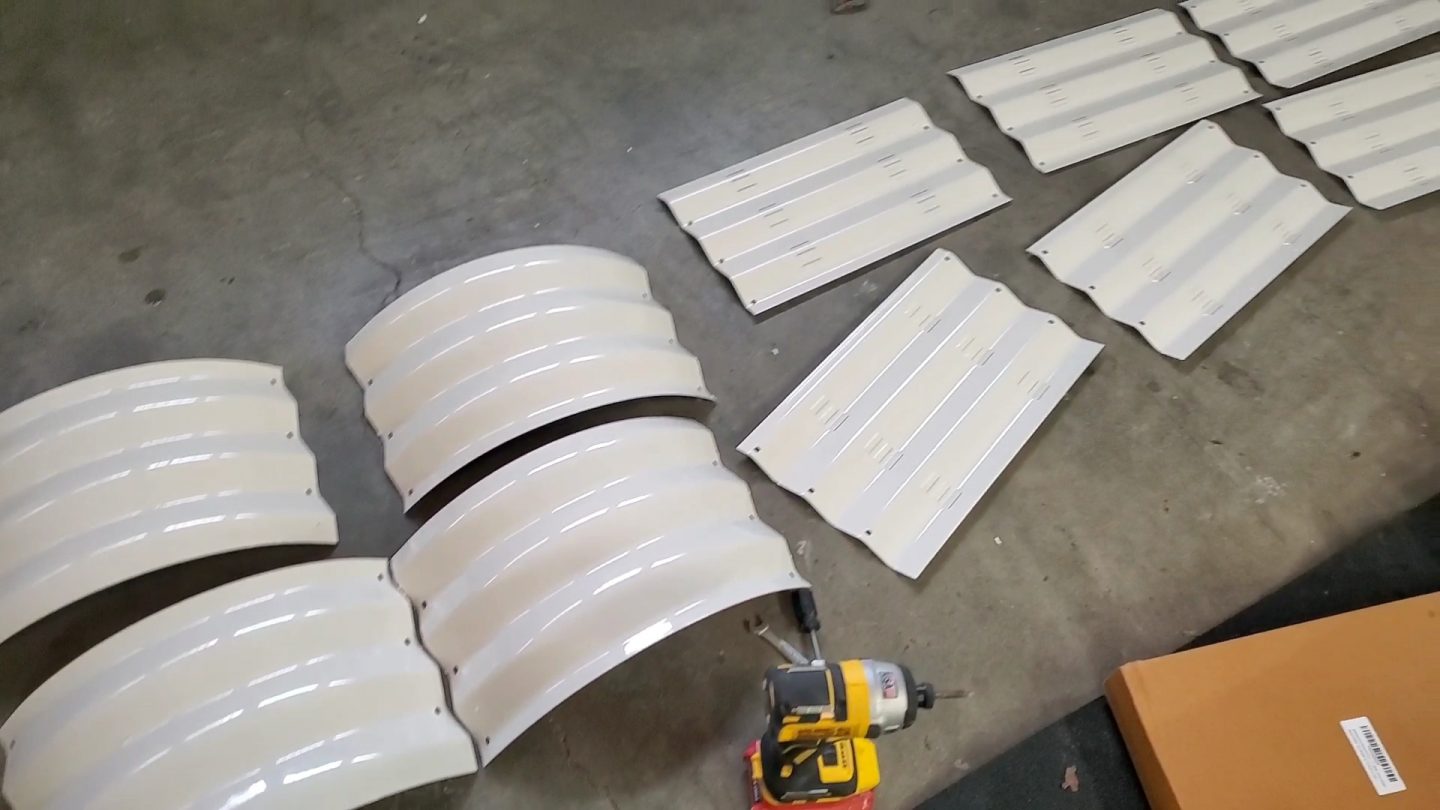
We built 12 raised beds for building a backyard homestead.
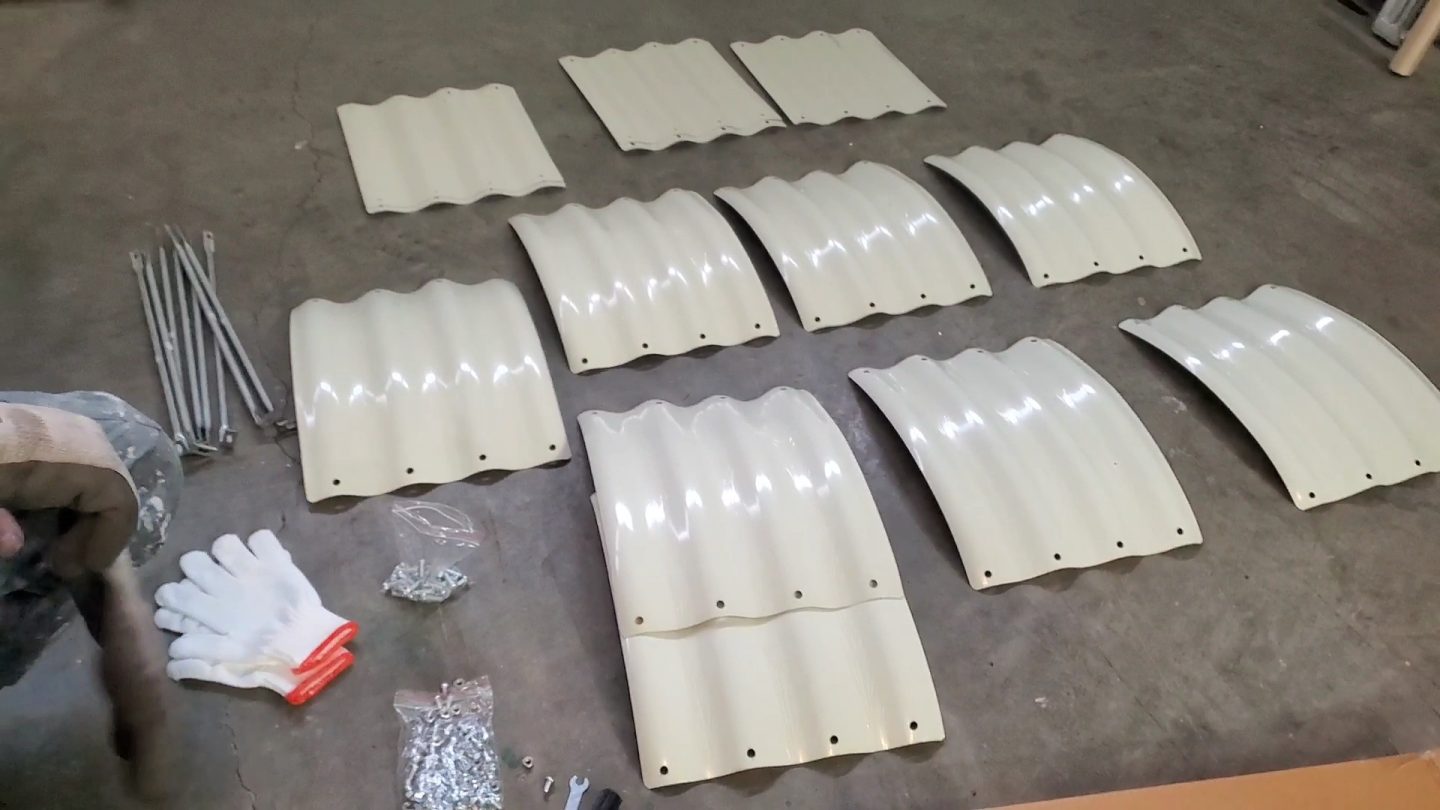
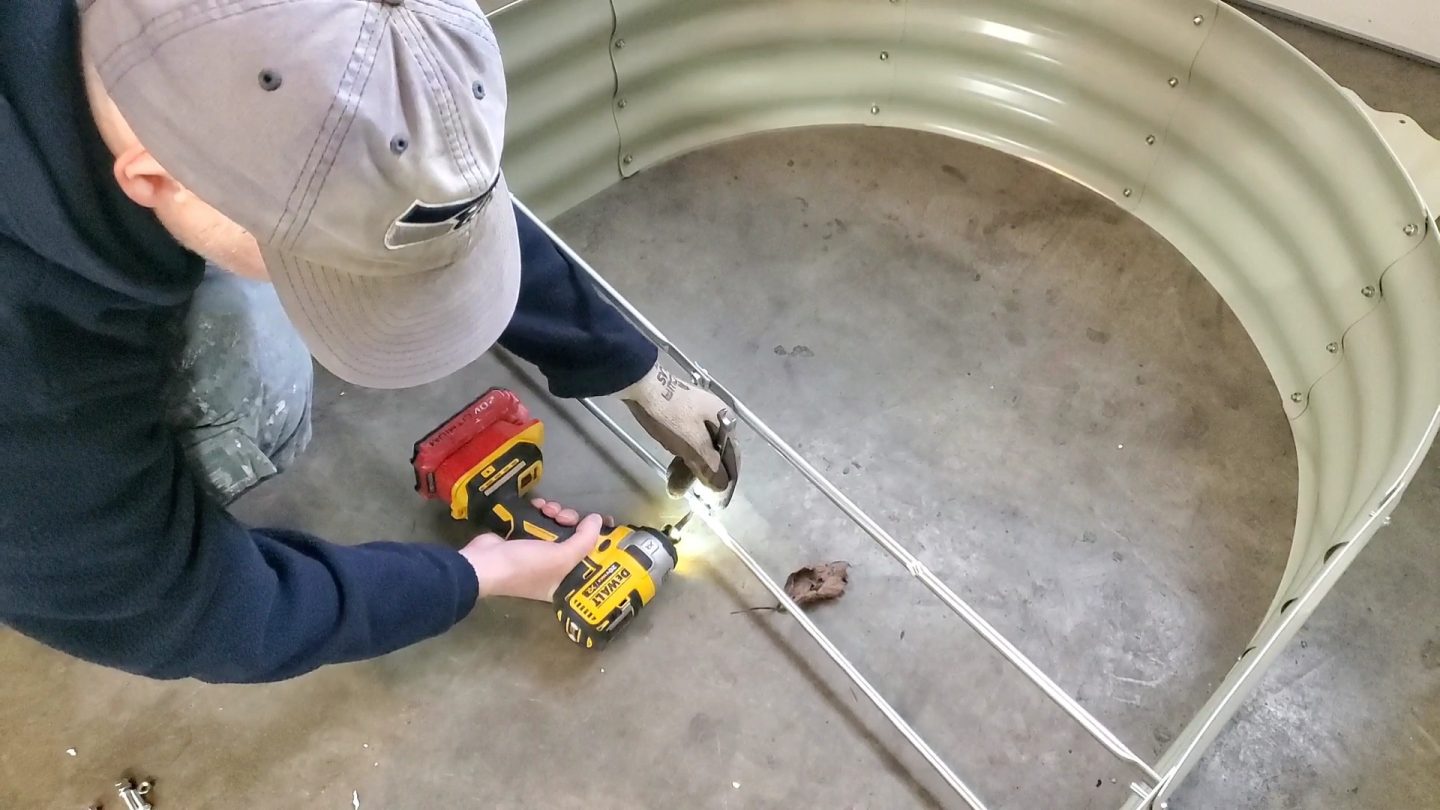
They come in small boxes and lots of pieces.
Assembling them was pretty easy since they provided the tools necessary.
Here is a video of my brother-in-law building some of the raised beds.
List of raised beds.
Note: Linking similar raised beds for the ones out of stock.
- 6 narrow raised beds (along the fence.)

- 2 large rounded raised beds – link to a cheaper garden bed in brown.
- 4 Rectangular raised beds.


Linking cheaper brown raised beds here.
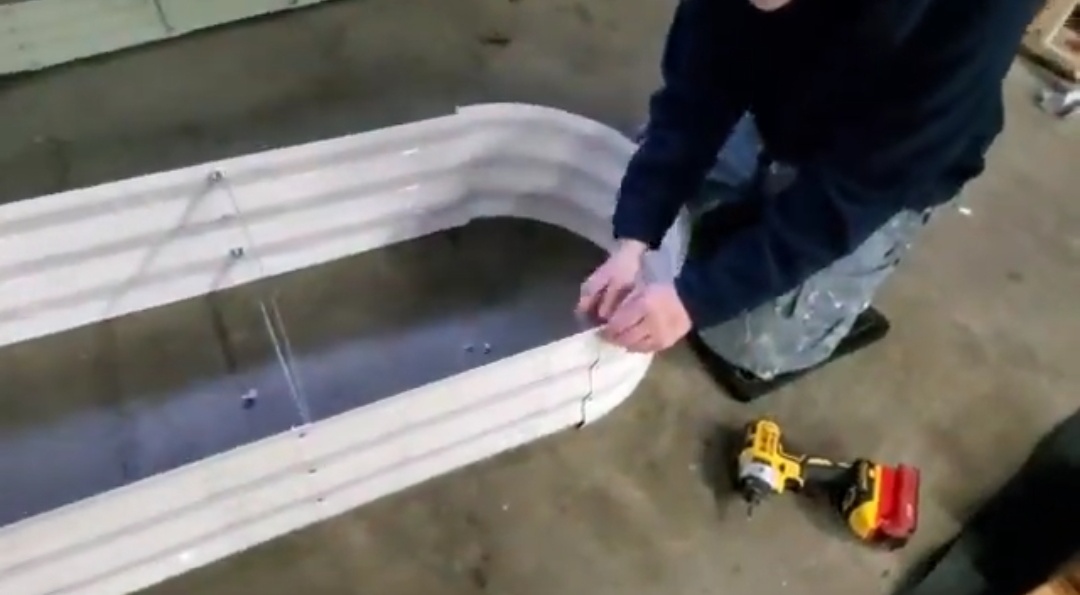
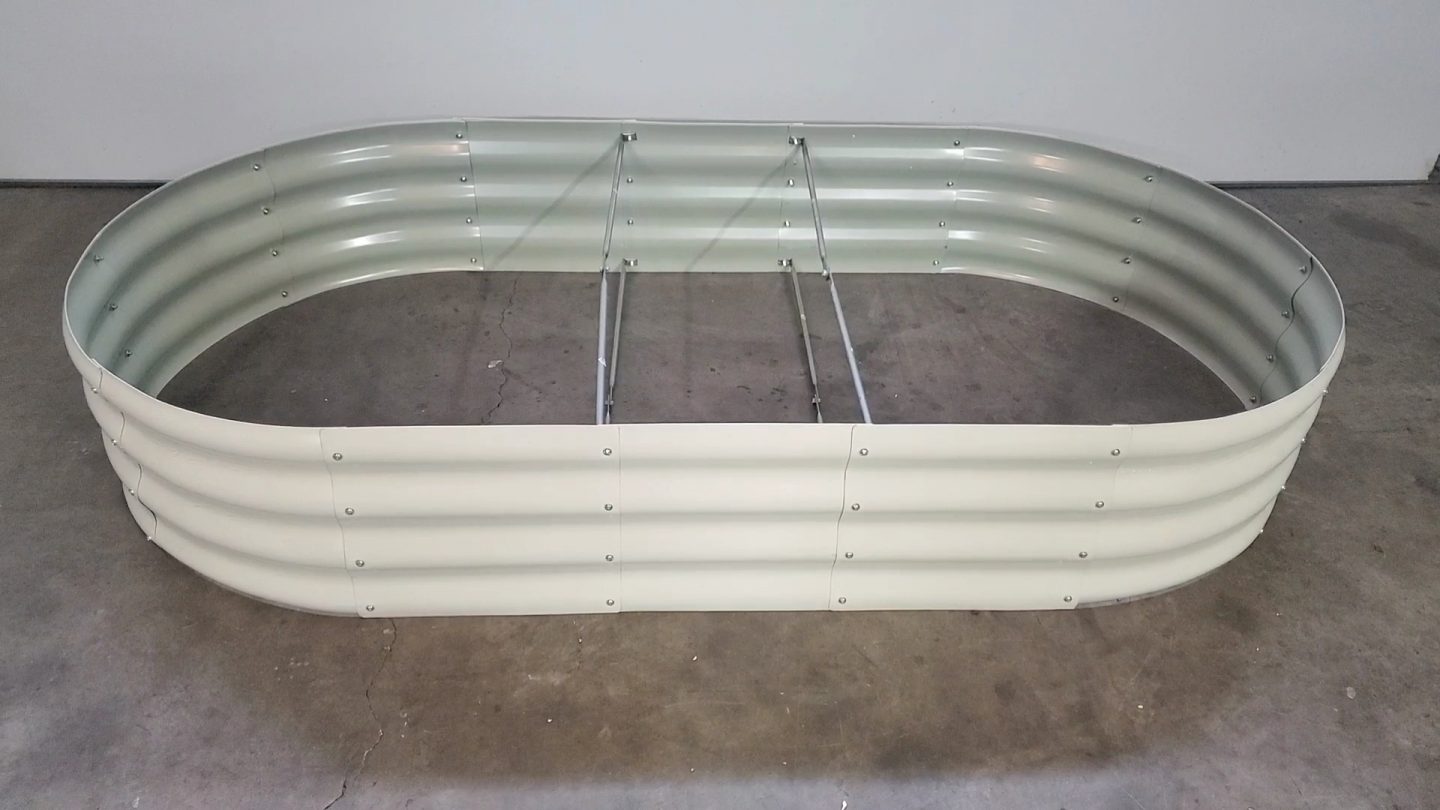
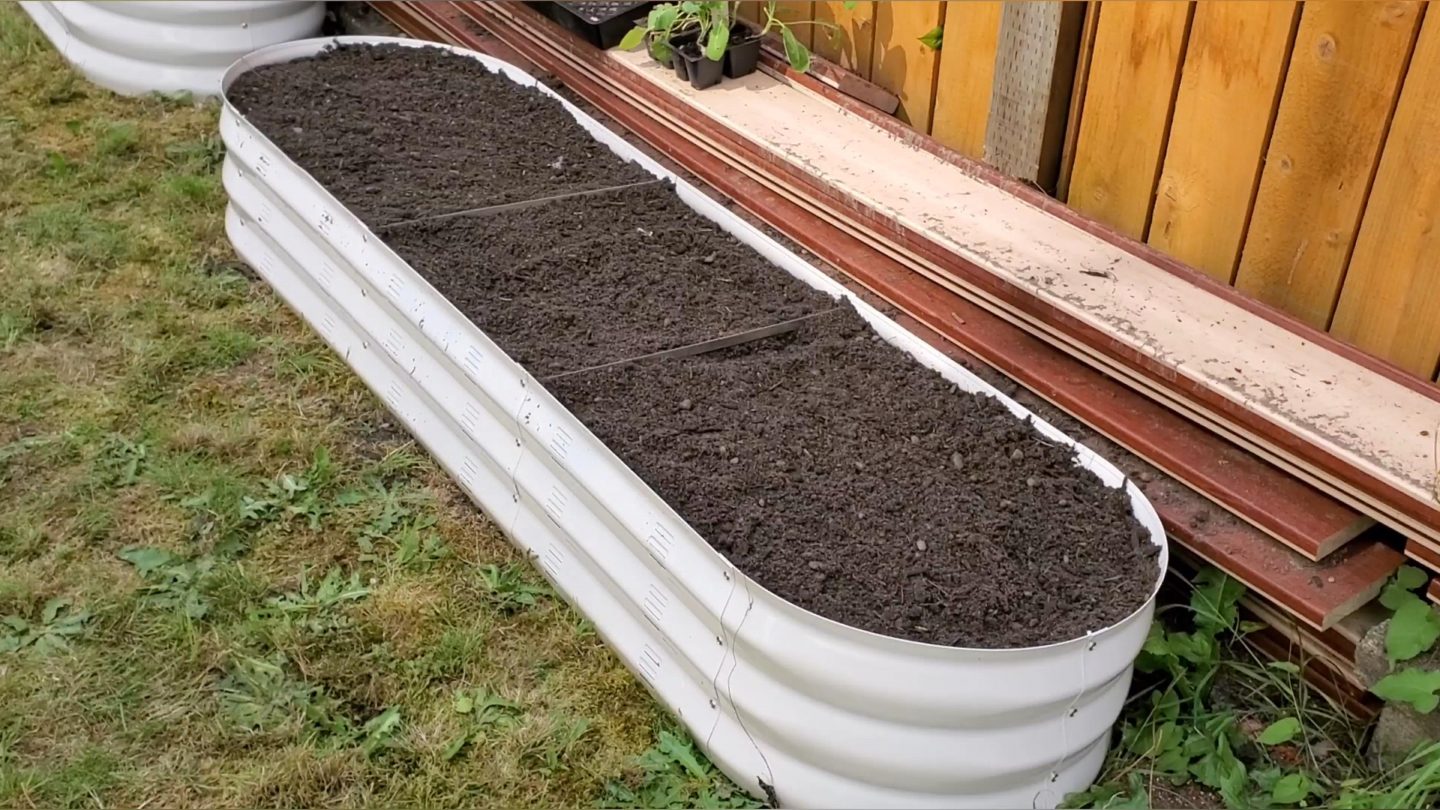
The raised beds above come in a set of two.
Included are some clips to connect the two to make it deeper, as seen in the photo below.
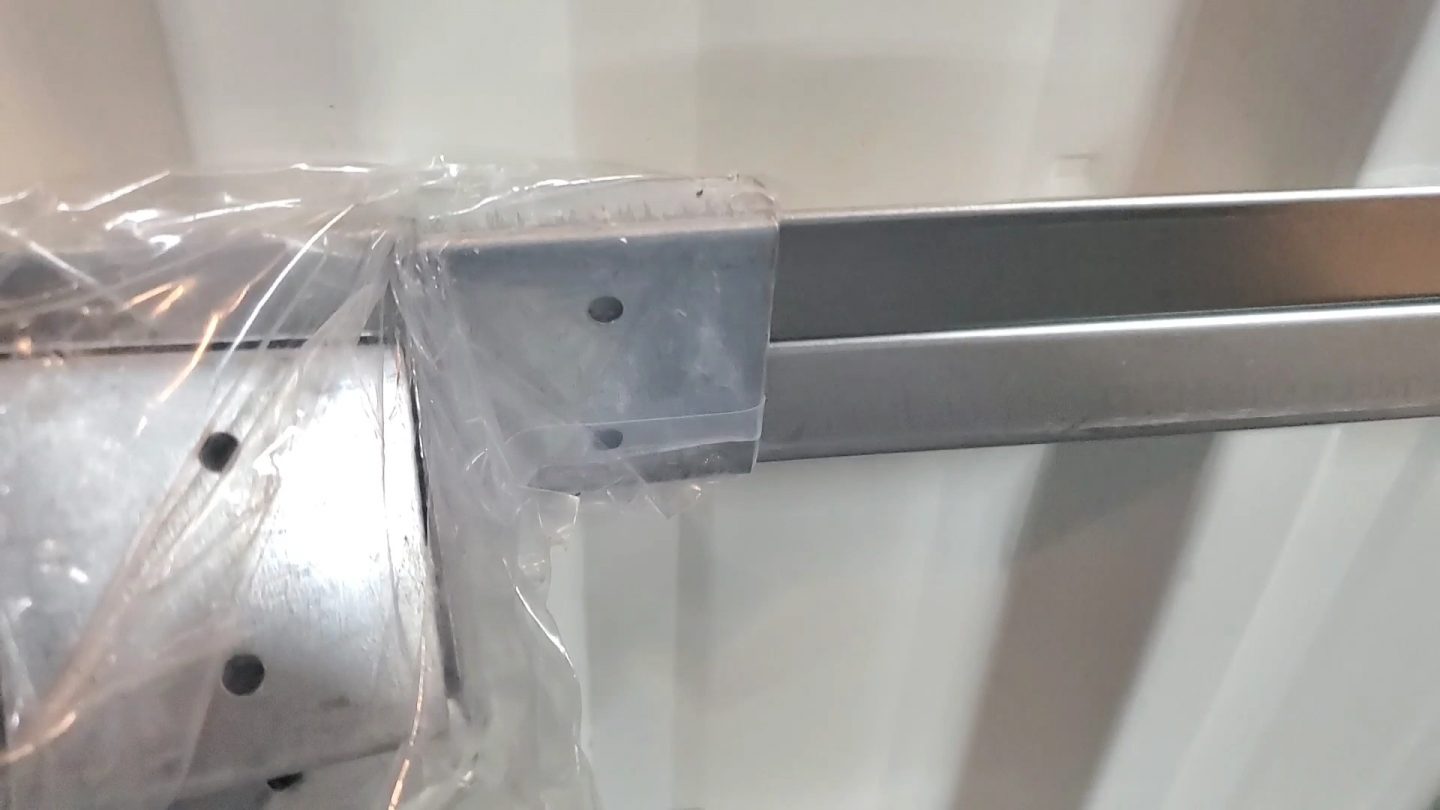
I thought that was a nice feature.
Now, the fun begins!
Place the raised beds where you want them.


Once you’ve established their location, it is time for the next step.
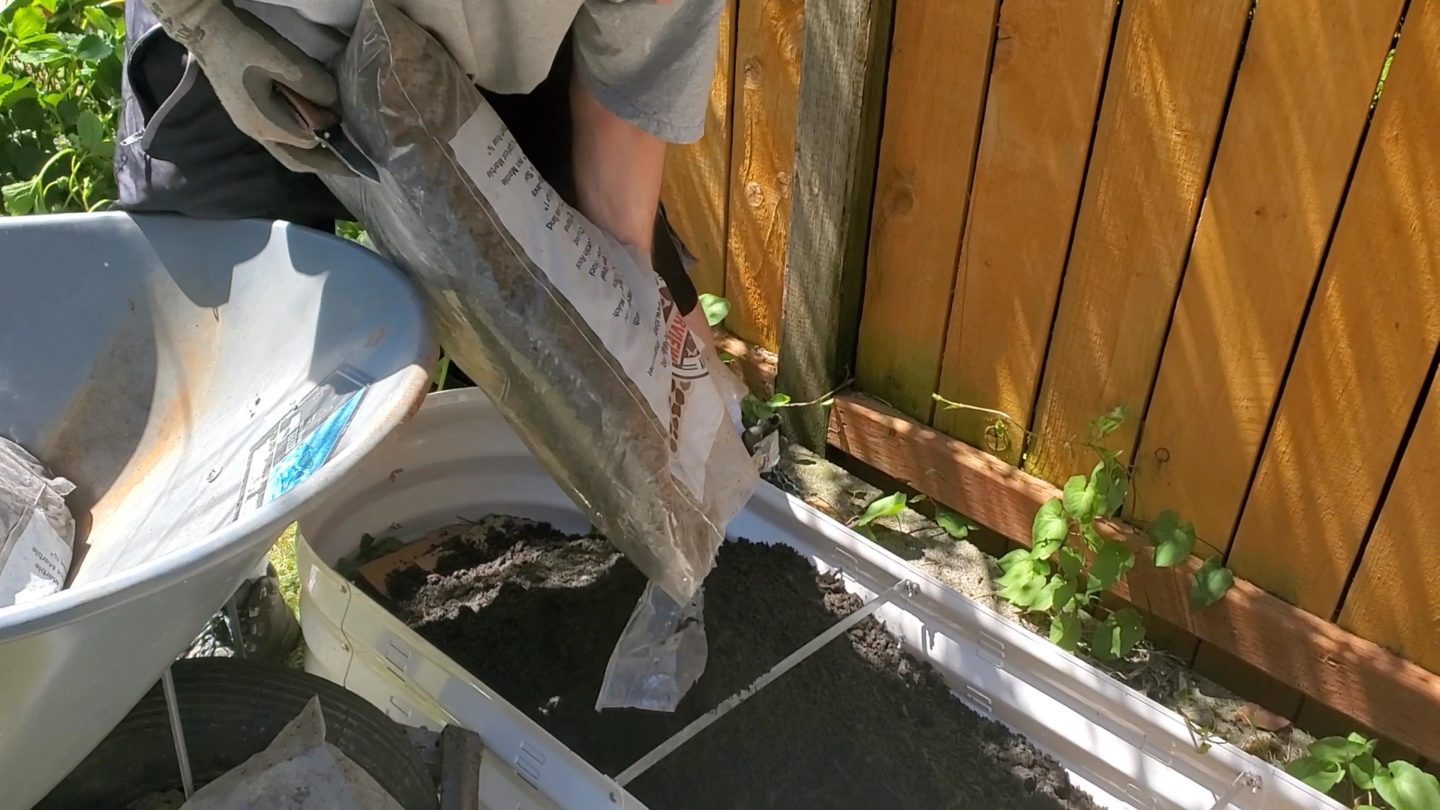
Step Four: Line the bottom with cardboard, then thoroughly soak with water.

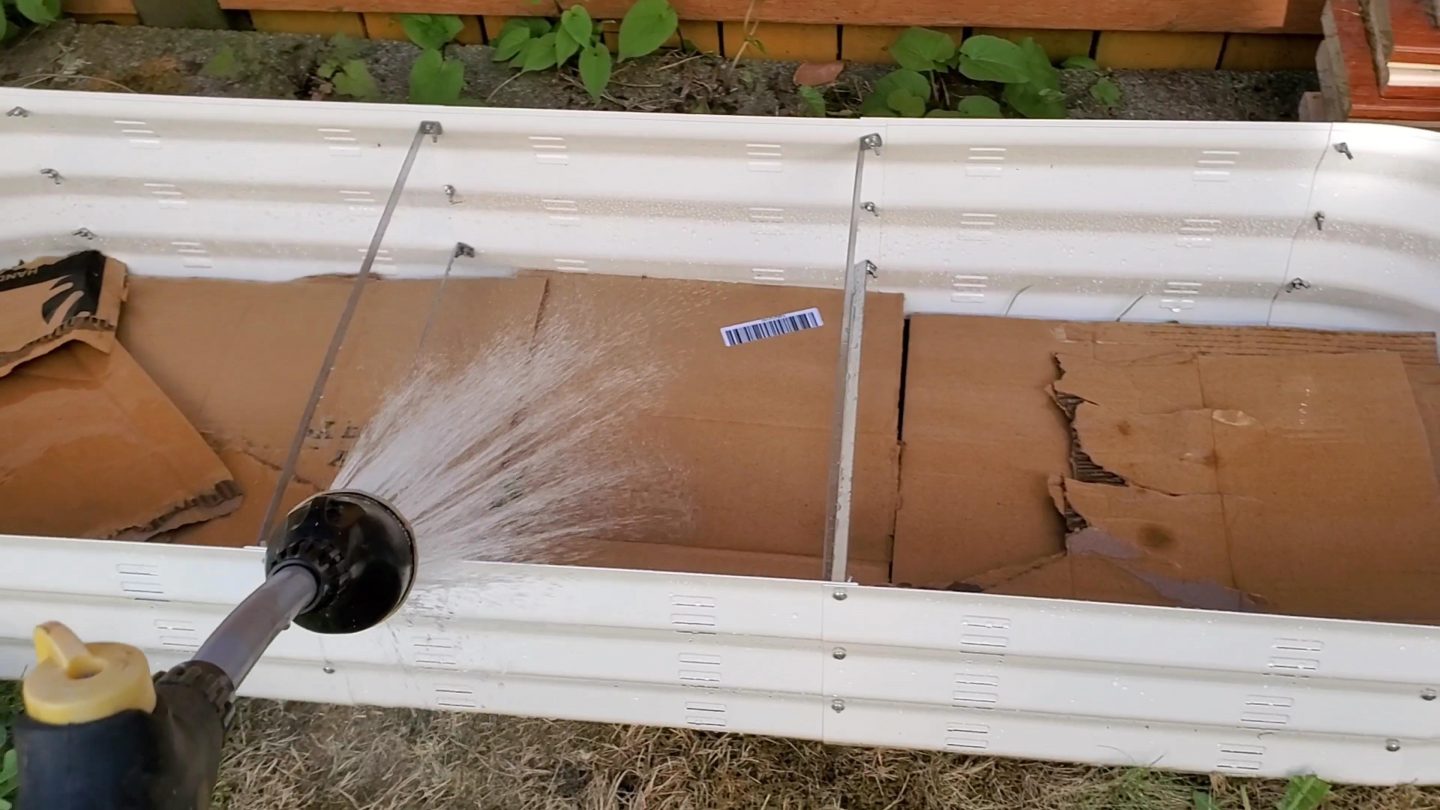
First, line the raised beds with cardboard to keep the weeds from growing through.
Overlap the cardboard so weeds won’t grow through any holes or gaps.
They are sneaky!
Then taking a hose, thoroughly drench the cardboard with water.
Do this for all of the raised beds.
Note: Only water when you’re ready to add soil.
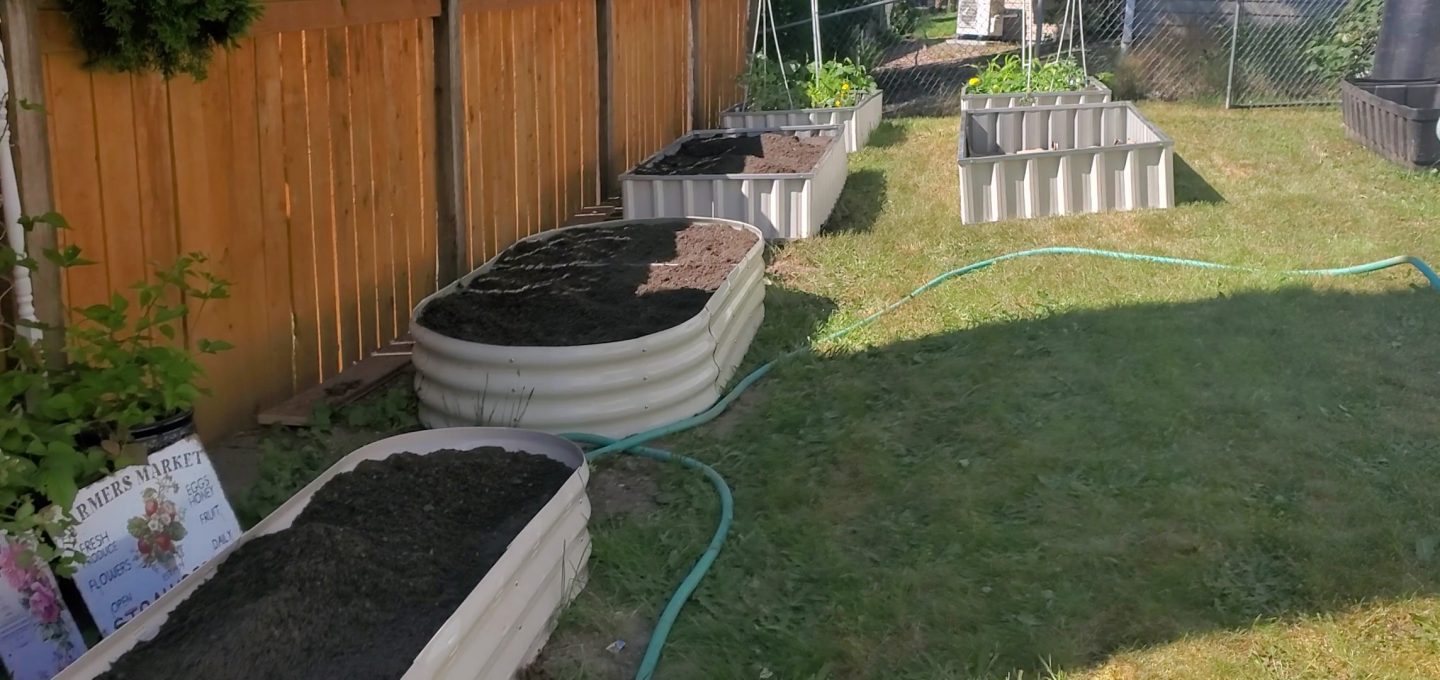
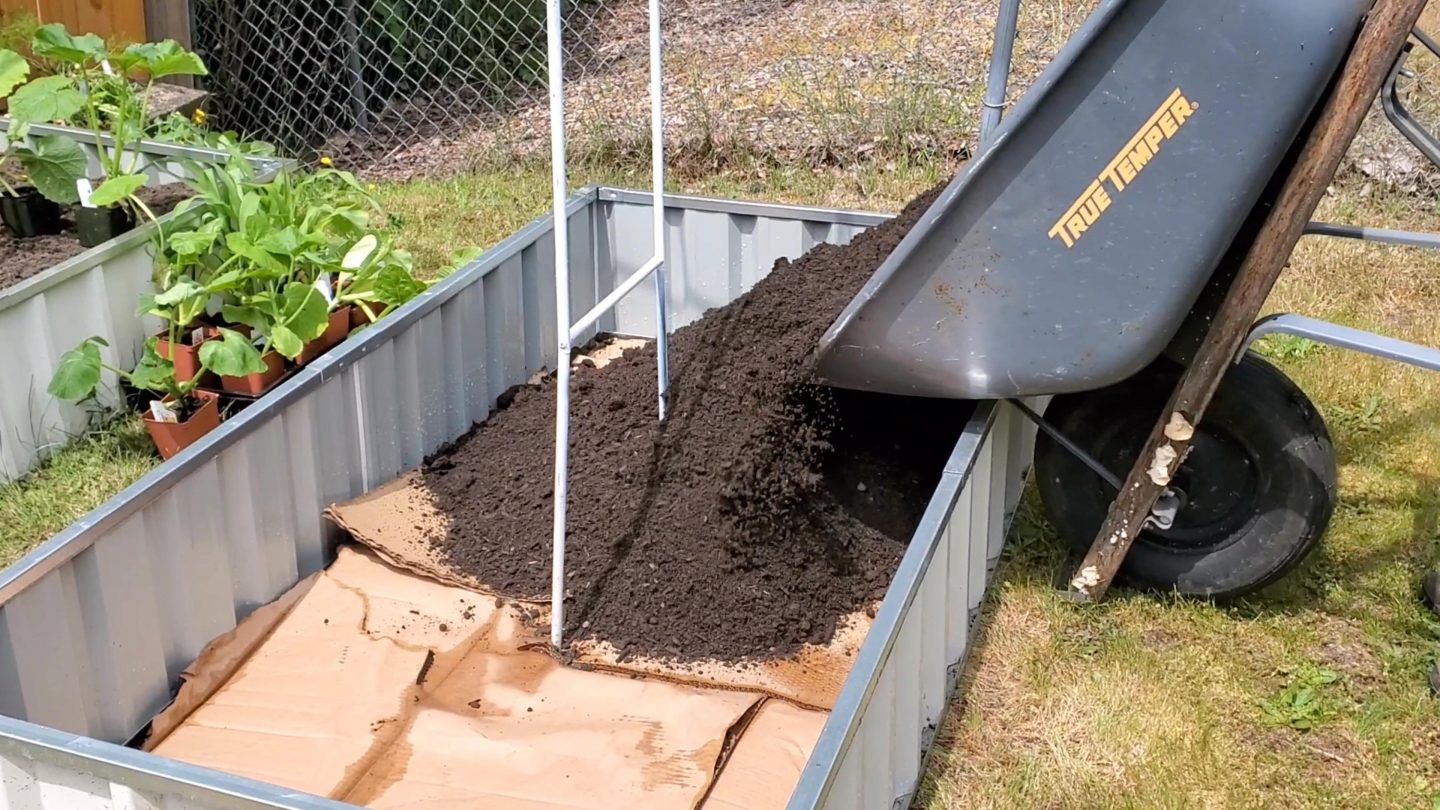
Step Five: Add Soil.

We started by getting bagged garden soil.
It was expensive.
The bags were $4.99 each.
To buy a yard of soil that filled up the back of a pickup was $30.00.

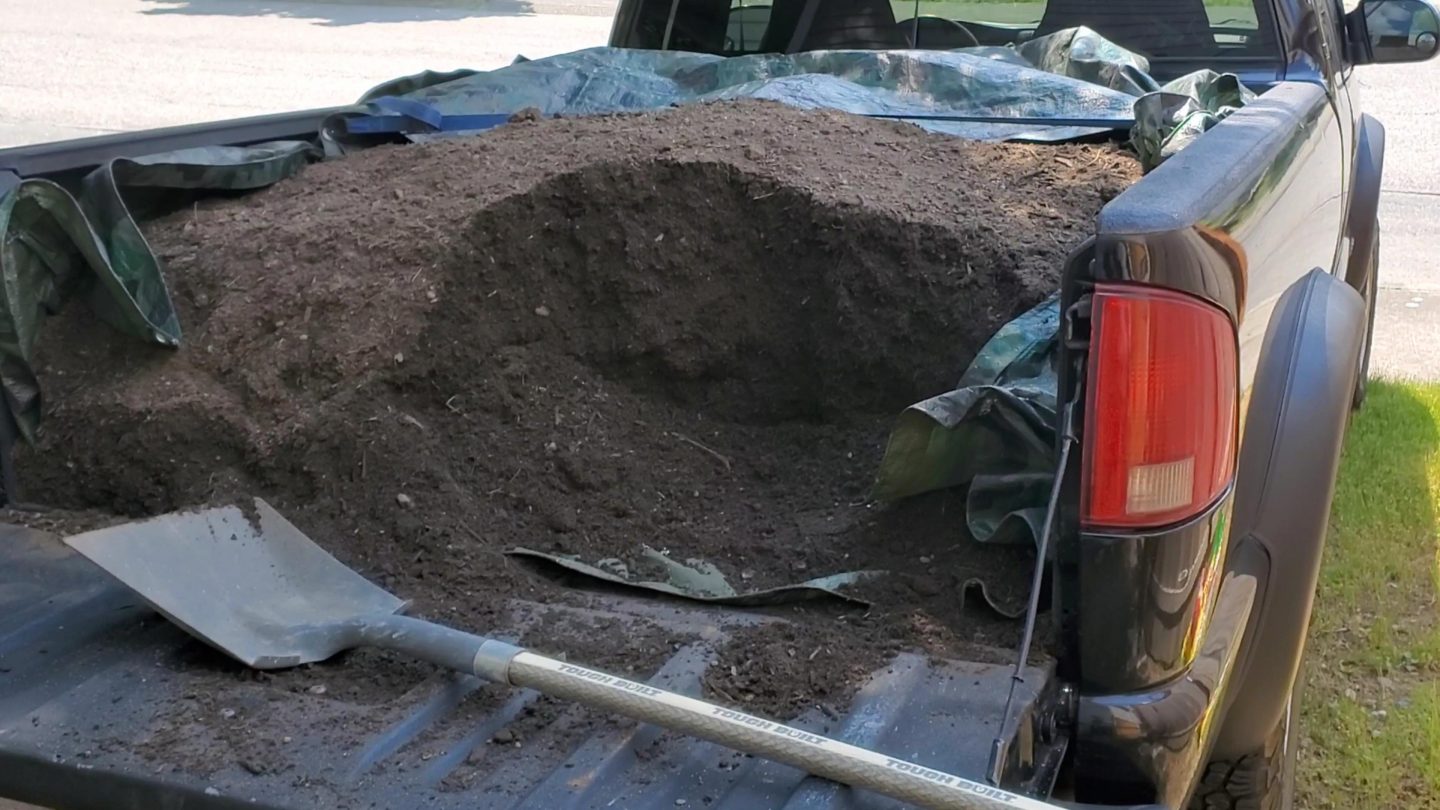
What a difference in price.
My first lesson in gardening.
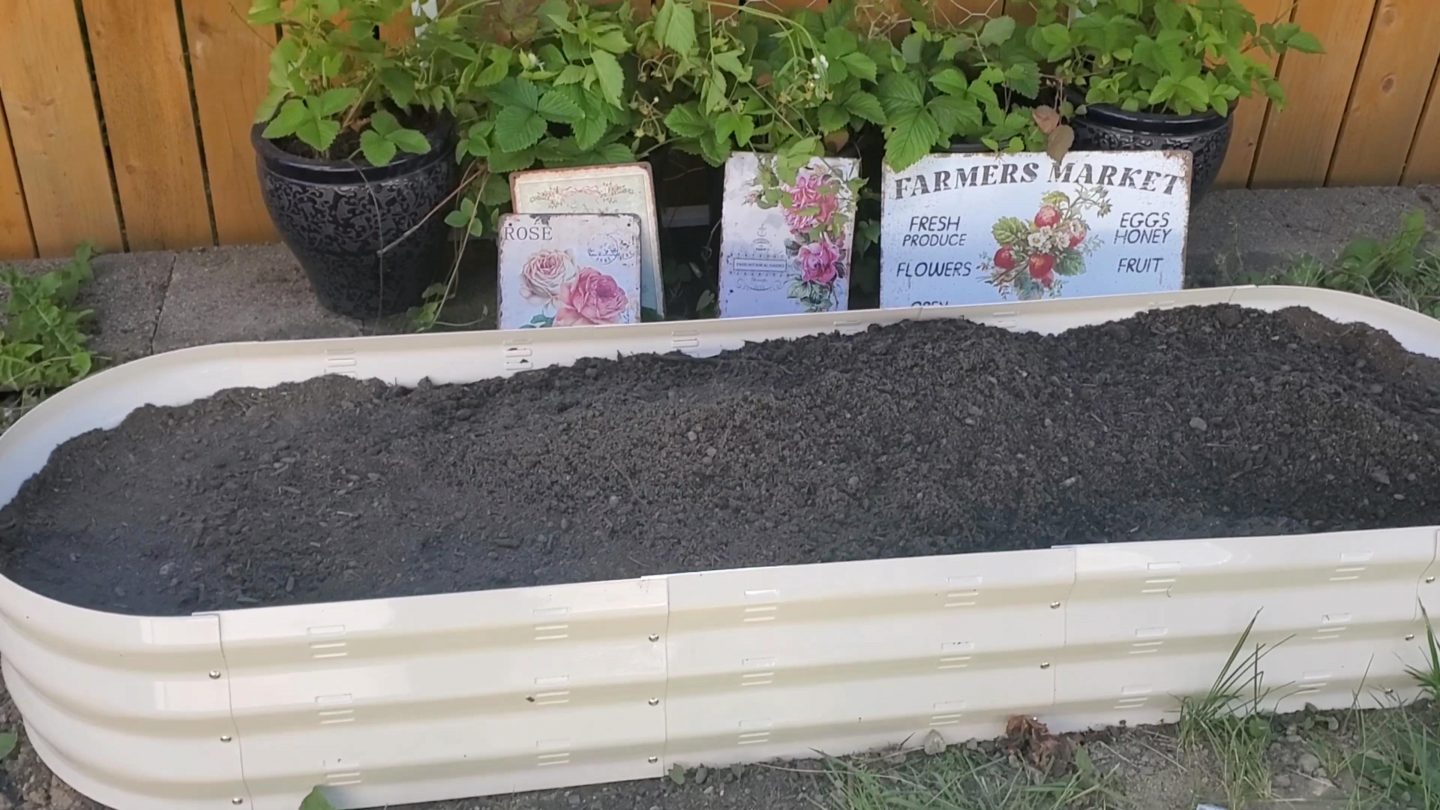
Fill the raised beds to the top.
Step Six: Figure out plant placement before planting.
There is a bit of research on which plants do well together.
I’m linking the plant companion chart & guide here for your convenience.
Once you figure out which ones you’d like to plant together, lay them inside the raised bed first.

This helped to organize a pattern to make them look beautiful together.
And surprisingly, how many plants can fit together?
Once I started putting the plants in the soil, there was more room than I thought.
Our goal has been to plant as many plants as possible to last through the winter, and cramming those garden beds with plants is exciting!
Step Seven: Plant

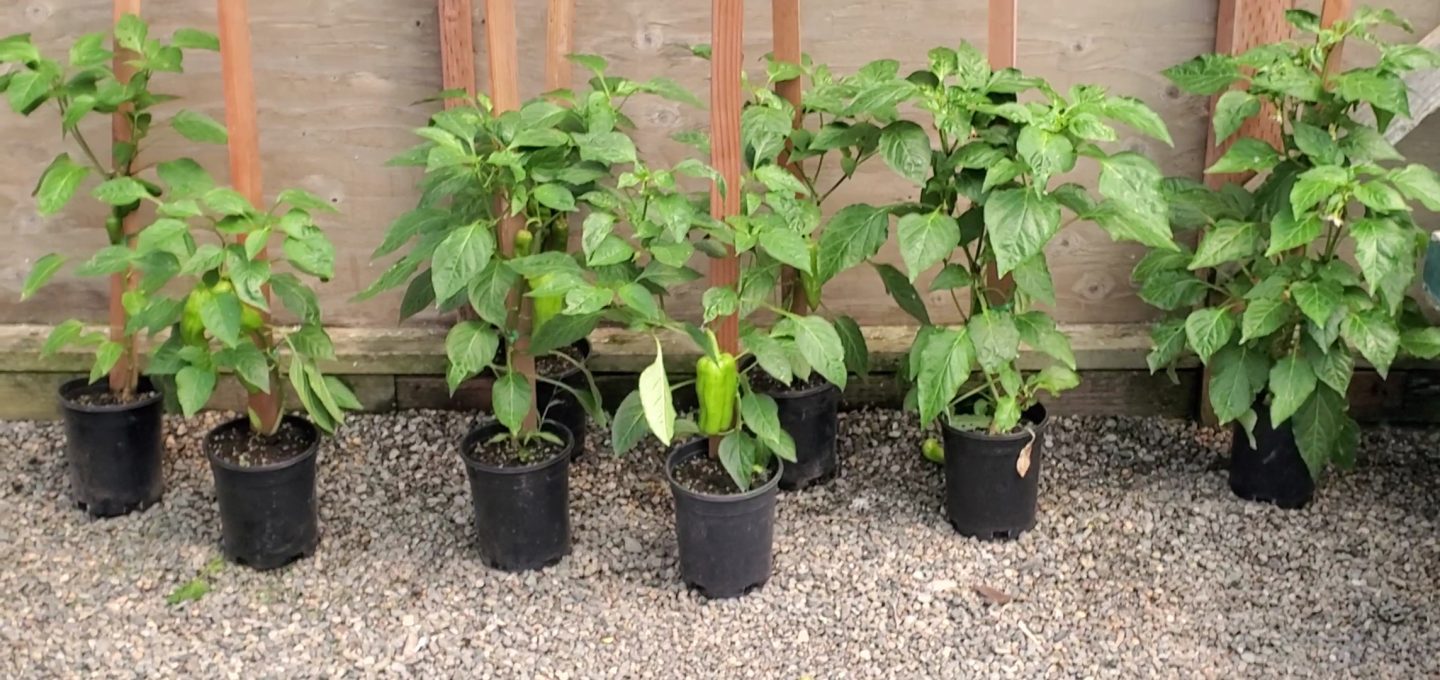
We had these plants inside our greenhouse for several months, waiting for this day! Here is a video of the plants in the greenhouse here.
Now let me take you through how I planted these fruit and vegetable plants.
Take each of the plants and place them in the soil.
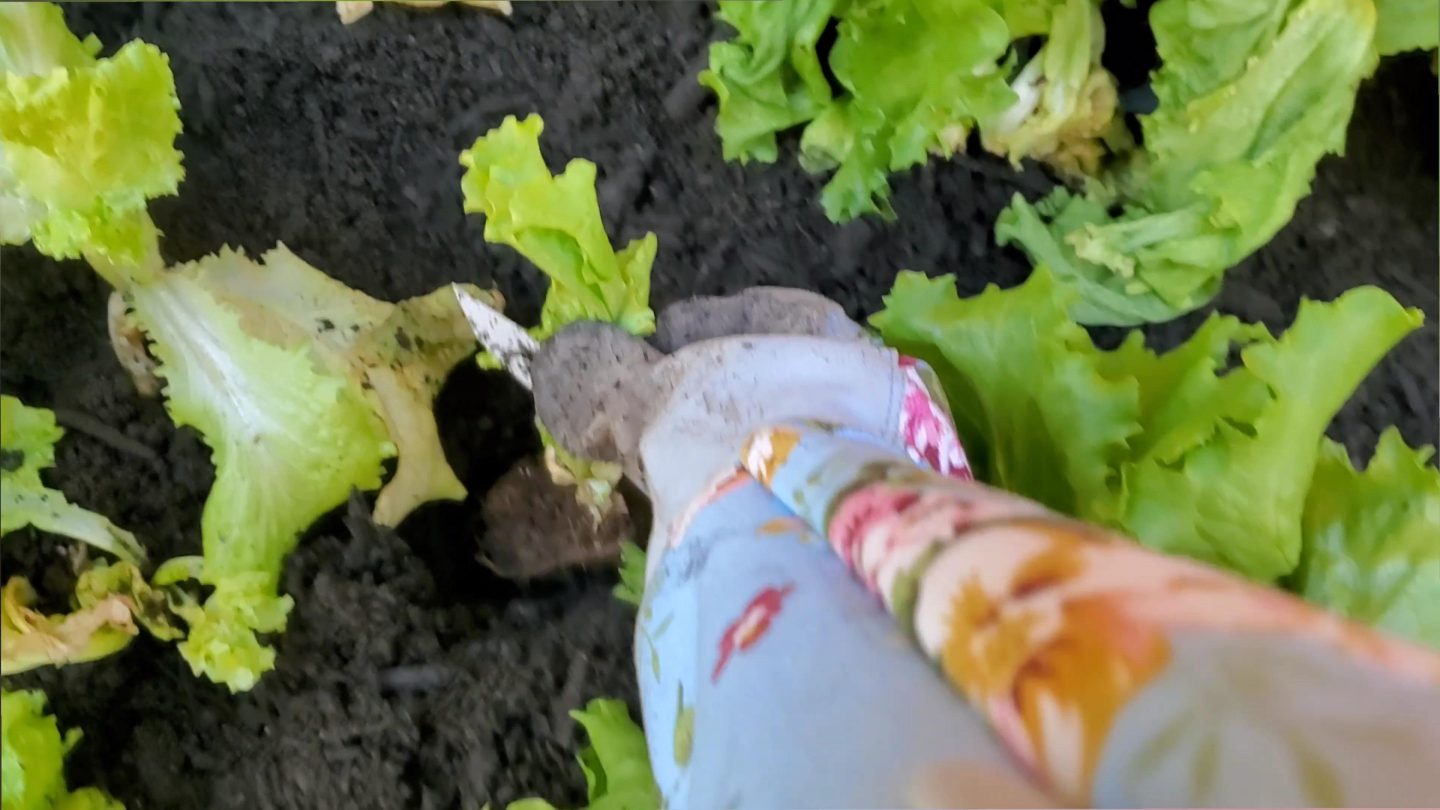
Dig into the dirt deep enough so the roots fit inside the hole.
Once placed into the hole, cover the roots with the soil.
Pat the soil down, making sure it is fully covered.
You don’t want any of the roots showing.
If this happens, add more soil to cover the roots.
Or pull out the plant and dig a deeper hole.
It takes practice, but it is pretty easy.
If this city girl can do it, then anyone can.
Once the plants are placed into the soil, you will need to water them.
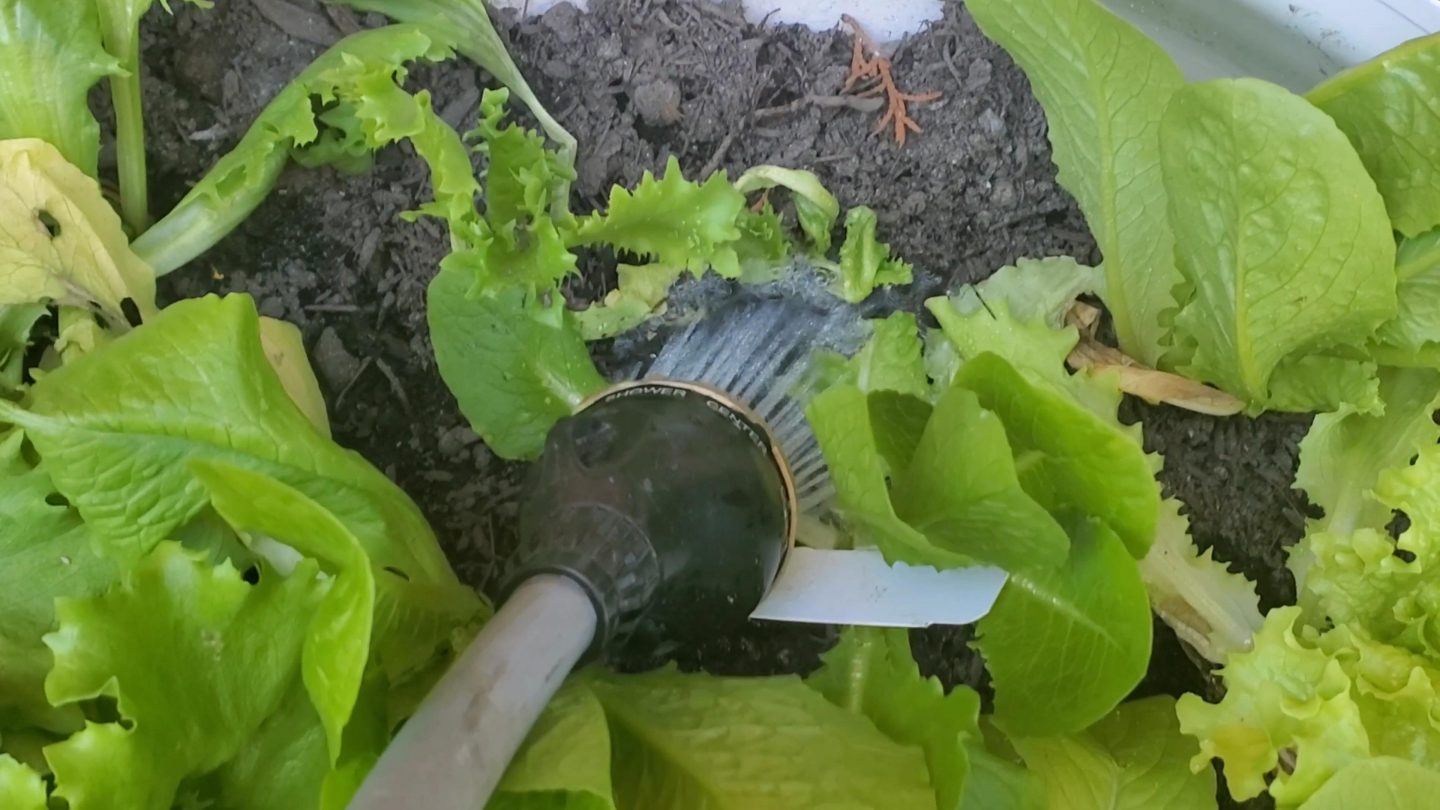
Don’t miss this step.
I did and had some sad plants the next day.
But I watered them, and they came back to life.
That was a quick run-through of how to build a backyard homestead.
Where to source fruit & vegetable plants for your backyard homestead.


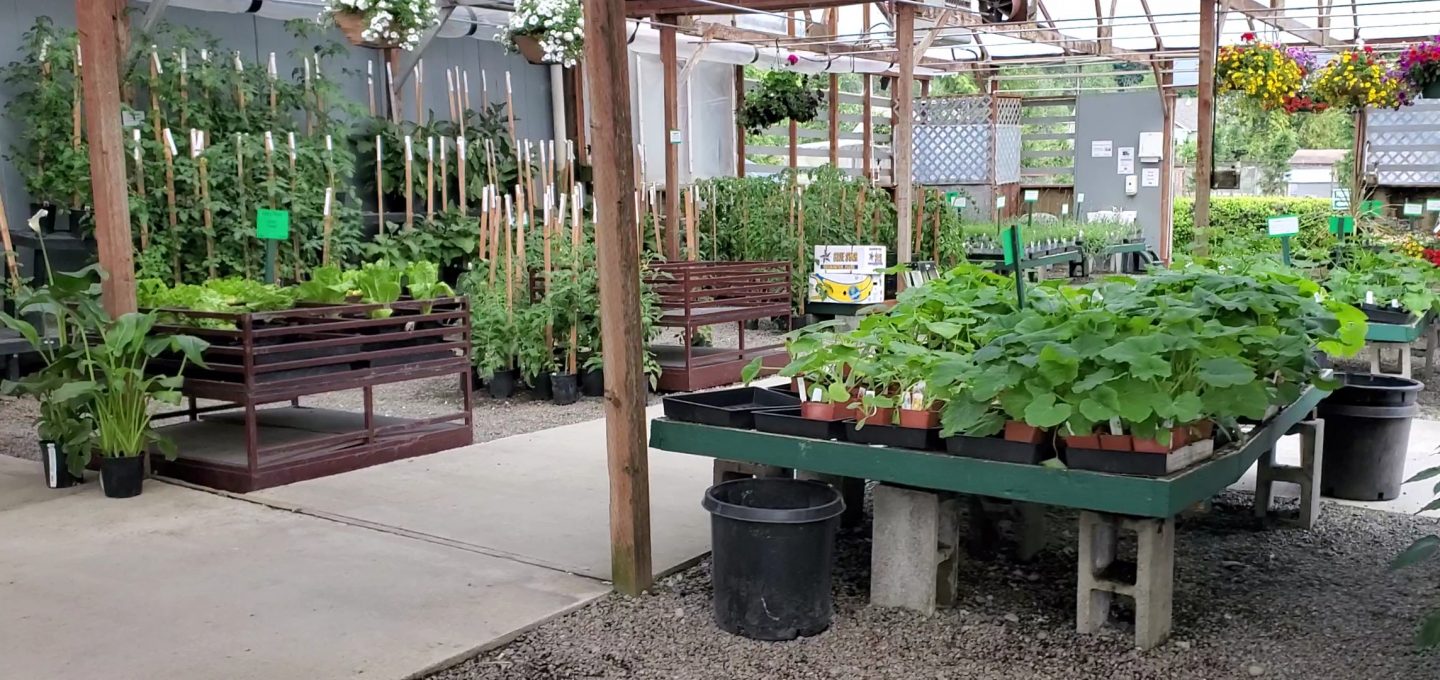
Find a local farm in your area.
If possible, find a farm that doesn’t use chemicals on their plants.
I asked the farm owner, and he said they use organic practices without the label “Organic.”
That was a must for our family because our health is so important.
And yours is, too.
The other factor was pricing.
This farm had reasonable prices that allowed us to fill up our raised beds with abundant plant starters.
Being new gardeners, we didn’t plant our seeds in time.
Another lesson learned.
It’s my mission next fall to start planting seeds early.
Want to see what our backyard homestead looks like now?


We are a month into having most of our plants established in the raised beds.
Some of them are taking their time.
We are adding some steer manure compost.
Here’s a link to the manure at Ace Hardware.
I know it sounds gross.
But I want to try it to see how it works.
It’s been done for generations and has done wonders.
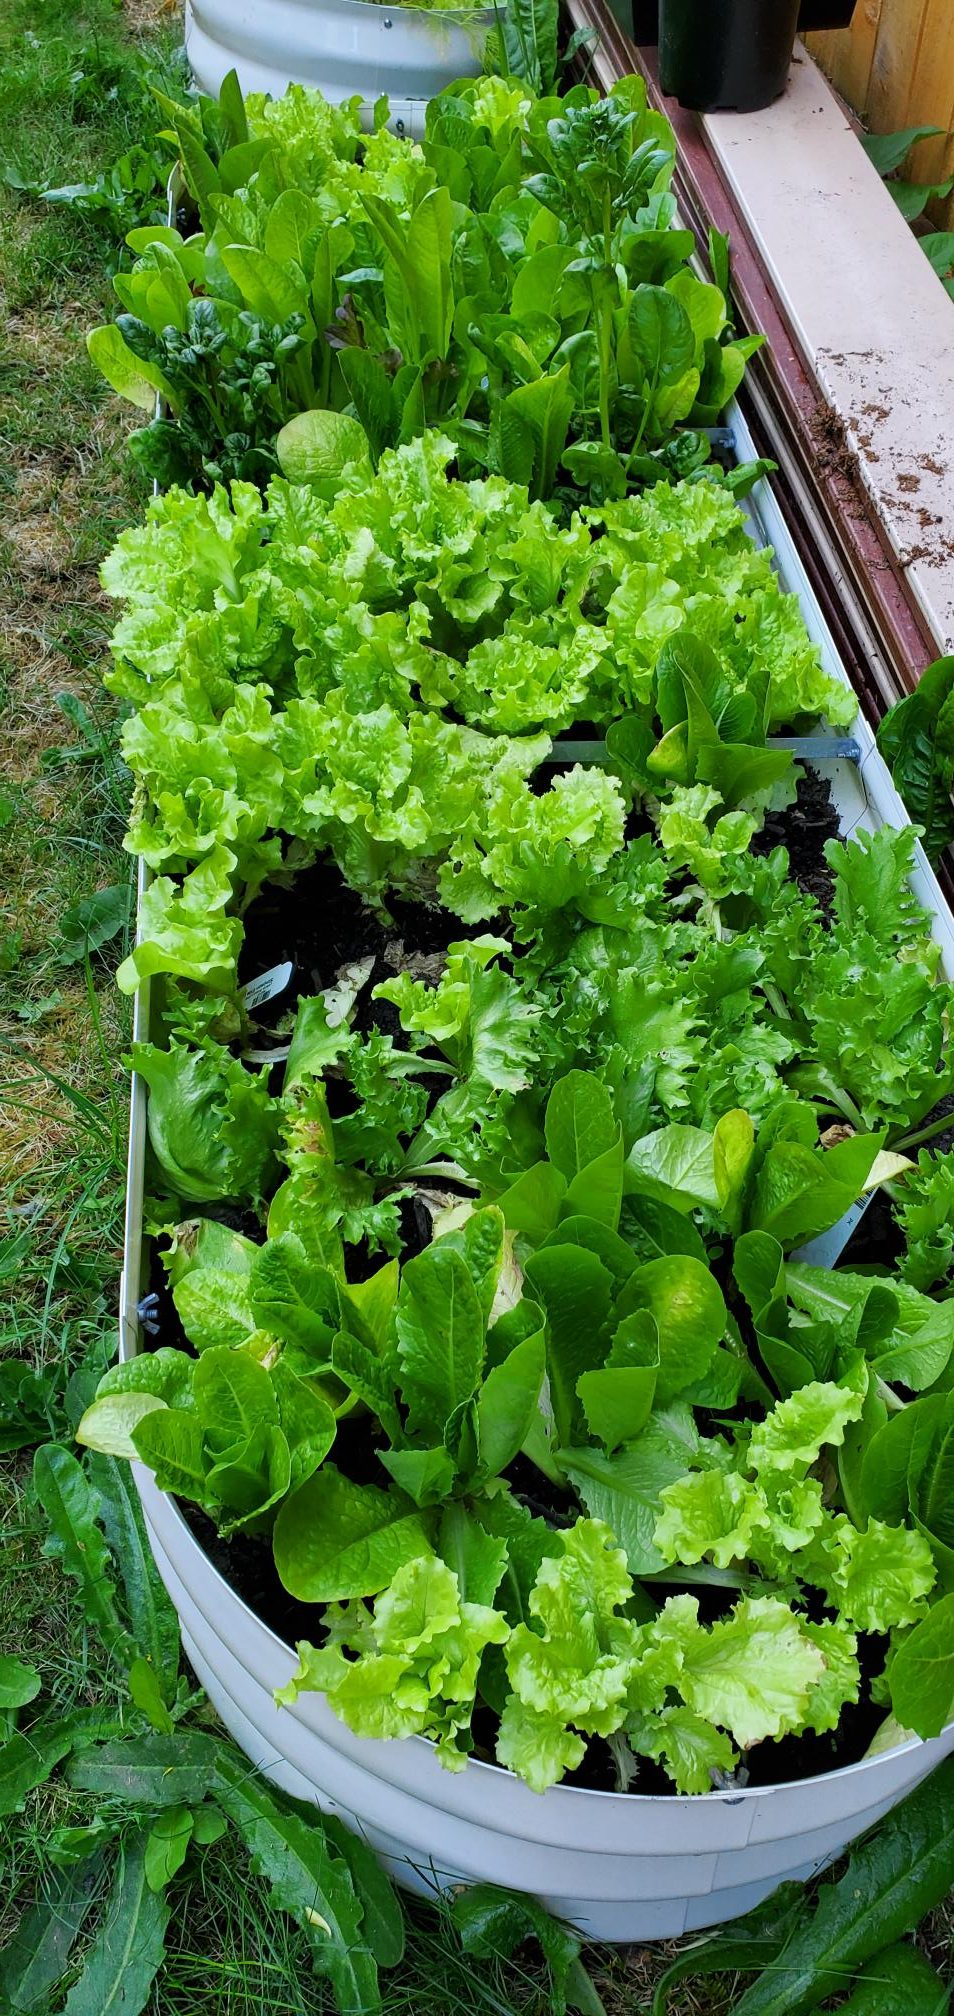
Look at all of these greens!

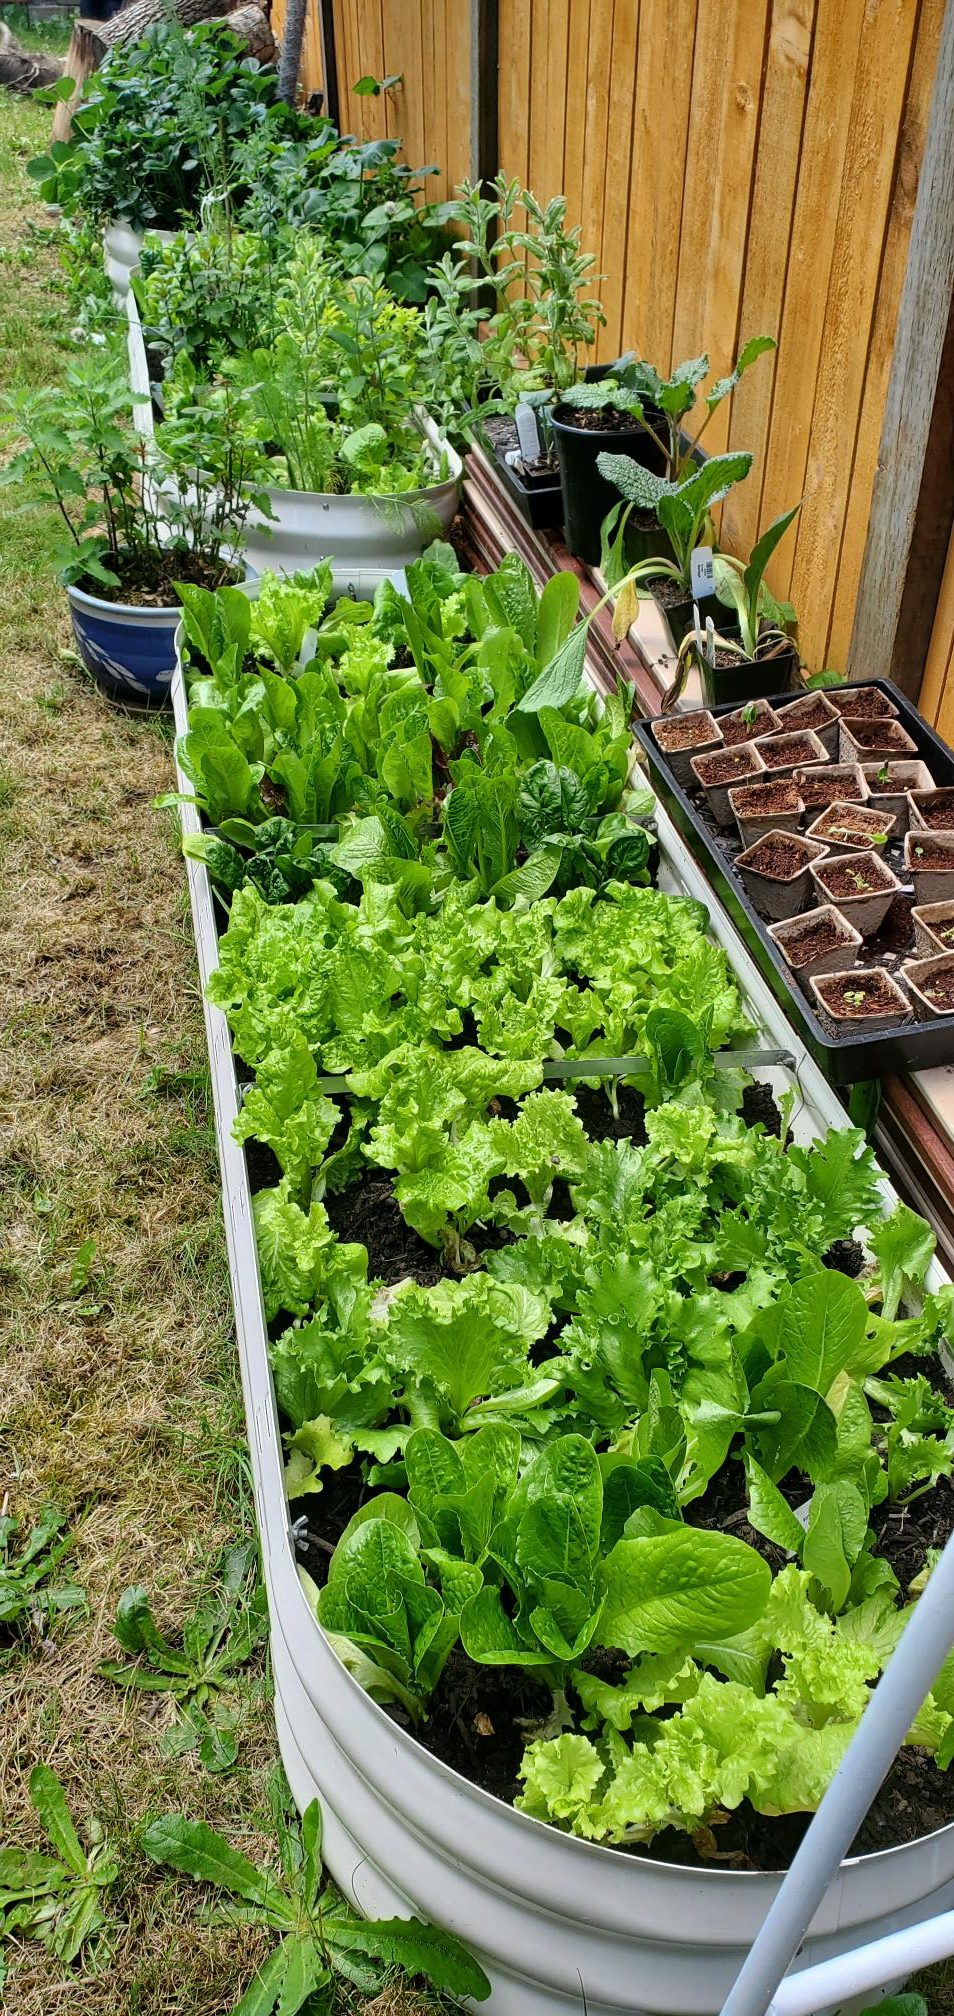
I love coming outside to pick fresh fruits and vegetables for lunch and dinner.
Our family is growing to love this way of living.
It’s only the beginning.
But we are excited to have our little backyard homestead in the city.


I hope these quick steps to building a backyard homestead show that you can do it, too.
For more backyard homestead inspiration, go here.