Simple Christmas Wreath Made With Dictionary Pages
Today, I’m sharing a step-by-step tutorial on how to make a Christmas wreath with dictionary pages.
It’s super easy!
There is nothing more nostalgic than old dictionary pages.
Over the years, I’ve seen extraordinary Christmas ornaments, garlands, and other masterpieces made with dictionary pages when shopping at antique stores and boutiques.
They had the old vintage vibe I love.
But the price tag was expensive!!
My mind rolled over ways I could get the look for less.
And after some thought, this Christmas wreath made with dictionary pages was born.
And I love how it turned out!
The smell of antique pages in a book is like being transported into the past.
Do you feel that same way?
Well, this Christmas wreath will be the perfect addition to add to vintage Christmas decor.
It is gorgeous!
On one of my thrift store trips, I came across a huge dictionary for $3.99.
Here’s the video of my thrift store haul where I found this amazing dictionary.
It was an amazing find!
All kinds of ideas came to my mind on ways to use dictionary pages.
Like this tutorial on how to make a Christmas Gingerbread Garland.
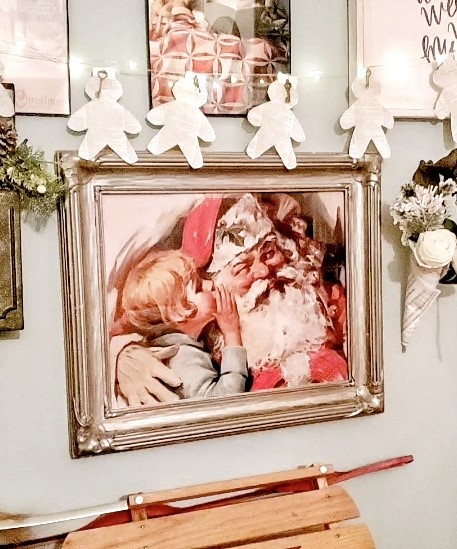
And this beautiful paper rose.
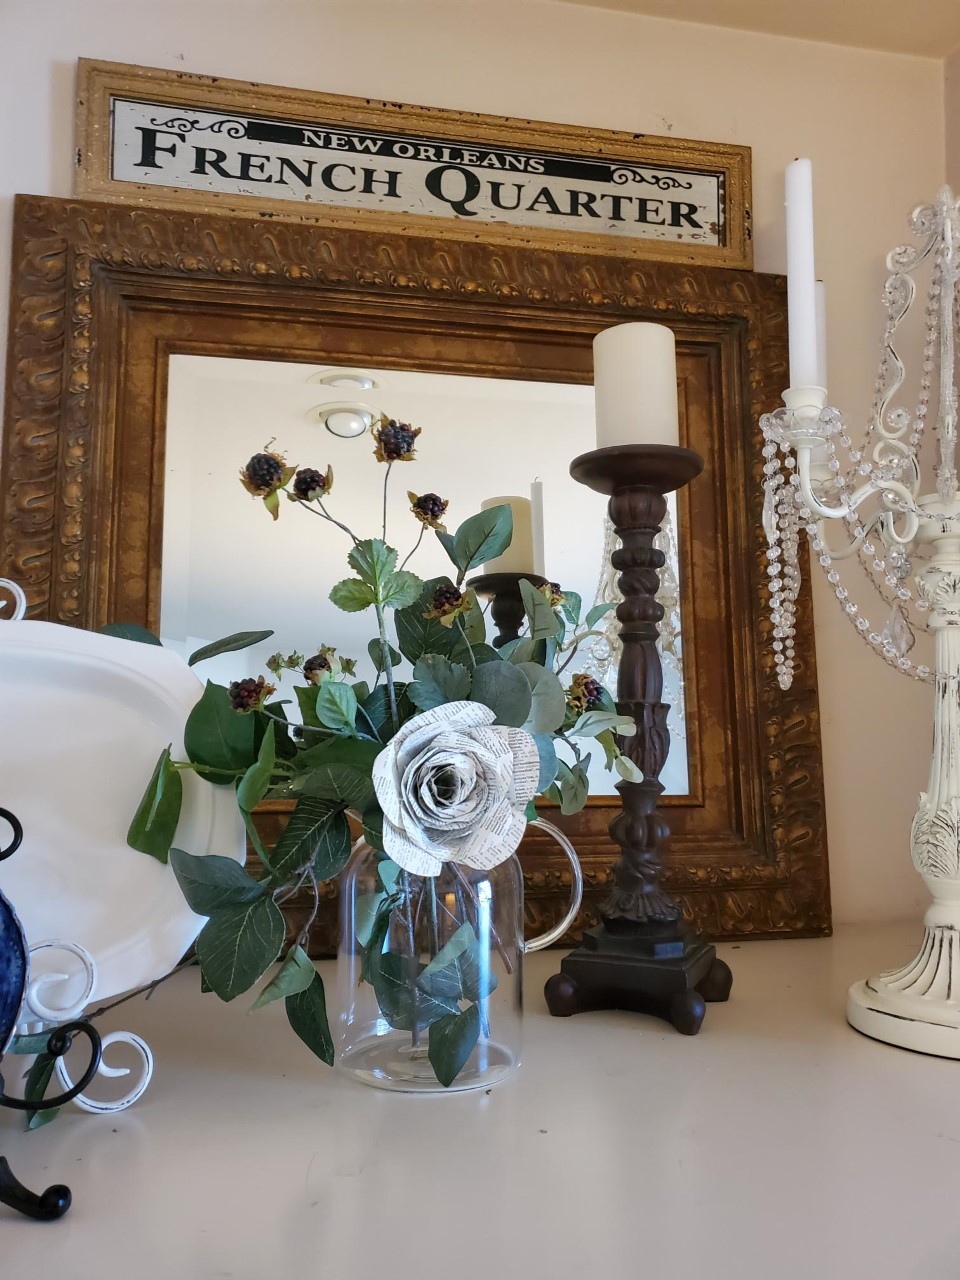
Here is the step-by-step DIY that is, to this day, one of my favorite DIYs.
It’s beautiful!
Now, let’s get started on this Christmas wreath made with dictionary pages!
What you will need:
- 50 or more dictionary pages.

- 6-inch square cardboard.

- Packing tape. (Photos are links.)

- Scissors

- Christmas card stock

- Wood buttons.

- 16×20 card stock for the base.
You can get this at the dollar store or cut an Amazon box to use as the base—just some ideas.
Note: It takes 1 hour to make this wreath.
Instructions on how to make the Christmas wreath.
Step 1: Cut the cardboard circle.

Cut the edges of the 6×6 cardboard square into a circle.
It doesn’t have to be perfectly round.
You can eyeball it.
If you want a more rounded circle, use a mug or bowl, outline it with a pen, and then cut it into a circle.
The circle will be approximately 6″ across once cut.
This is what you want it to look like.

Mine is not perfectly round.
And that’s ok cause it’s not noticeable once you put on the buttons in step 12.
Step 2: Outline the hole for the center of the wreath.

Take a marker or pen and outline the cardboard circle onto the 16×20 card stock paper.
This will make a hole in the center of the wreath.
Step 3: Cut out the hole in the wreath.

Cut out the middle, leaving a half-inch space, for putting the cutout circle onto.
I took my scissors and gouged the middle to start a hole for cutting.
Using the scissors, I cut the circle.
If you’d like a visual tutorial, here is the video showing all the steps mentioned in this post.
Step 4: Cut the outer circle of the wreath.

Cut out a circle to make the wreath base.
It is a 6-inch circumference.
It will measure approximately 30 inches across the entire round base.
This is what you want it to look like.

Not a perfect circle.
It won’t be seen in the front, so it isn’t necessary to have it perfectly round.
Step 5: Score and cut pages of the dictionary.

Cut out pages from the dictionary.
I took the scissors and, pushing down, scored the pages at the inner seam of the dictionary from top to bottom.
Sometimes, it would slice 3 to 4 pages at a time, depending on how hard I pressed the scissors down into the pages.
Remove the sliced page and place it on the side.
You will need approximately 50 pages.
Go ahead and cut more pages, just in case.
Every DIY project can come out differently, so it is nice to have the extra pages.
Step 6: Make a cone.

Taking one of the pages from the dictionary, roll it into a cone.
You take a corner and roll it to the center.
The bottom should be narrow, and the top should fan out with a tip.
See the photo below.

Secure the corner with a piece of packing tape.
Note: I’m using packing tape for this project for two reasons.
- It’s clear.
- Has a stronghold for longevity.
Step 7: Attach the cone to the wreath base.

Place the cone onto the wreath base.
Take the tip and fold it over (about 1 inch) onto the back of the middle hole of the wreath base.
Secure it onto the back with some packing tape.
Also, tape the center of the cone on one side onto the wreath base.

Repeat this step all around the wreath base for the first layer.

This is what the first layer will look like. See the photo below.

Step 8: Place the second row of cones around the wreath base.

Repeat steps 6 & 7 for the second row.
Place the second layer of cones over the gap of the first layer.
This will give it that beautiful layered look. I love it!
For the second layer, you will need to tape some of the fanned-out edges together.
Take some tape and connect the two cones together.
This will keep them from flopping forward.
Not a good look.
Step 9: Do a third row.

This is the final row.
Repeat steps 6 & 7 for row 3.
It’s coming together!
Continue placing the cones over the gap.
You will see it as you go along.
Tape the cones together at the top to keep them from flopping forward.
It works beautifully!
This part is done. See the photo below for what it looks like at this point.

Step 10: Cut out a circle.

Take an 8×8 card stock.
Use the cardboard circle you cut out in Step 1 as a template.
Putting it on top of the 8×8 card stock, take your scissors and cut around the outline of the cardboard circle to make a second circle.
See the photo below for this step.
Tape the cardboard and Christmas card stock together with packing tape.

Step 11: Tape the circle over the hole in the center of the wreath.

Take 3 to 4 pieces of tape and secure it to the wreath.
You can do this in the front or turn the wreath over and tape the circle from the back.
If taping from the back, take a large 2-inch piece of tape and connect the back of the circle to the back of the wreath.
Repeat this around until it’s secure.
Step 12: Add the buttons.

You can skip this step.
The Christmas cardstock would be beautiful as is.
But to take this to the next level.
Add the buttons!
Take the packing tape and turn it into itself to make it double-sided.

Place the buttons on top and push each one down until it is secure.
It took around 22 buttons to fill in the 6-inch circle.
I love the look!
Note: Packing tape is essential to connecting the buttons since it has a stronghold. Or you can use hot glue if you have it.
It’s ok if there is a gap between the buttons.
The card stock you used underneath will show through, which looks amazing!
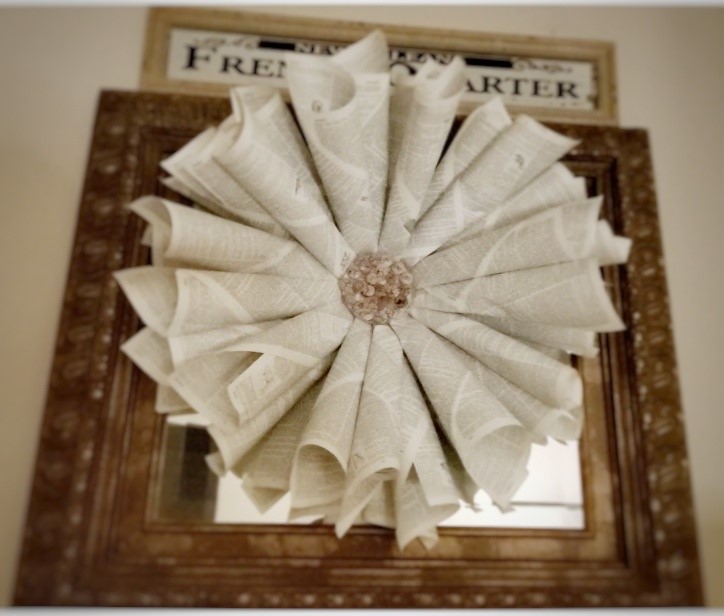
You are all done!

I love how amazing it looks.
It’s a show-stopper!
And to think it’s just some paper and an hour of your time!
I love how it turned out!
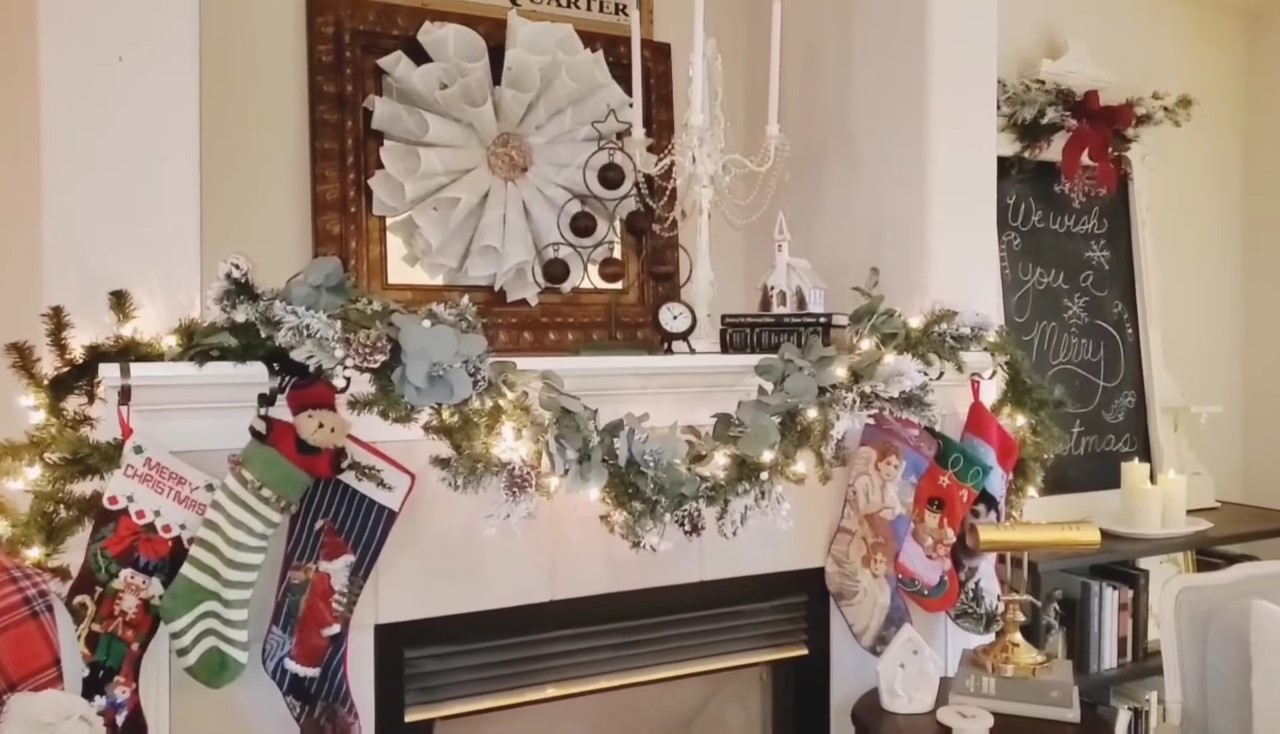
I placed it on a mirror over my fireplace.

It looks even better than I imagined.
The photos do not do this wreath justice.
It has a nostalgic vintage look that is perfect for my vintage-style home.
I hope you enjoyed this tutorial.
For more DIY project ideas, see my posts here.
For those who love visual tutorials, here is a YouTube video showing how to make this Christmas wreath made with dictionary pages.
Thanks for coming by Victorian Lane Farms!
Come again for more inspiration.
Feel free to roam around.
I have other DIYs that are wonderful inspirations for easy ways to transform your home.
Another dictionary DIY, as mentioned earlier, is a Gingerbread Man Garland.
A perfect family DIY for the holidays. Here is the link.
Get lots of tips and ideas from my newest blog post, where I share how to add a wow factor to your home. Here is the link.
Merry Christmas!