Beautiful No Wire Autumn Rose Wreath Tutorial

Today, I’m taking you step by step on how to make this beautiful Autumn Rose Wreath.
This DIY takes 20 minutes to make.
It’s a no-wire wreath, which means it is super easy!
And I love easy!


This Autumn Rose Wreath was inspired by some burgundy mums I found at Home Depot recently.
Never in a million years did I think I’d decorate my front porch with burgundy for fall.
I love all the colors of orange, brown, yellow, and rust, which are traditional colors.
But the moment I saw the large burgundy mums, I was smitten!
So, to coordinate with my front porch design, I thought up this Autumn rose wreath.

I purchased a single burgundy rose and burgundy leaves to make this wreath blend in with my color scheme.
I reused last year’s flowers, pumpkin stems, and white leaf branches.
So, I will try and link what is available at Joann Fabrics and Michaels.
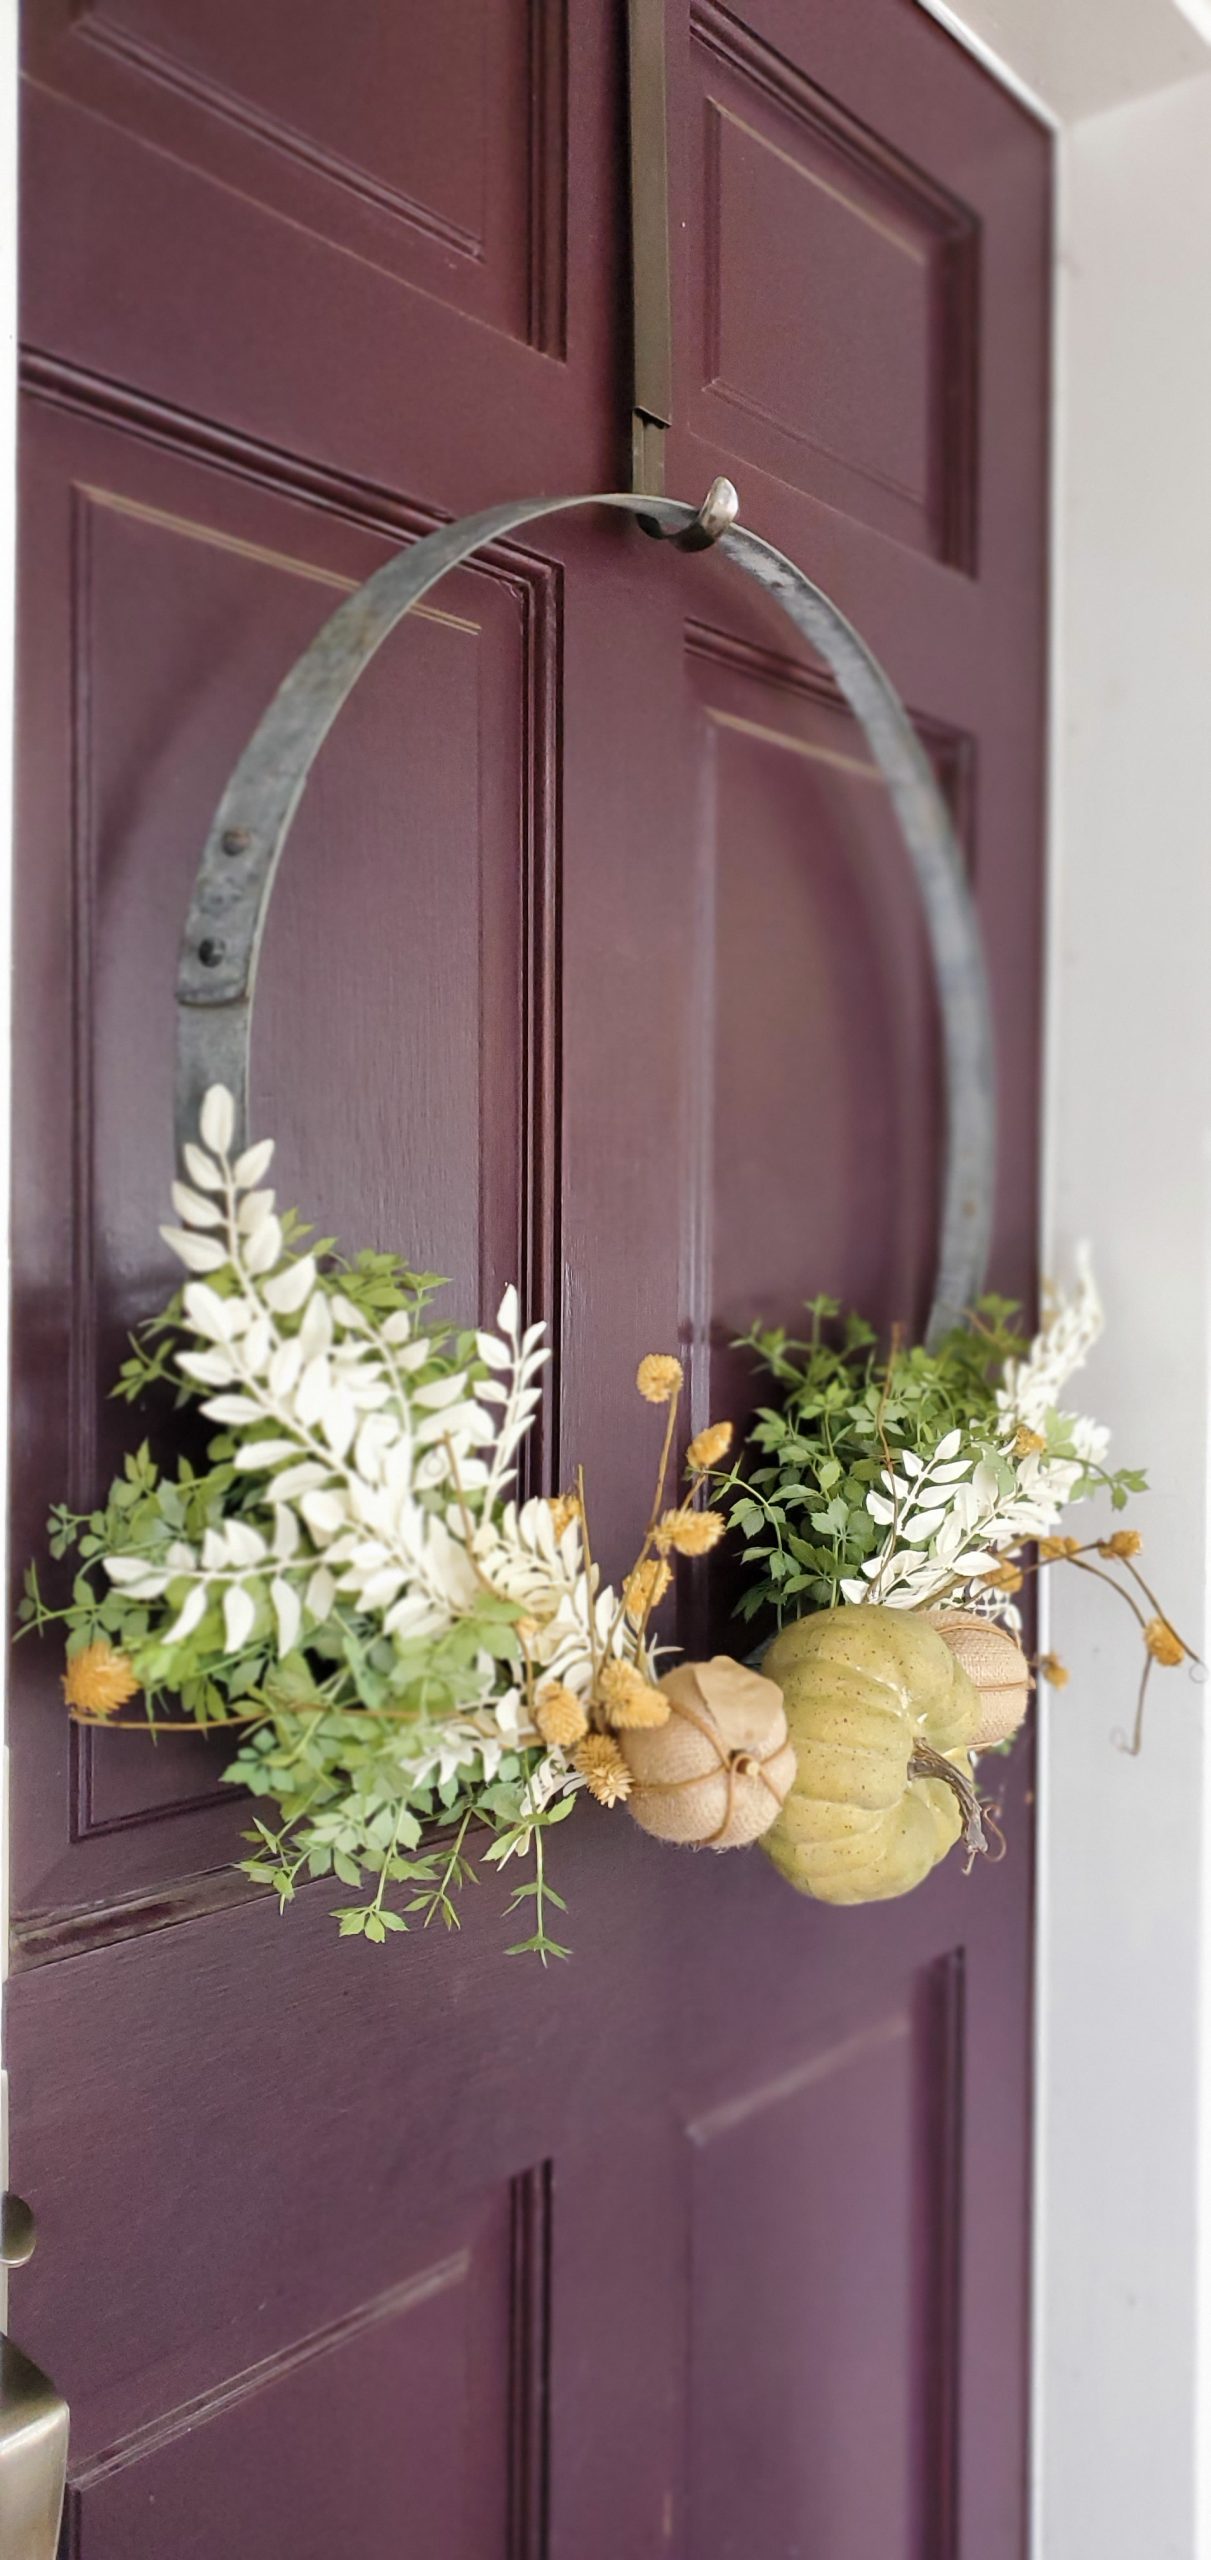
Here is a link to the Fall Barrel Ring Wreath from last year using the same white leaf branches.
Yeah, that was a good one!
What you will need for this project:
- 30″ Grapevine wreath

- 1 White Eucalyptus Swag


- 1 Burgundy Leaf Branch
- 2 White Leaf Branches

- Two yellow pinecone twig branches (these were found at Magnolia Market when I went to a Blogging conference in Waco, TX. I stuffed them in my suitcase and brought them home. Great memory!)

- Tan thistle stem
- Three Off-White Roses (linking similar ones on sale for $1.99 at Joann Fabrics.)
- One Burgundy rose (linking similar one for 70% off!)

- Welcome To Our Patch sign (found at Hobby Lobby last year.)

- Twine (for tying the sign onto the top of the grapevine wreath and attach the eucalyptus swag to the bottom.)
- Floral wire cutter
- Scissors (for cutting the burlap twine.)
Let’s get to making the Autumn Rose Wreath!
Step One: Attach the eucalyptus swag to the bottom of the grapevine wreath.


Take the burlap twine and lace it through the back of the swag.
Attach it to the bottom of the grapevine wreath.
Loop the twine through the thickest part of the grapevine, ensuring it stays put.

Tie a double knot to secure it.
Step Two: Add the two white leaf branches.


Push the stem into the grapevine until it is secure.
Take one of the tips of the white leaf branch and tuck it under a grapevine.
This will make the top and bottom secure.
You want both white leaf branches to cover half of the wreath.
Slightly bend them, if needed, so that they fit snug
It’s amazing how well the stems stay put when hung on the front door.
Step Three: Add the two yellow pinecone twigs.

This is so easy right?
Tuck the yellow pinecone twigs into the grapevine wreath.
Push really hard and you will feel it slip into place.
It’s pretty cool how it does that.
When attaching the yellow pinecone twigs put one on the bottom and one on the top to make it look cohesive and spread out.
Step Four: Add the tan thistle stems.


Using a floral wire cutter I cut off four branches from the tan thistle stem.
I place these on the bottom, middle and top of the wreath.
Step Five: Add the burgundy leaves to the side of the wreath.


First, I took the floral wire cutters and cut off three branches as seen in the photos above.
I only needed two for this project.
Push the stem of the burgundy leaves firmly into the grapevine wreath until you feel it slip into place.


Then, tuck the burgundy leaves under the white leaf branches.
This allows a little glance of the burgundy showing from behind.
It is looking great!
Step Six: Add the roses.


Take one of the off white roses, starting from the bottom, and push it into the grapevine wreath facing down.
Place the second off white rose in the middle and the other one near the top.


Pushing them into the grapevine until you feel it go in firmly.
It takes a good amount of pressure to push them in until they are securely
in place.
The single burgundy rose needs to face the opposite way of the off white rose in the middle.
This gives it a nice relaxed look.
One more step!
Step Seven: Attach the “Welcome to the Patch” sign.


On the back of the sign is a sawtooth hanger.
Loop a 10 inch burlap twine through it.


I reused the burlap twine that was already attached to the sign.
Yeah, I roll like that!
I cut it off and relooped it through the sawtooth hanger.
Wrapping it around the entire top of the grapevine wreath, I tied it in three knots.
Super easy!
And now it is time to hang it on my front door.


The roses are the reason this wreath is so beautiful.
I love how elegant and sophisticated it looks on my front porch.
And wasn’t it easy?
Here is a video sharing the process of transforming our front porch for fall. And an up close look at this Autumn Rose Wreath.
This is an example of how to make an Autumn no wire wreath.
But the possibilities are endless.
I made a Spring & Summer no wire wreath that was breathtaking.

You can see how to make this Spring & Summer wreath, here.
I used the same grapevine wreath and used it to make the Autumn Rose Wreath.
I hope this inspires you to easily make a no wire wreath.
For more DIY inspirations go here.
Thanks for coming by Victorian Lane Farms.