How to Make a Chicken Wire Garden Trellis
This chicken wire garden trellis DIY is super easy.
It’s a cute way to put a vintage touch to your garden.
And it’s practical.
The growing vines of your plants will have a happy place to grow.
Last year I bought some boysenberry plants online.

The instructions (for the plants) said to give them a year before they will produce berries and keep them in pots because they can grow wild.
To my excitement, they are starting to flower!
And I needed a solution to help these plants grow.
So, I brainstormed this chicken wire garden trellis using stair balusters, chicken coop wire, and some white spray paint.
What you will need for this Chicken Wire Garden Trellis DIY:
Note: Everything here can be purchased at your local Home Depot or hardware store. Linking Amazon items for your convenience that are similar.


- 2 Stair Baluster – link to Home Depot
- 1x2x8 ft Square Edge Board – link to Home Depot

Six Steps on How to Make a Chicken Wire Garden Trellis.
Step One: Cut the 1x2x8 inch board to 82 inches.

This trellis is perfectly squared.
I used the balusters to guide where to cut the 1x2x8 board.
But to make it easy, I cut it down to 82 inches.
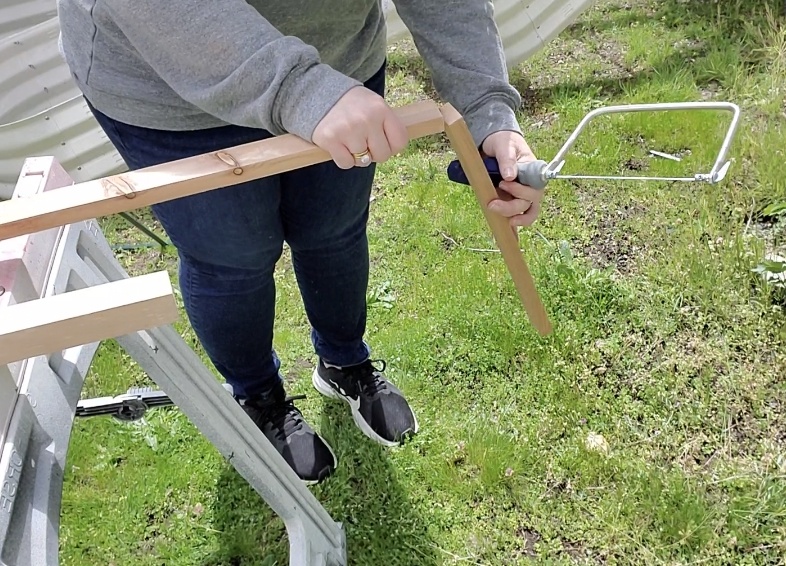
Step Two: Cut the 1x2x8 board in half.

To make it easy, I laid the two balusters across the top of the 1x2x8 board to measure where I wanted to cut, as shown above.
It came to 41 inches.
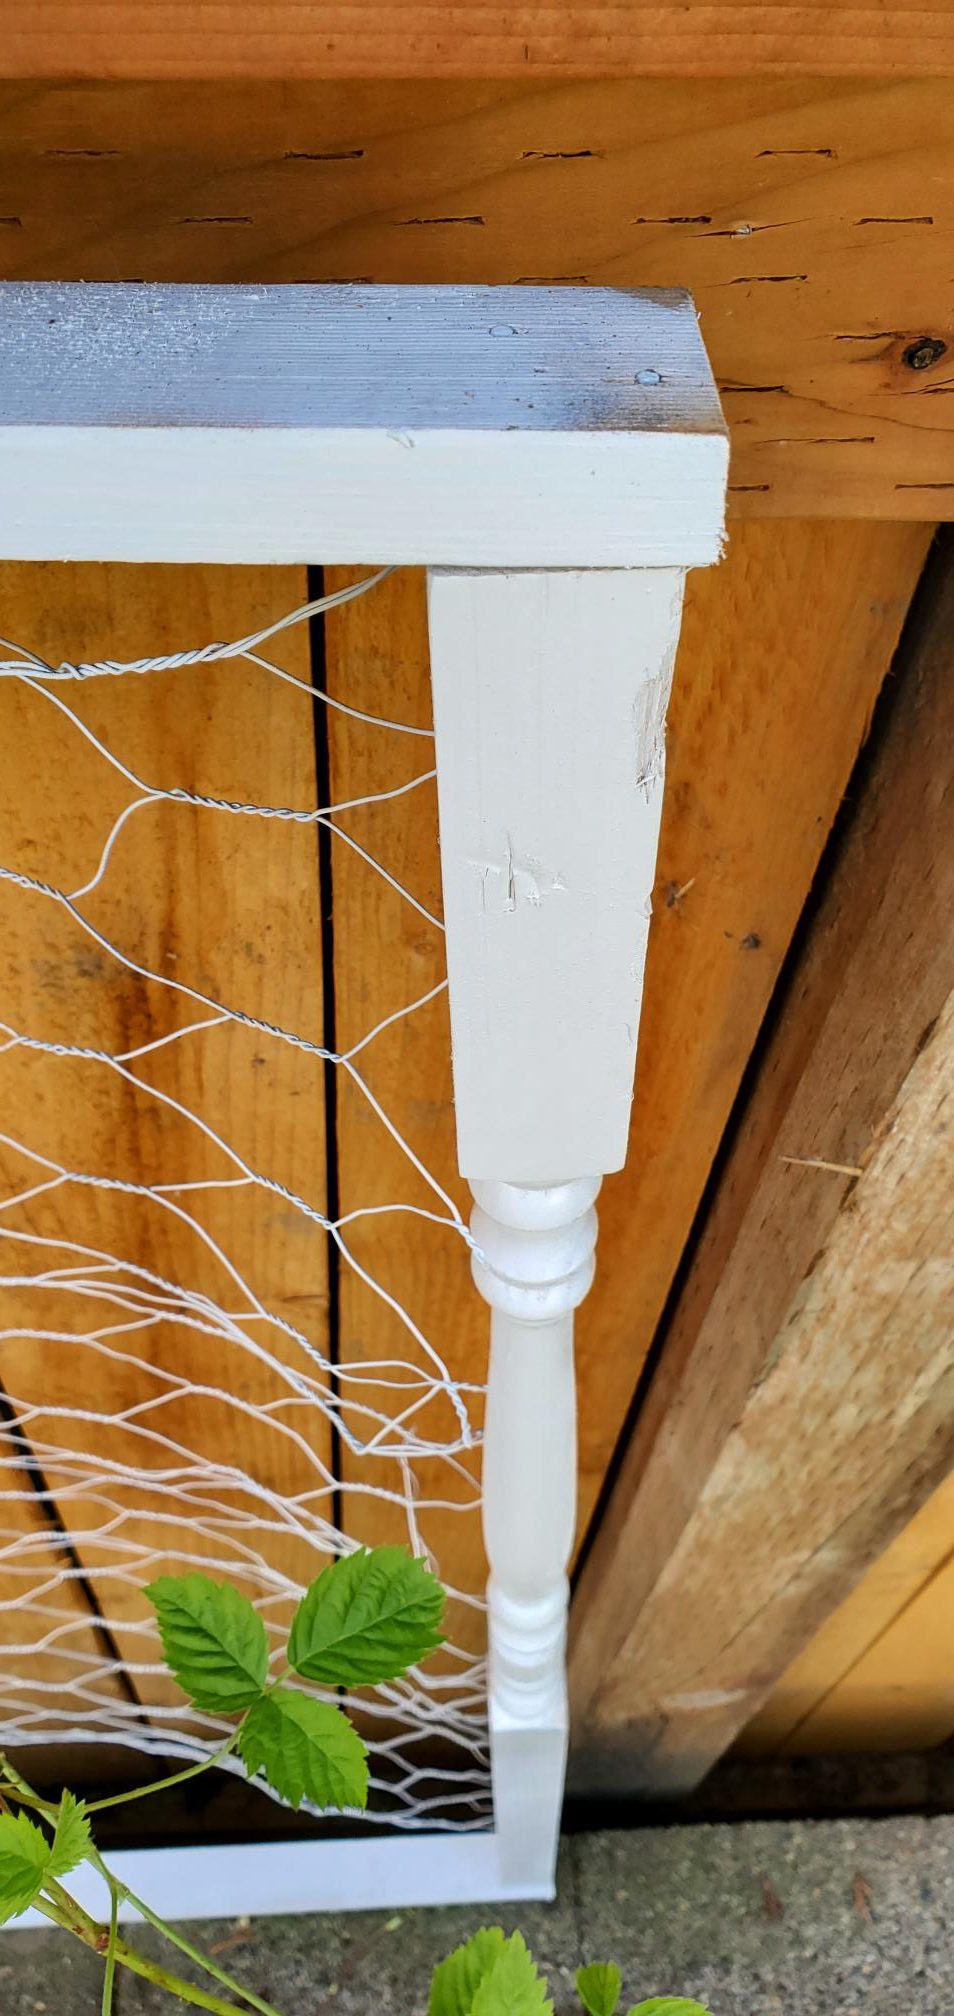
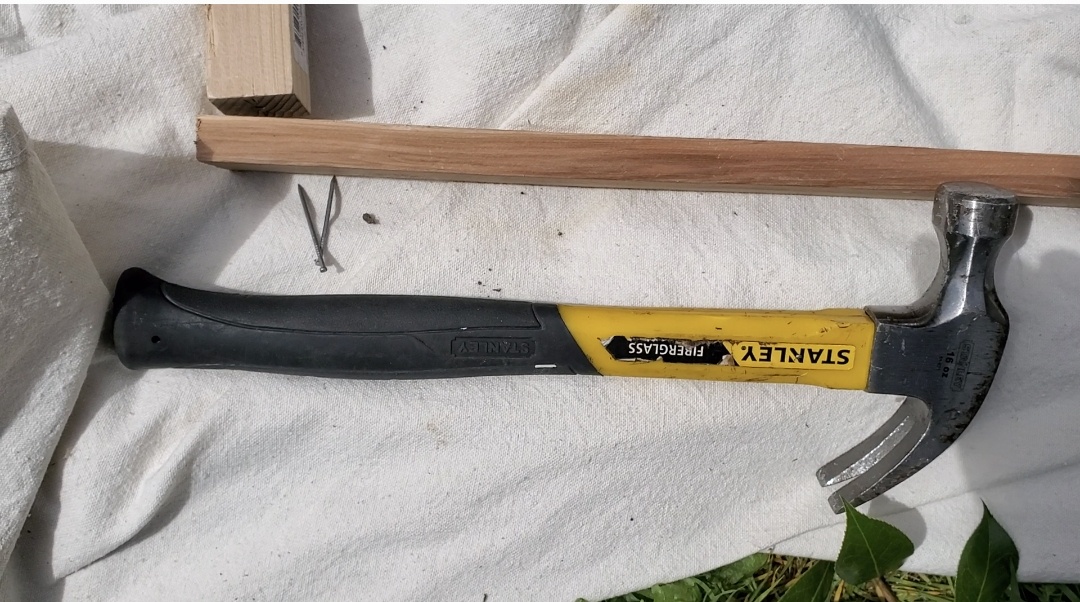
Step Three: Connect the stair baluster to the board with two nails.
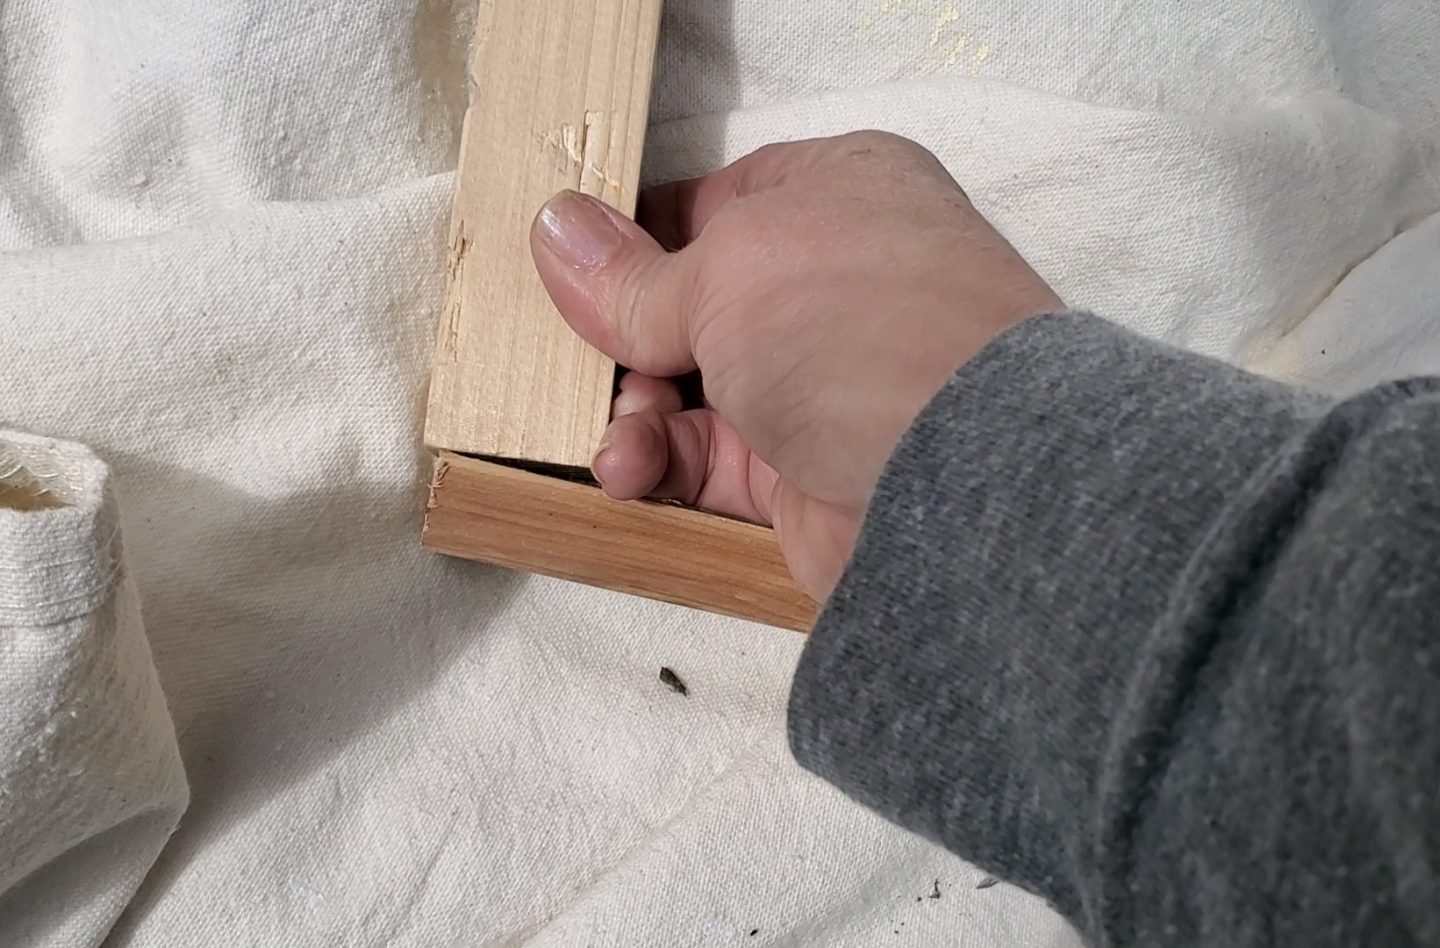
Taking two nails, you want to zig-zag the nails to make it secure.
As shown below.

Here is what it looks like when done.

Do this on all four sides.


At last, this is what it looks like after hammering nails on all four sides.

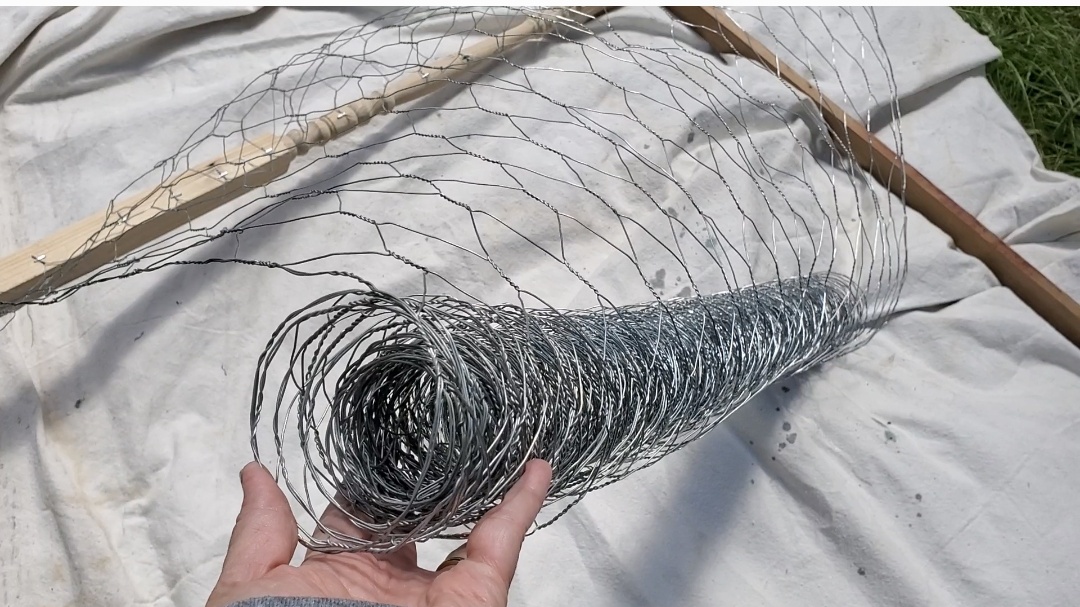
Step Three: Take the chicken wire and unroll it.
This can be a little tricky since it’s tightly woven as you remove the plastic when first opening the roll.
If your roll is not tangled, yay!
Afterward, lay it across the top of the wood trellis.
Step Four: Cut the wire


You will need to cut 41 inches of wire.
Or eyeball it and cut the wire to the middle of the baluster.
Step Five: Staple wire to baluster


Taking a staple gun, pull the wire tightly over the wood baluster, then staple the tips with the staple gun.
Do this only on the two sides.

Note: Not all of the wire can be stapled where the baluster spindle decal isn’t flat. And that’s ok. The other staples keep it secure.
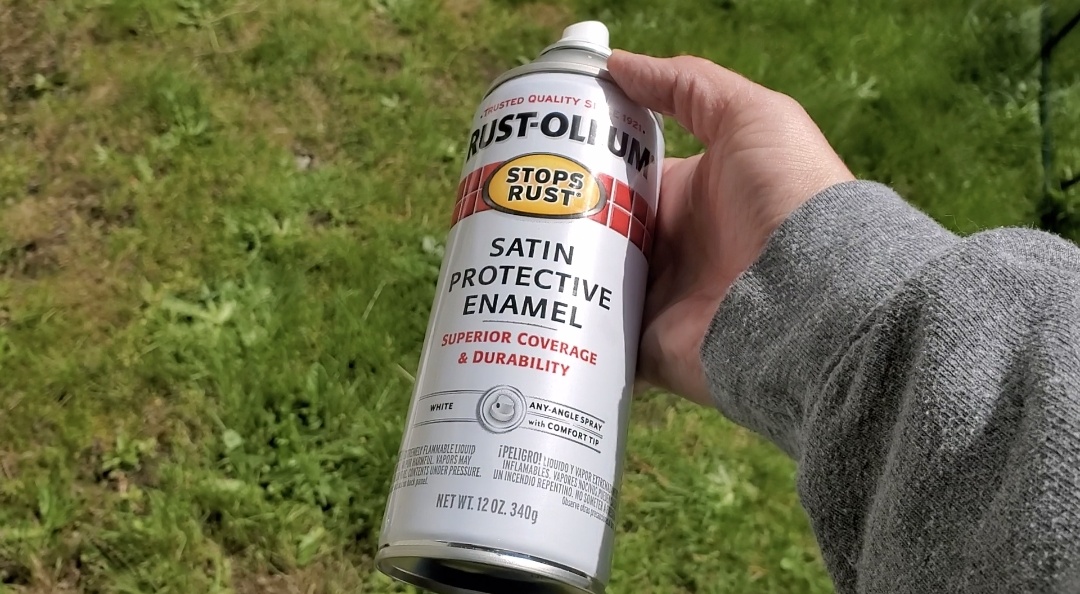
Step Six: Spray the entire chicken wire garden trellis with Rust-oleum paint.

Taking the Rust-oleum spray paint, you will spray the wood and the wire.


If you want to spray both sides, you will need two cans.
For this DIY, I used one can for one side.

Once finished, let it dry overnight.
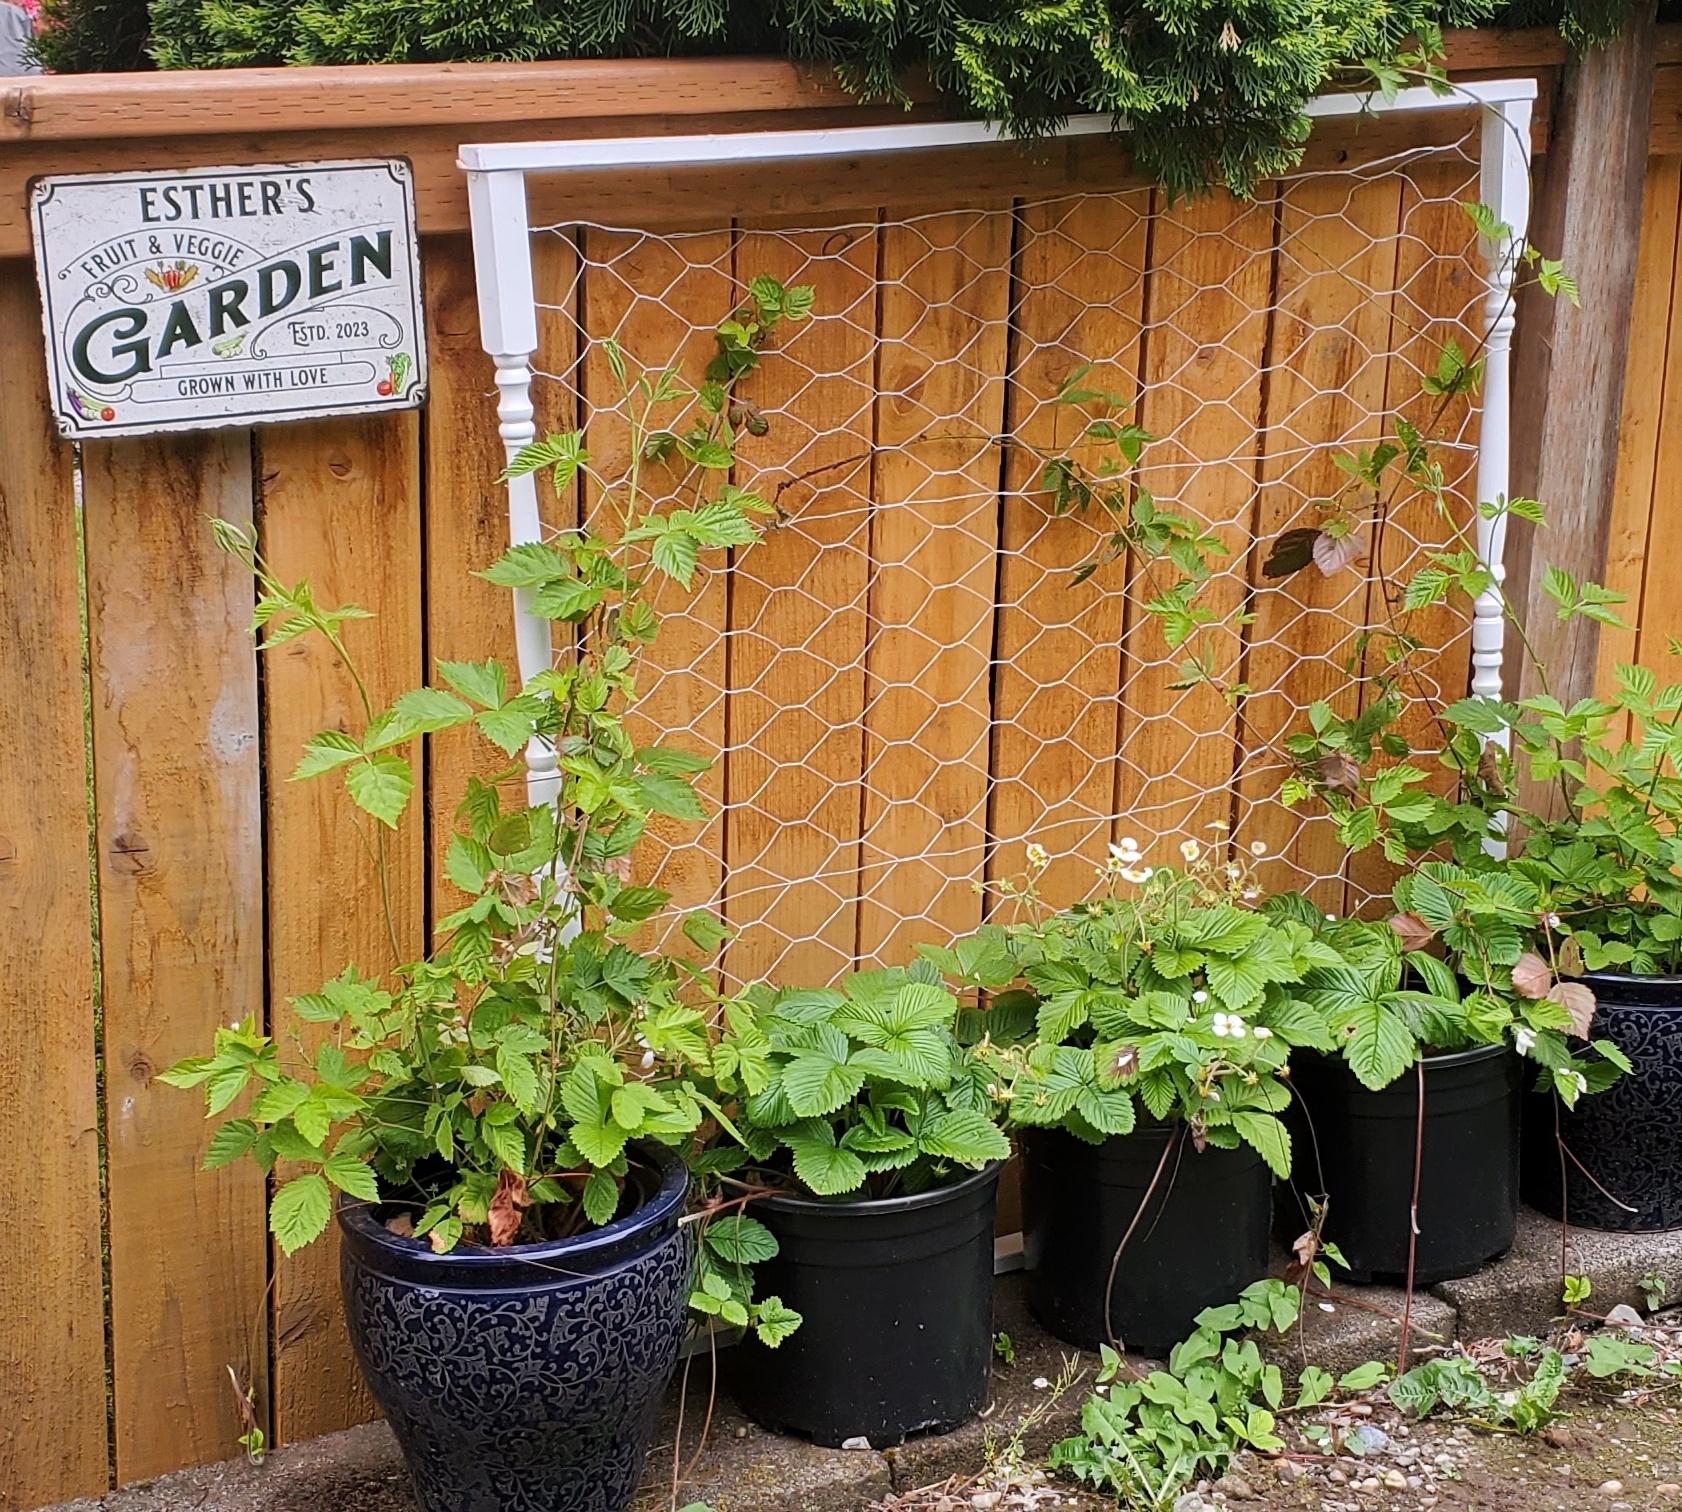
The Chicken Wire Garden Trellis is now done!

Now, it is placed against the fence, as seen in the photo below.
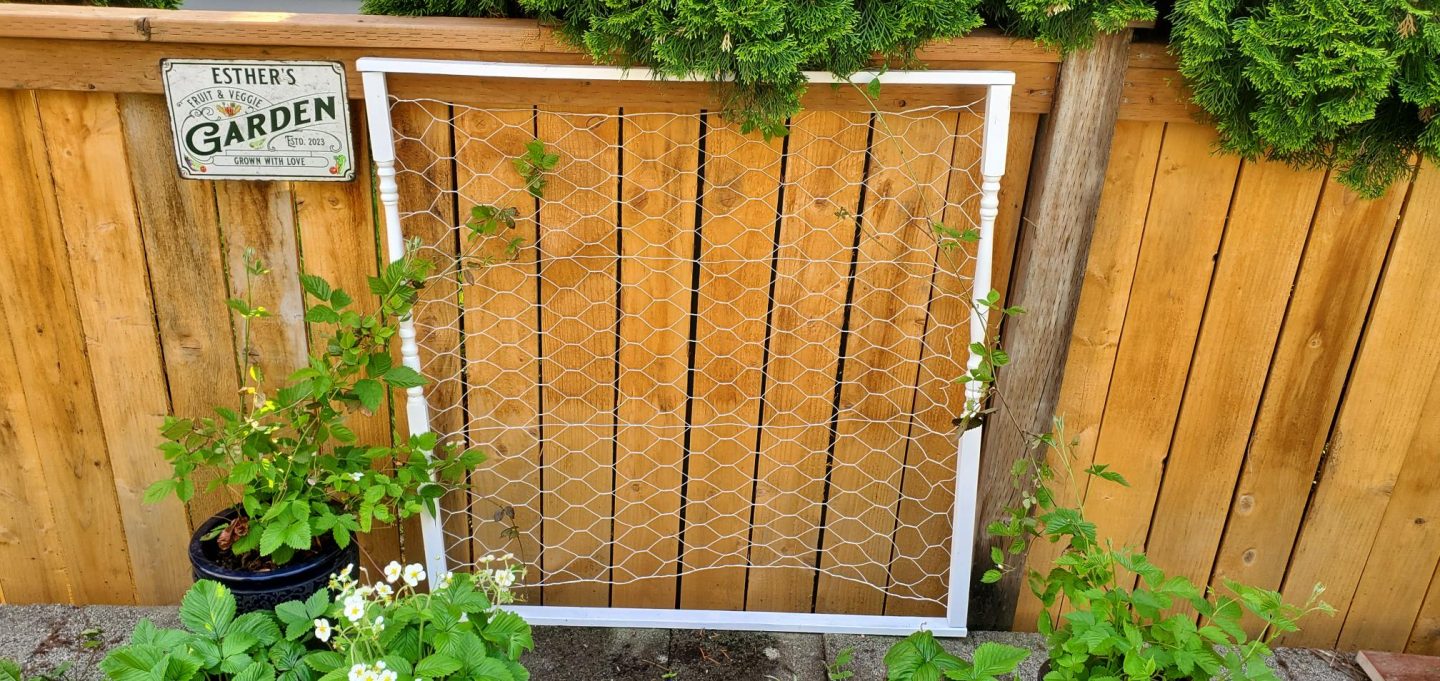
To keep it from toppling over, you can staple the wire to the fence.
Especially on windy days.
All in all, it has held up great!


Here is a video showing you a quick how-to for this DIY.
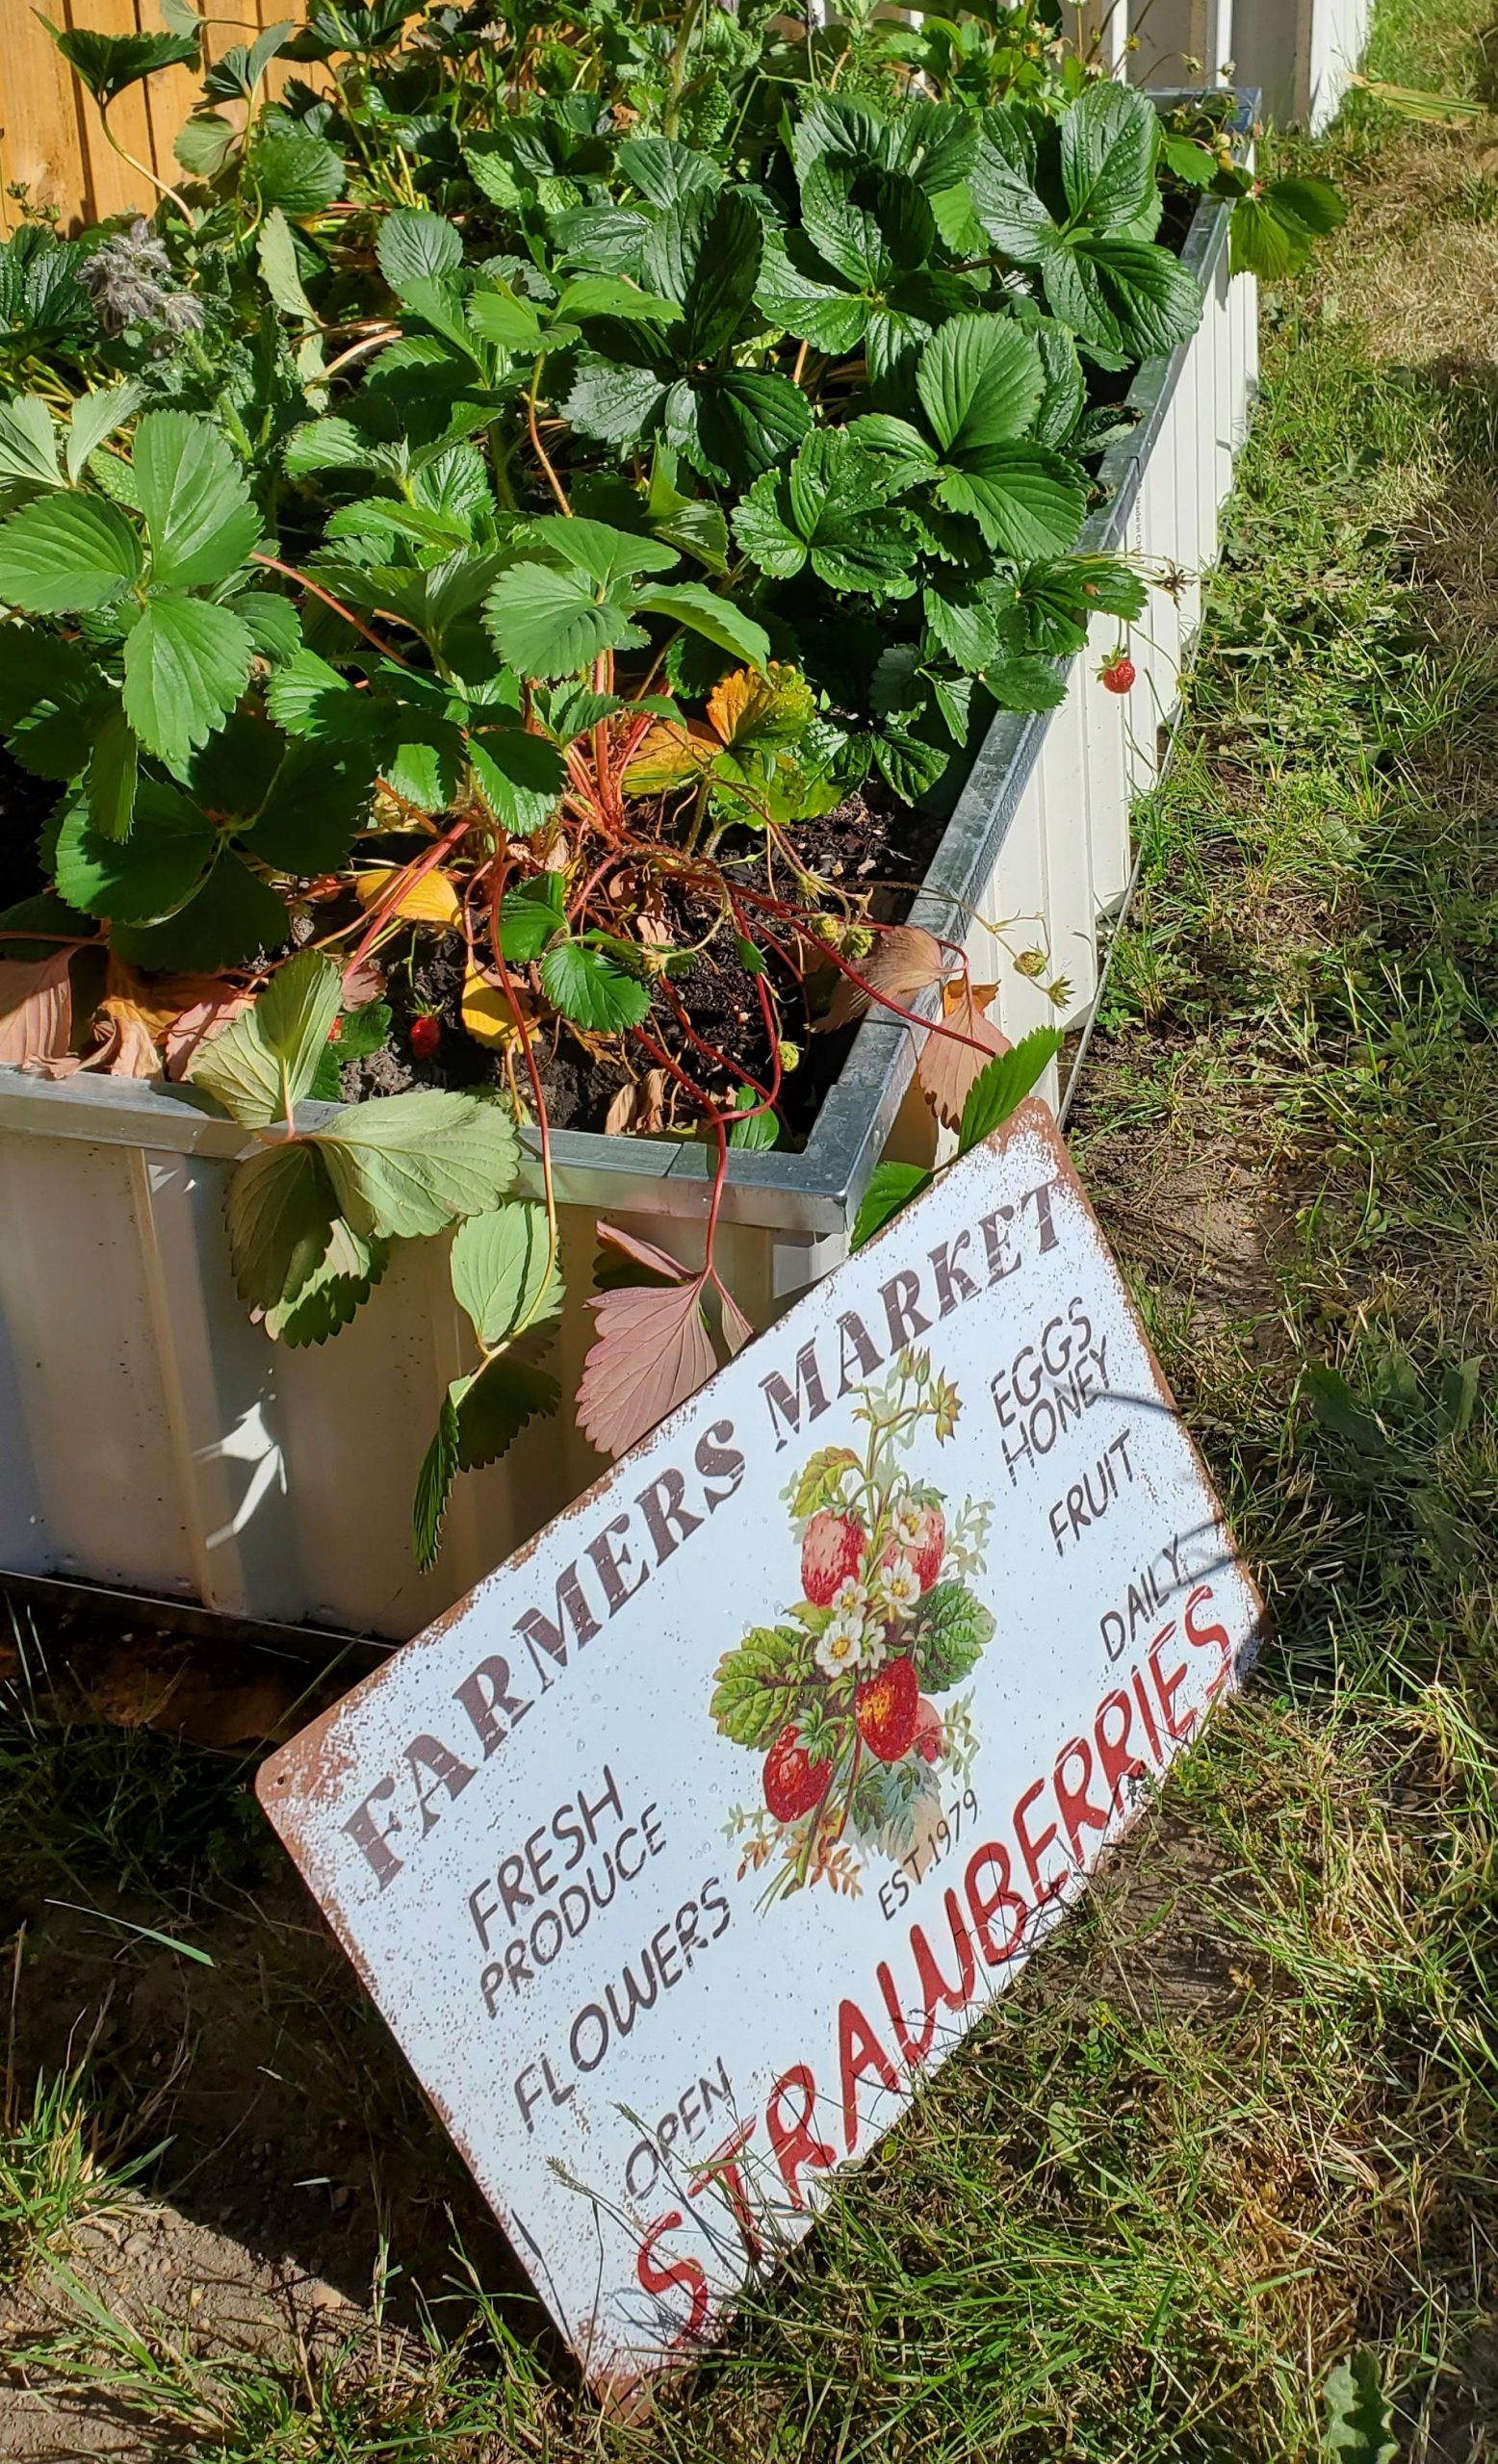
I’m planting some fruit and veggies for our backyard homestead.
We’re trying our hand at growing our own food.
Being a beginner gardener, I see now how therapeutic it is.
And I’ve been rewarded with freshly picked strawberries that taste out of this world.

Let me know in the comments how you liked this DIY.
I would love to hear from you.
For more inspiration, check out my latest DIY here.
And to get some home decor ideas go here.
Thank you for coming by Victorian Lane Farms.