Quick Tutorial on How to Reupholster a Footstool
Hi, my name is Esther.
Today, I will take you step by step on how to reupholster a footstool or ottoman.

Things you will need for this project:
Here is the footstool BEFORE.

This footstool was found at an antique store for $22.00. It is absolutely gorgeous!
I love the velvet green fabric that it has already, but it doesn’t go with the colors in my living room.
To preserve the fabric underneath, I will strategically cover it with this ticking fabric.
Here is a quick tutorial on how to reupholster a footstool.

Step One: Lay the fabric on the footstool.

To make good use of the fabric, I take the corner and lay it on top of the footstool.
The lines of the ticking fabric are placed on the long side of the footstool.
I want excessive fabric on the sides, so I lay it how I want it before cutting it to size.
To get the exact amount, you can measure it to ensure you have enough.
You will need 2-3 inches of extra fabric on all sides to provide enough coverage.
Step Two: Cut the fabric.

I’m a wing-it kind of gal and cut this freehand without measuring.
I followed the lines of the stripes.
If you’ve measured, cut the right amount of fabric you will need.
Step Three: Lay out the fabric.

Center the fabric on top of the footstool and lay it out.
Make sure you have enough fabric on all sides before proceeding.
Now onto Step Four: Smooth out the fabric.

Taking your hands, you want to smooth out the fabric to get it ready for stapling.
Get all the wrinkles and lines out.
If the fabric is still wrinkled, you can iron it beforehand.
Step Five: Staple into the fabric edge.

To preserve the integrity of this stool, staple it into the edge of the fabric and not into the wood.
This is an important step and will allow this to be uncovered in the future to keep it in its original condition.
That is my hope.
Step Six: Staple the middle of each side first.

When reupholstering, start by stapling the middle first on all sides.
This keeps the fabric in place as you staple it tightly on all sides.
Step Seven: Staple the fabric in place with a staple gun.

For this footstool, it required me to staple the staple really close together.
It made the fabric very secure and smooth on top.
Here is the link for the cute pink staple gun. It worked great for getting the job done but would jam up sometimes, which is why I’m listing above the one my husband recommends. But hey, this staple gun is cute!
Step Eight: Pull the fabric tightly as you staple.

Give the fabric a good tug, and then staple as you go.
This will create a smooth surface for it to last a long time.
Step Nine: Do a pleat on every corner.

To get the corners to lay flat, you will need to pleat it like in the photo above.
Run your hand over the pleat to smooth it out before stapling it.
Step Ten: Staple the edge of the side pleat.

Secure the pleated edge by stapling the sides.
Step 11: And staple the other side.

Step Twelve: Tug the fabric on all sides to ensure there are no gaps after stapling.

You’ll need to give a nice firm tug to all the sides to see if there is any loose fabric.
Don’t tug too hard because the staples will come loose.
If you want the staples to be firmly applied, I suggest using a pneumatic gun. Here’s a link.
Let me assure you, though, that the fabric will stay in place using this cute little handheld staple gun.
Just want you to know all the facts.
Step Thirteen: Cut the fabric

Once done stapling, cut the fabric as close to the staples as possible.
You will cover this with ribbon to hide the rough cut edges and staples.
Step Fourteen: Apply the ribbon.

To start, lay the ribbon onto the edge of the fabric; you will need to secure the end of the ribbon by stapling it.
Only staple the end one time then you can start gluing.
This leads to Step Fifteen: Glue all the way around.

As you see in the photo above, some fabric is hanging down.
You can cut this at the end.
You are wanting to glue the ribbon onto the stapled fabric. Not on the wood.
We are wanting to preserve the fabric underneath as best as possible.
And the wood as well.

Continue to glue all the way around the footstool.
When gluing, my tip is to use the end of the glue gun to push the ribbon down.
The glue is HOT!
And it will burn.
So, using the tip of the glue gun will save your fingers.
Step Sixteen: If the ribbon is uneven, you can tug it loose to straighten it out.

The glue will dry quickly, so if you notice the ribbon is crooked, you can tug it loose and reglue it into place.

It’s that easy!
Continue gluing all the way to the end.
Step Seventeen: To finish, overlap the end ribbon onto the other end.

The final step is to overlap the end piece of the ribbon onto the other end.

Now you are done!!!
Super easy and quick!
This took less than an hour to do.
I hope this quick tutorial on how to reupholster a footstool was helpful.
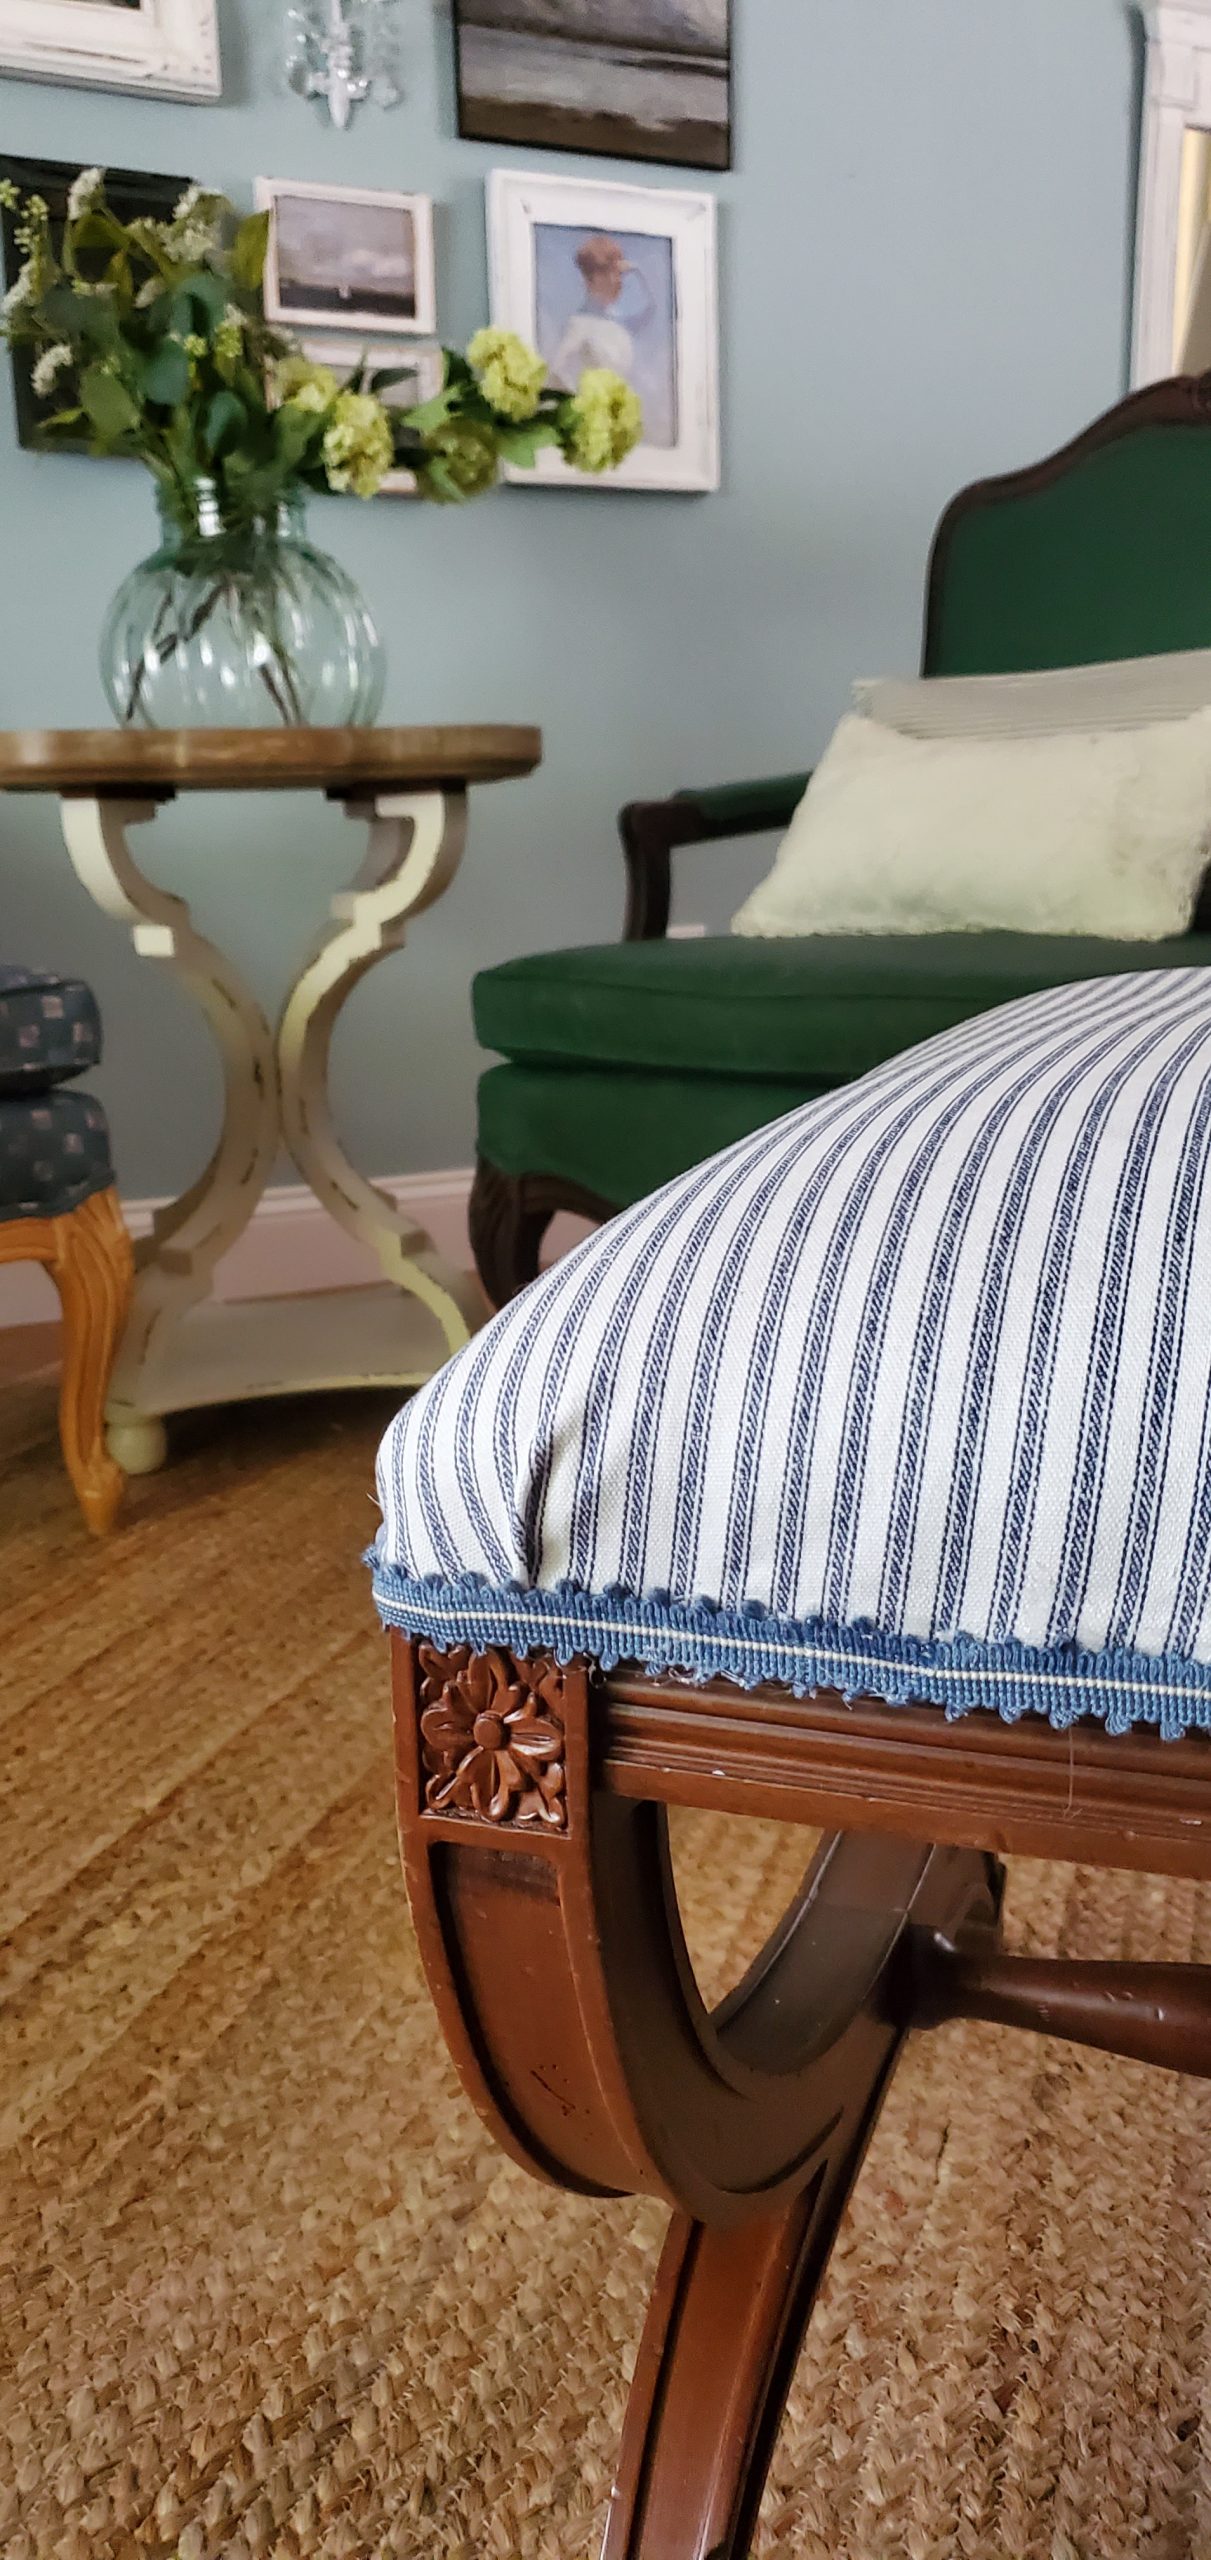
Here is the footstool completely done.


Here is an up-close look.
Doesn’t it look sweet?
I love how it turned out!

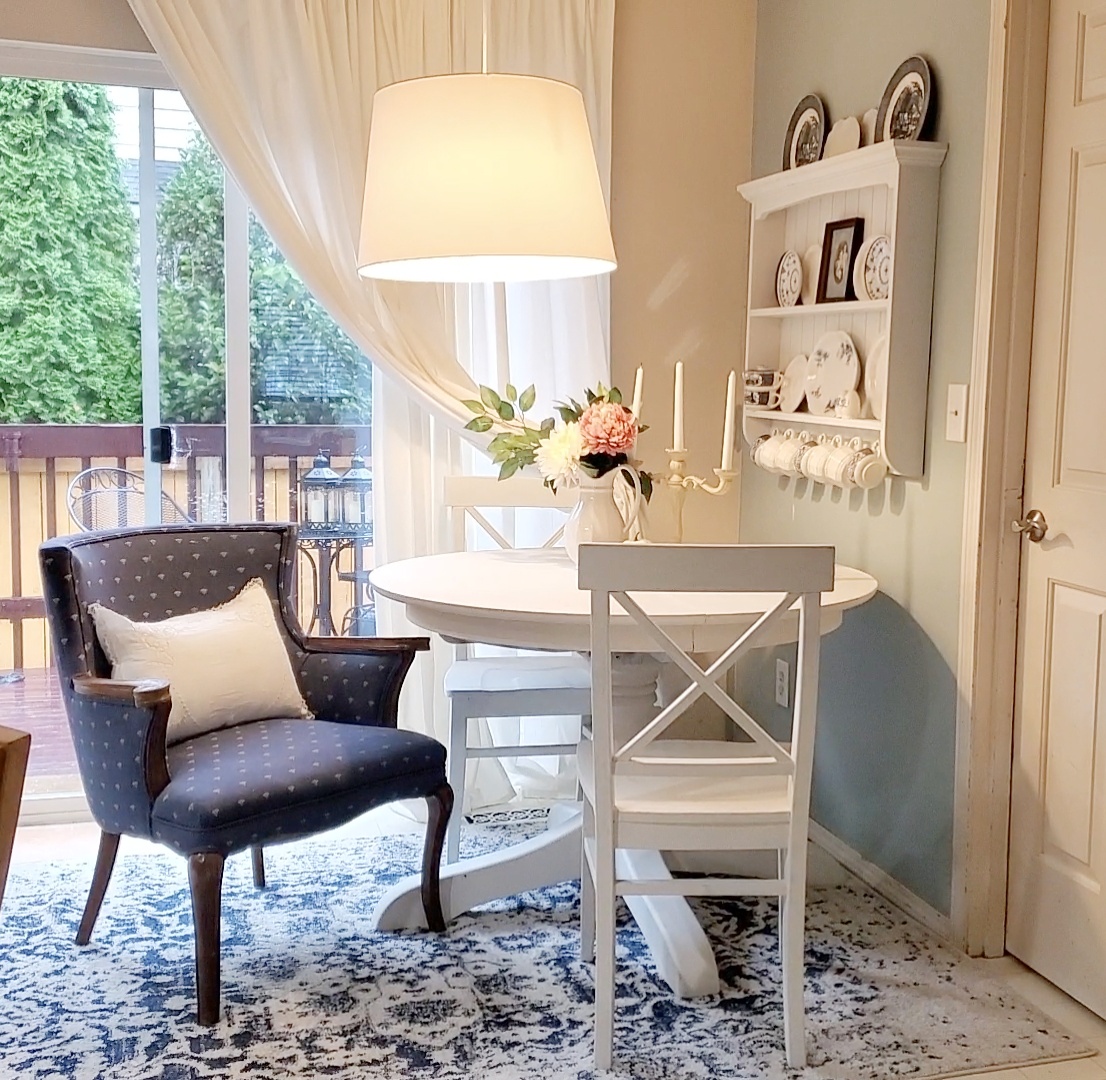
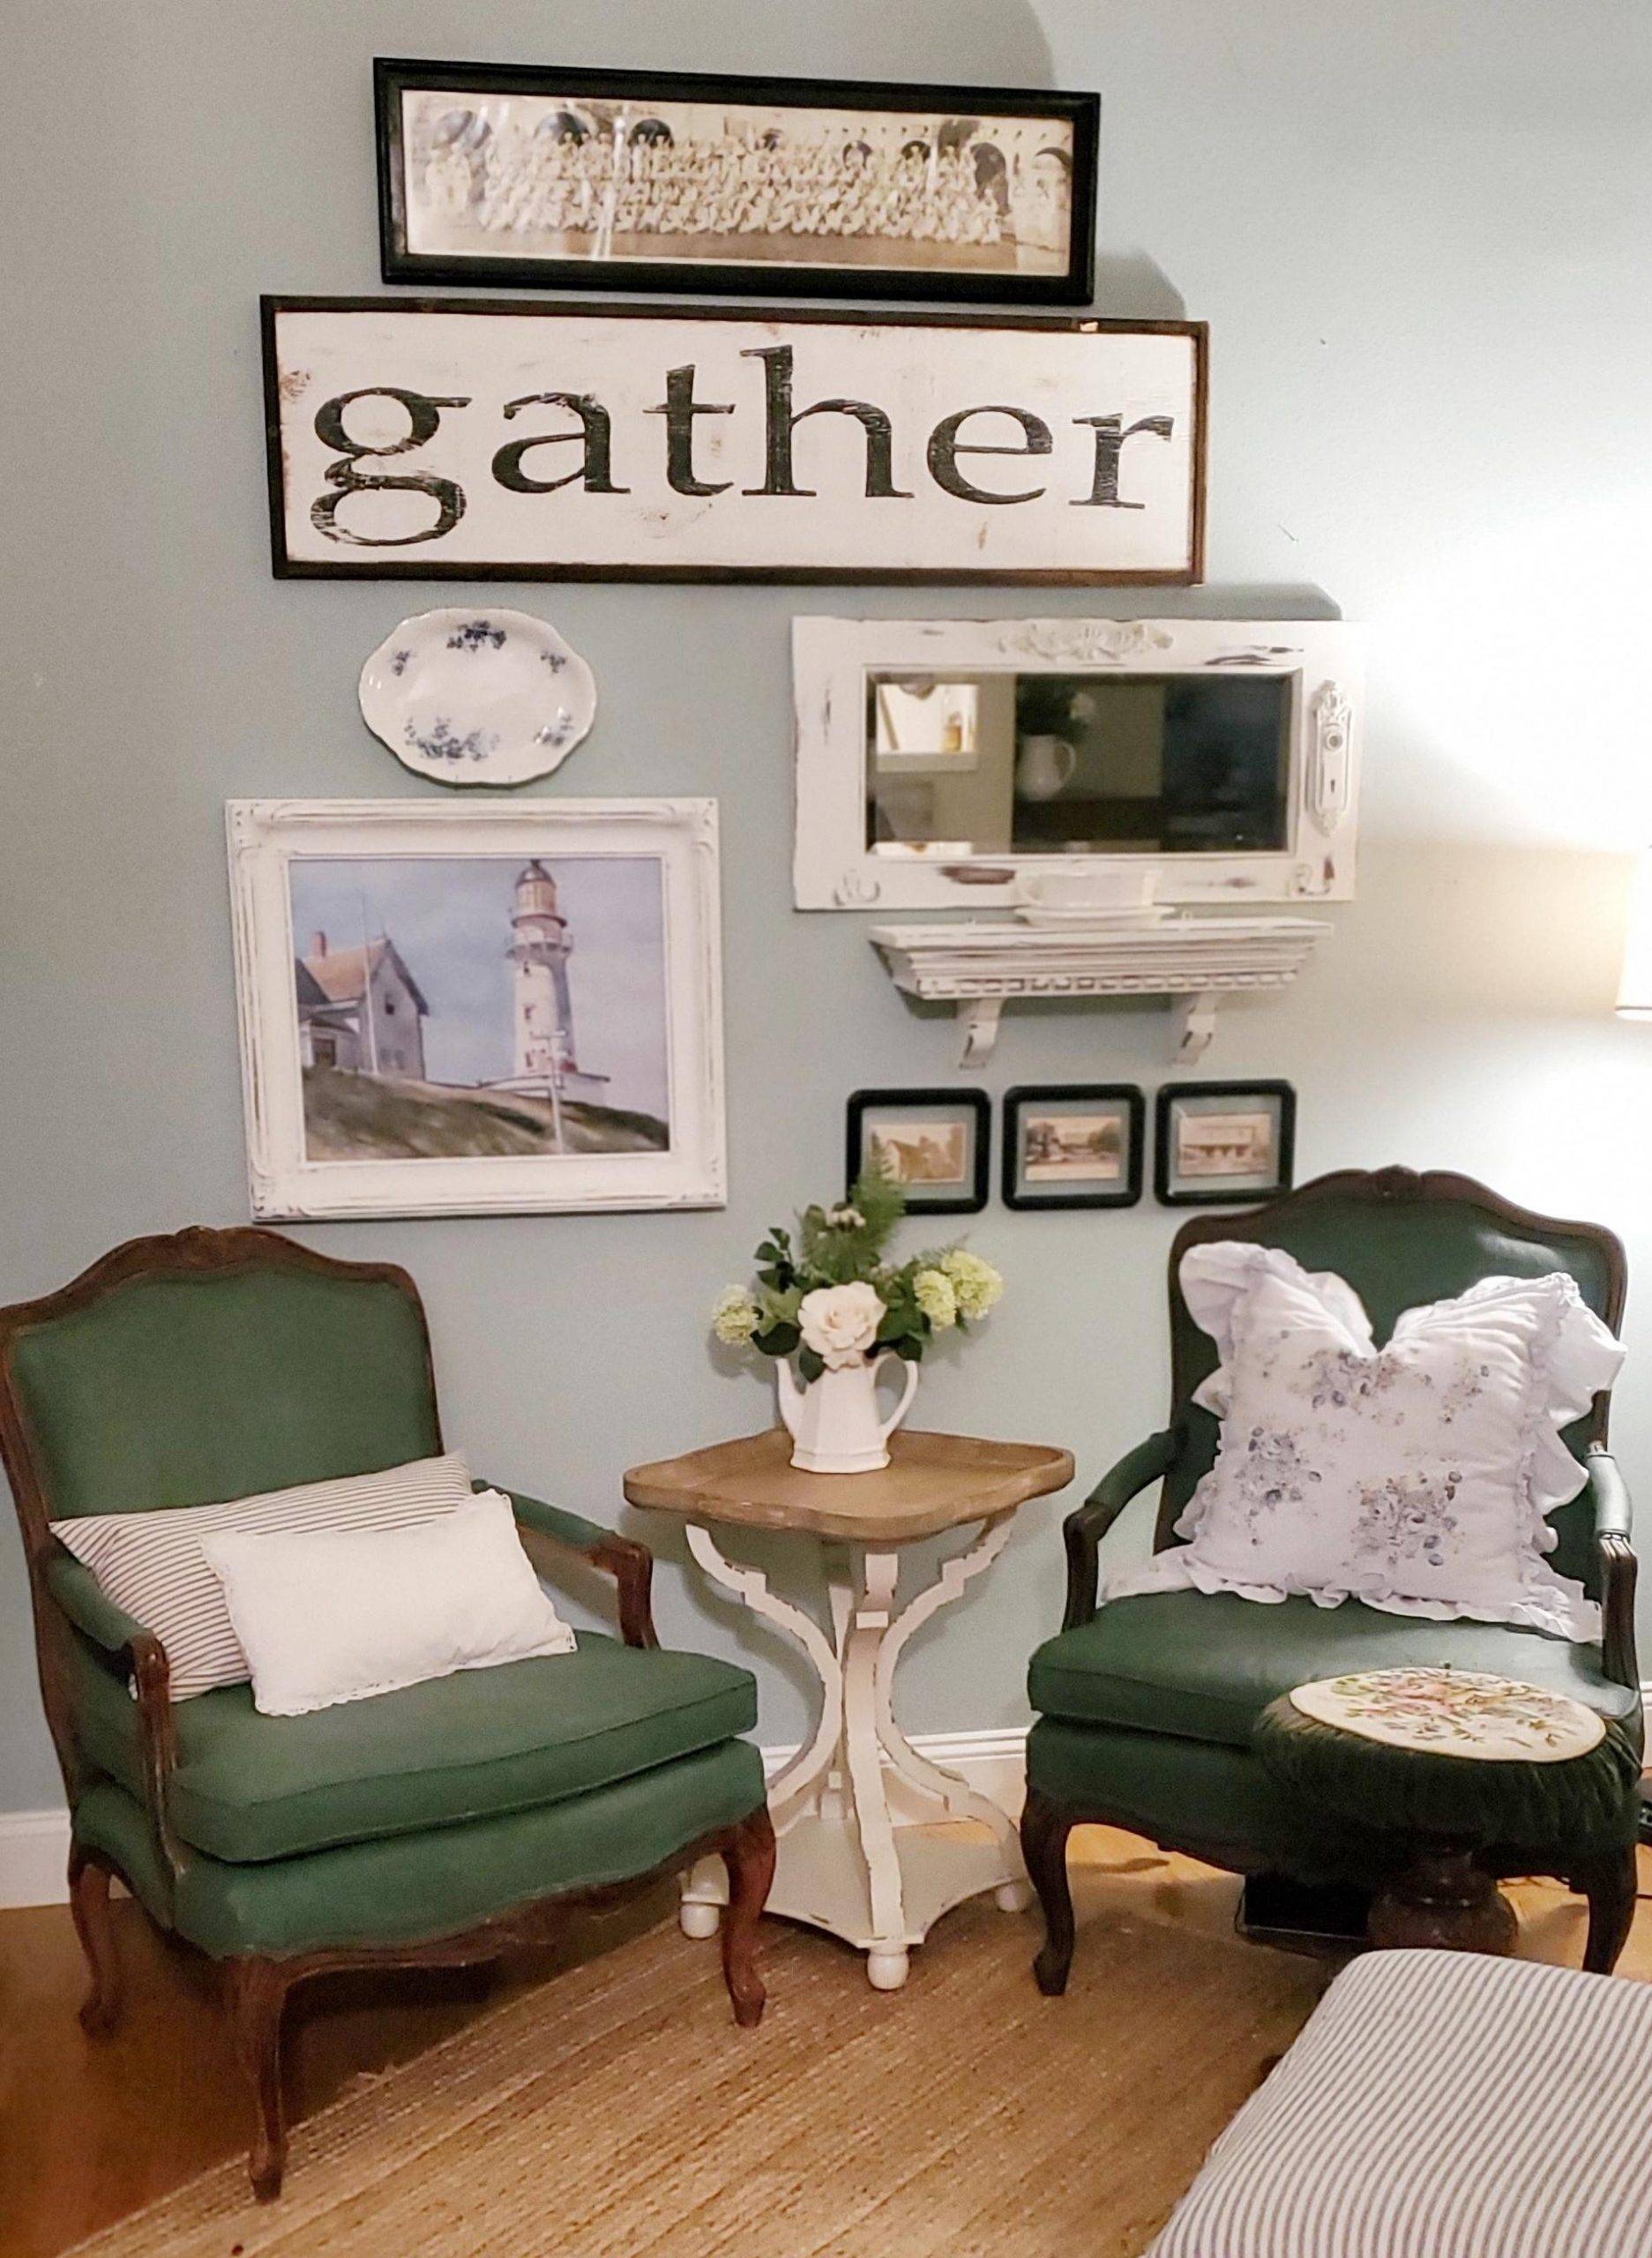
Here it is styled in my home.
I love this little stool.
It is a beauty, and we enjoy putting our feet up, watching movies or reading a book.


Here is the YouTube tutorial that takes you through the steps how to reupholster a footstool.
If you’re a visual learner, this will be perfect for you to watch.
Thanks for coming by Victorian Lane Farms.
For more DIY projects, follow this link.
To get some decorating tips and ideas follow this link here,
Until next time, bye for now!