Summer Deck Makeover 2023

I’m excited to share with you my Summer deck Makeover for 2023!
It was a lot of work but oh so worth it!
I mean, look at that photo above.
It is such a beautiful cozy place to relax & take some moments to enjoy the warm Summer outdoors.
A nice cool breeze blowing through is such a wonderful feeling.
I hope to inspire you that you can take an ordinary deck and give it a beautiful makeover with some cozy pillows and a few Goodwill finds to make this DIY affordable.
But first, we have to start from the beginning.
I will take you through 9 steps on how to get this look.
This is what this deck looked like BEFORE.

For the last three months, I used this greenhouse for my plants.
It was wonderful when I needed it, but since then, the plants have been thriving in our raised beds.
So, we don’t need it anymore.
I thought up some ideas for transforming this deck, and I think you’re going to love it!
Now, onto the 9 steps to this amazing Summer deck makeover!
Step #1: Clean everything off the deck.


The best place to start a project is with a clean slate.
I remove everything from the deck.
There are a few things I will be using, like our herbs and flowers.
But the rest is cleared off.
Here is the empty greenhouse.

I took the plastic top off and placed the greenhouse in our garden area for next fall.


I removed the bottom two bars from the center of the greenhouse and placed it on top of one of the raised beds.
It fits perfectly!

Steps #2 & #3: Sweep the deck and wash it.


This is the best feeling!
I mean, it was so dirty!
Taking a broom and dustpan, I swept the entire deck.
Then I hosed it down completely and let it dry.
Step #4: Put up a canopy.


With some help from my hubby and brother-in-law, I put up an 8×8 grey canopy—link to a canopy top here.
With the sweltering heat, this is one of the best ways to enjoy a deck.
Do you put up a canopy during the Summer months?
Step #5: Hang up some tie-top curtains.

This is a bit tedious since each panel has eight ties.
But what an elegant touch to have flowy curtains.
Not only do they create privacy, but the cozy factor is amazing!
It reminds me of resorts I’ve been to.
I used four grey tie top panels in size 52×84—link to the curtains here.
And for the canopy side that faces the stairs, I used two grey tie-top panels in the size 52×95. I wanted these longer since I would be tying them and still allowing the fabric to drape nicely—link to the curtains here.
Step #6: Hang up some signs.


Taking some twine, I tightly tied the ‘Relax’ plague and ‘Gather’ sign onto the lower bar.
Keeping in mind when a strong breeze goes through, I strung the twine widely apart.
I mean, hey, this really makes this Summer deck makeover unique.
The idea came to me when shopping at Goodwill (I share my thrift store finds below), and it sure ended up being a great addition.
Step #7: Add a large rug.

Our deck needs replacing.
But we didn’t want to wait to enjoy it, so I thought of a great way to hide the ugly floorboards by adding a rug.
Here is a link to this exact rug. It is so pretty!
Not to mention it adds to the overall look.
And feels super soft under my feet. I love it!
Step #8: Add furniture.


One of the things to consider when placing furniture on a deck is how you want to use it.
Is it a place to lounge? Drink coffee or read?
I wanted to do all of the above.
So, I put a black metal table and chairs set for mornings to drink coffee and read.
And for lounging or taking a nap, I added a wicker loveseat and coffee table.
The best part was I already own these pieces, which was nice on my pocketbook.
Step #9: Add cozy pillows and decor.


This is the cozy factor that made this space inviting!
By adding pillows.
I had some feather-down pillows in my living room that were soft and comfy.
Perfect pillows for taking a quick snooze outside.
For the decor, I added a crystal candelabra to the table.
I think this took this Summer deck makeover up a notch.
Then, I placed blue, white, and purple flowers inside some urns.
The flowers came from my decor boxes in storage, which was another savings!
I took one of the bouquets of flowers and placed it inside this black terrarium (in the photo below) that I had purchased from a thrift store just for this project.

On the side of the terrarium, I placed some pewter grey colored candle holders.
At night, it is so pretty to have the battery-operated candles on.
We are finally done with this project!
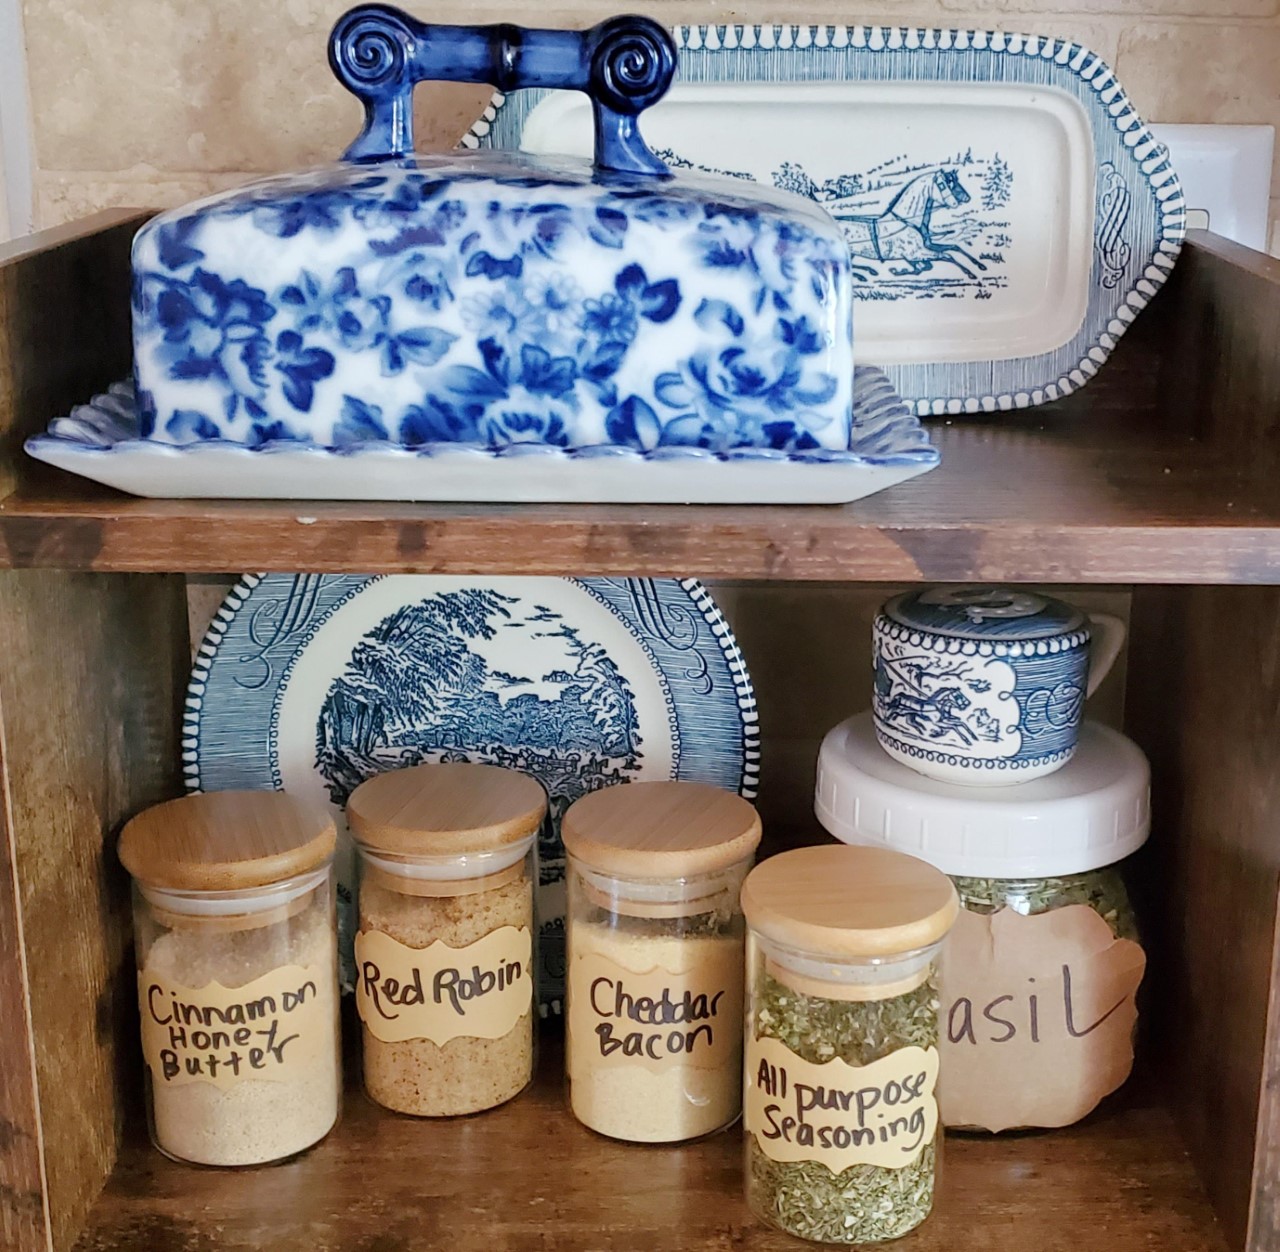
Here are some finds from Goodwill.

This was my favorite find!
It’s a gold urn with cherubs on the handles.
It cost $6.99!
Then I found another urn in the left photo below for $6.99, as well.


The ‘Gather’ sign in the center of the photos above was $7.99.
And the candle holders were $4.99 and $3.99, as seen in the photos below.
Is that a deal or what?


Drum roll, please! Here is the reveal.


The overall look is gorgeous!
I placed a fern plant behind one of the black chairs.


For the curtains facing the stairs, I tied them loosely onto two of the canopy legs with twine.
The deck is bigger than the canopy, which allows the sun to shine on our herbs and flowers.
I took a basket and lined it with a garbage bag—video showing the herb basket DIY here.


This will allow the basket to last longer as I water the plants.
At the bottom of the herb basket, I placed a plant tray that has holes in it.
Here is a link to the galvanized planter. It does require some holes to be drilled at the bottom.
And here is the link to the video showing the herb basket DIY.
If you’re a visual learner, then this video showing all of these steps is a must to watch.
Now, I have to confess that this video was filmed before I could add all of the curtains.
So, you’re getting the full reveal right here on my blog!
What do you think?
This has been a great Summer deck makeover for 2023!
I’d love to hear your thoughts below.
Was this inspirational?
What do you like the most?
Are there things you’d add?
For more DIY project ideas, go here.
And to get all of my home decor blog posts with one click, go here.
Thanks for coming by Victorian Lane Farms.