How to Paint French Chairs in 6 Easy Steps
In this post, I’m sharing how to paint French chairs in 6 easy steps.
The transformation of these French Provincial chairs was amazing!
I wanted some green chairs with mahogany wood for my living room.
The fabric on the arms, the rolled legs, and the simple details at the top had a vintage vibe that spoke to me.
I searched on Craigslist and Facebook marketplace for months to no avail before I found these.
They were originally listed on Craigslist for $100 each.

After two weeks of coming across the ad, the seller lowered the price to $25 each. Score!
When I saw them in real life, they were sturdy, and the fabric was in perfect condition.
Not the color I wanted.
But with some ingenuity, I knew I could turn them into what I was dreaming of for my space.
So, I bought them and took them home.
Here is how to paint French chairs in 6 easy steps.


This DIY is so rewarding.
And I hope this tutorial will take all the guesswork out of your project.
If you’re a visual learner, here is the video showing you these 6 steps to painting french chairs.
What you will need:


- 1 Liter of Annie Sloan chalk paint in color Amsterdam Green
- 1 Sample Pot (120ml) Annie Sloan chalk paint in color Primer Red

- Small Annie Sloan Paint Brush
- Stir Sticks


- Spray bottle filled with water
- 1 cup of water in a jar

- 2 Small paint brushes for the wax and primer red chalk paint
- 1 mini pot of Annie Sloan chalk paint wax in Dark


- 500ml Annie Sloan clear wax
- Microfiber cloth to apply wax
Let’s get this project started!
Step One:


The first step is to mix one cup of water with one cup of Amsterdam Green chalk paint.
Stir the paint and water really well until fully mixed.
Step Two:

Spray the fabric with water.
This will help the paint to absorb into the fabric and dye it.
Step Three:
Paint the fabric.


For the first coat, spray the fabric with water and then apply the paint.


Paint the fabric on the arms of the French Provincial chair.


Try not to get it on the wood.
But if you do, that’s ok.
It can be covered up with the Primer Red chalk paint in the next step.
Let the first coat fully dry.
Paint the back of the chair.


Most French Provincial chairs have a fabric back.
You will spray the fabric with water.
Paint the lower part, too, where the fabric is showing.
This can be tedious but use a small brush to get into the crevices without getting it onto the wood, if possible.
Paint the Cushion


This is not as hard as it looks.
You’re probably wondering if you can paint over the zipper.
The answer is yes!
Paint all four sides.
Only paint one side at a time.
Let that dry.
Turn it over and paint the other side.
Apply a second or third coat.

You will need to apply a second coat to cover up the patterns.
No need to spray with water at this point.
Let the second coat dry.
Look it over, and if the pattern is still showing through, apply a third coat.
Sometimes, it is only necessary to apply paint where needed.
Step Four:


Paint the wood with primer red chalk paint.
Use a small brush to give you more control.
This will allow you to paint the edges without getting it on the green fabric.


And using a small brush helps to get the paint in the crevices of the arms and legs.
Tip: Turn the chair upside down to paint the areas that may have been missed.
It is unbelievable how this angle reveals unpainted spots.
Step Five:


Apply the Dark chalk paint wax.
Use a small brush from the set I am linking here.
Side note: I love these brushes so much and use them all the time for my DIY projects.
Once you’ve covered it with wax, take a cloth and lightly rub the dark wax into the wood.
Tip: You may need to turn your chair upside down to get a better view of where areas were missed when applying dark wax.
When rubbing the wax in, ensure not to get it onto the green fabric.
But if you do, just paint over it with the Amsterdam green chalk paint.
Step Six:


Apply Annie Sloan clear wax to the fabric.
Take a quarter size amount from the can with a microfiber cloth.
Note: When applying the wax, some of the green chalk paint will rub off onto the cloth. This is normal.

Make sure to rub the wax onto every inch of the fabric since this will seal the paint and make it last for many years to come.
Let the wax fully dry for 2 days.
You will know when it is completely dry when it is no longer tacky.
Now you are done painting French chairs.
Here is the chair all finished.

I think it gave it a totally different look.
What do you think?
I had procrastinated in painting this second chair for so long, and it feels good to have my living room completed!
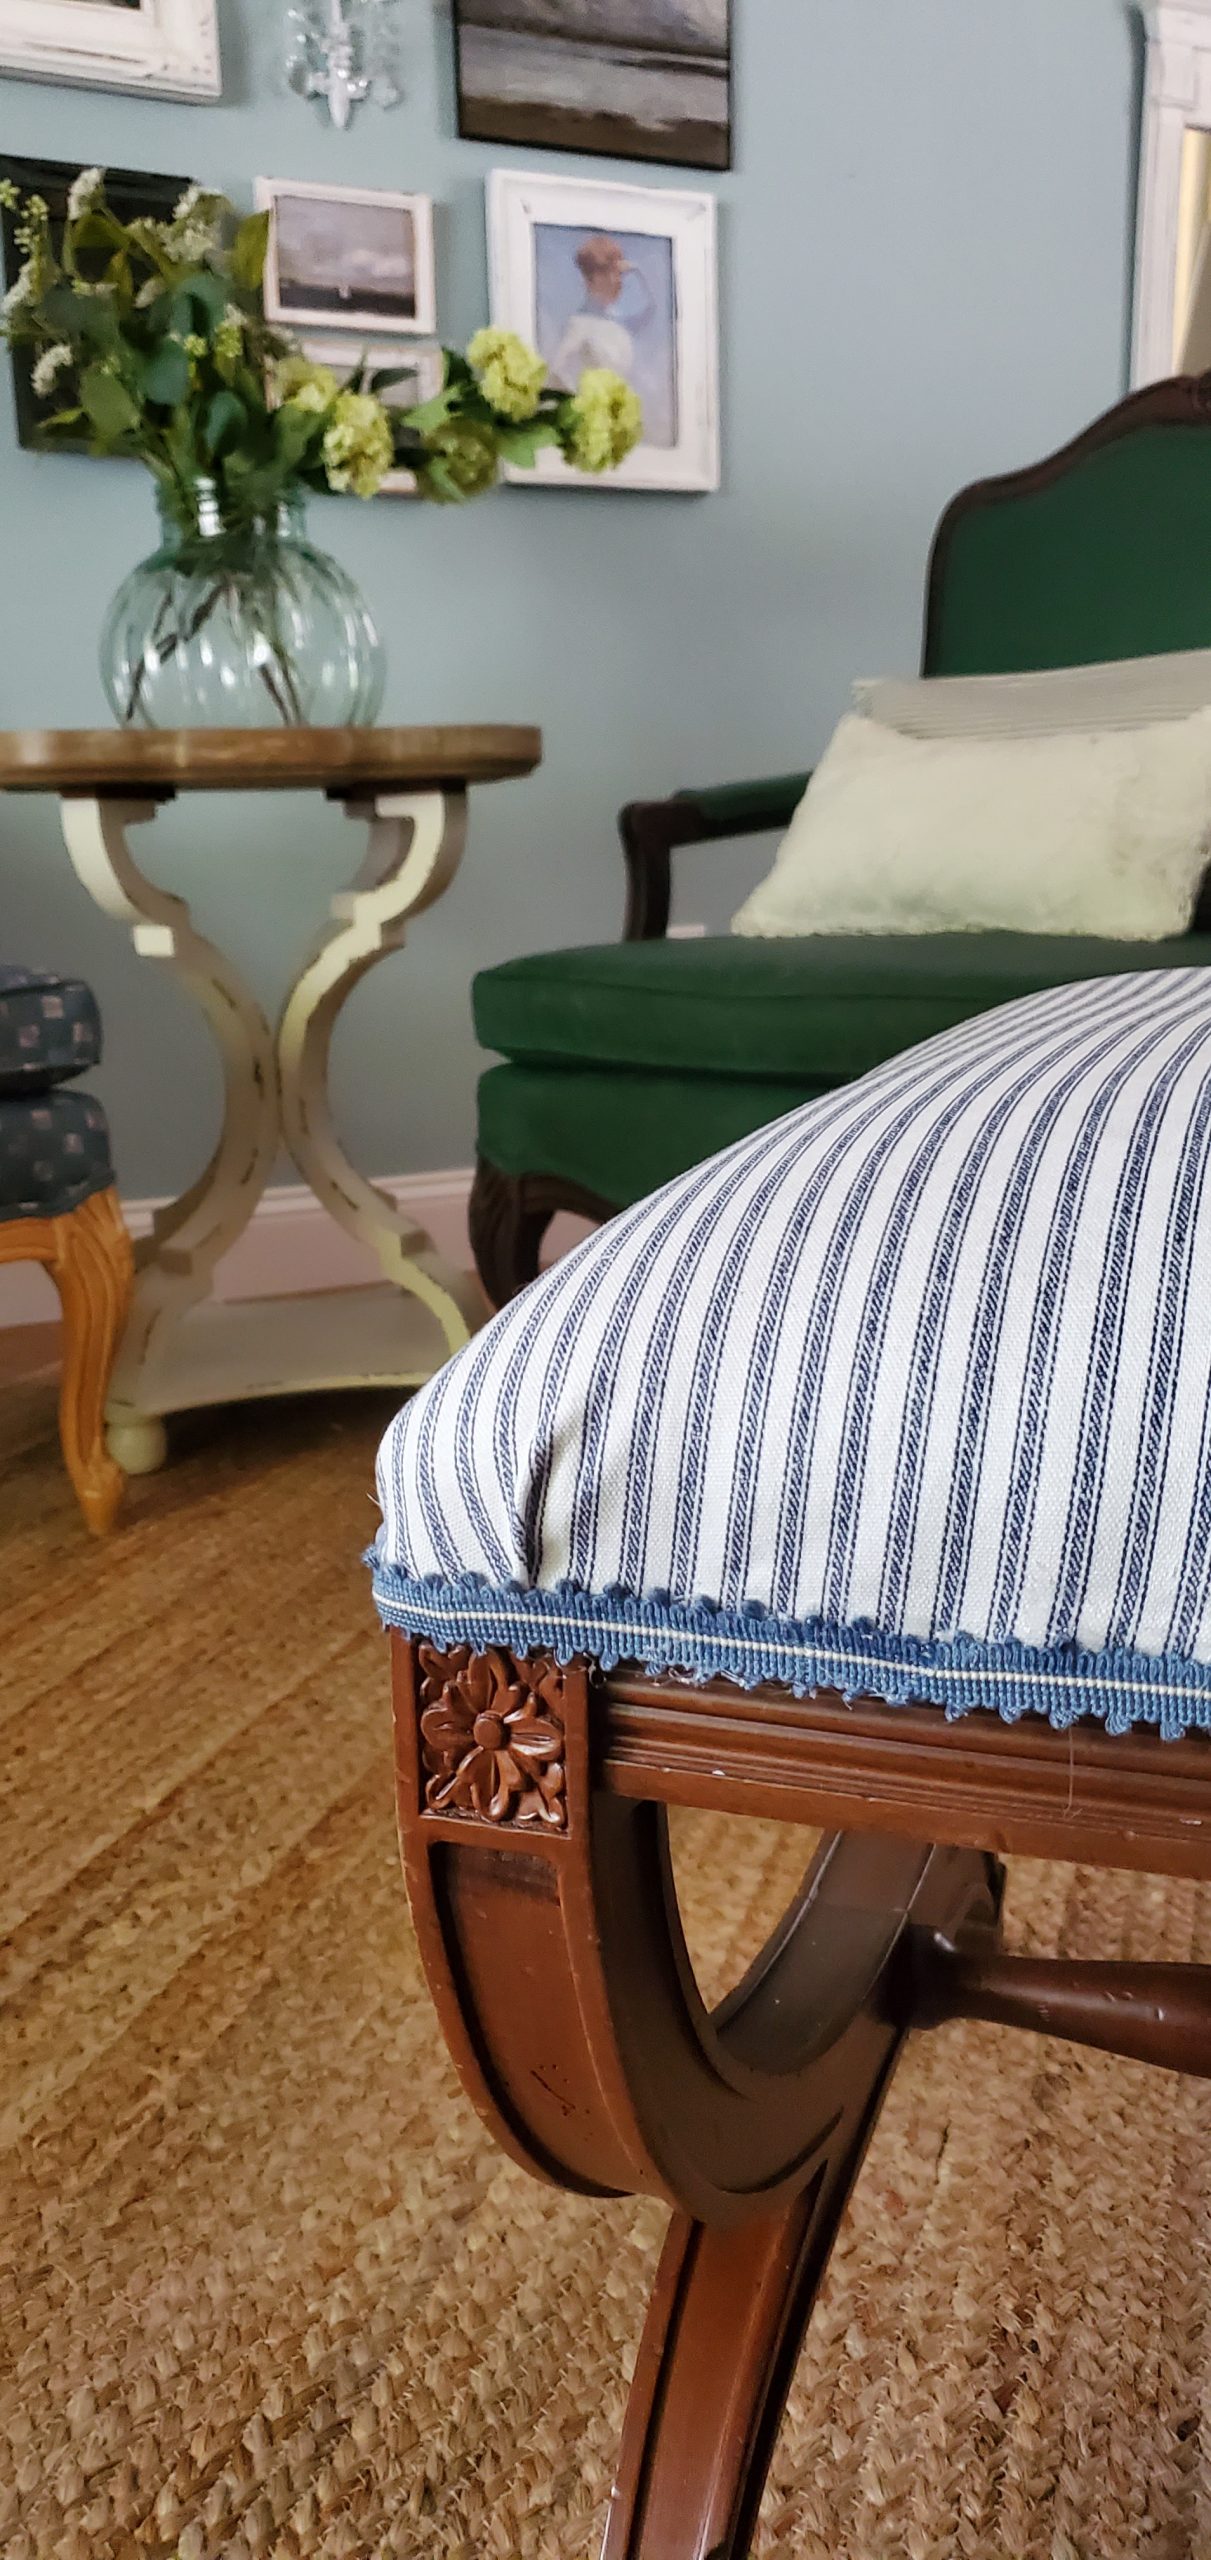
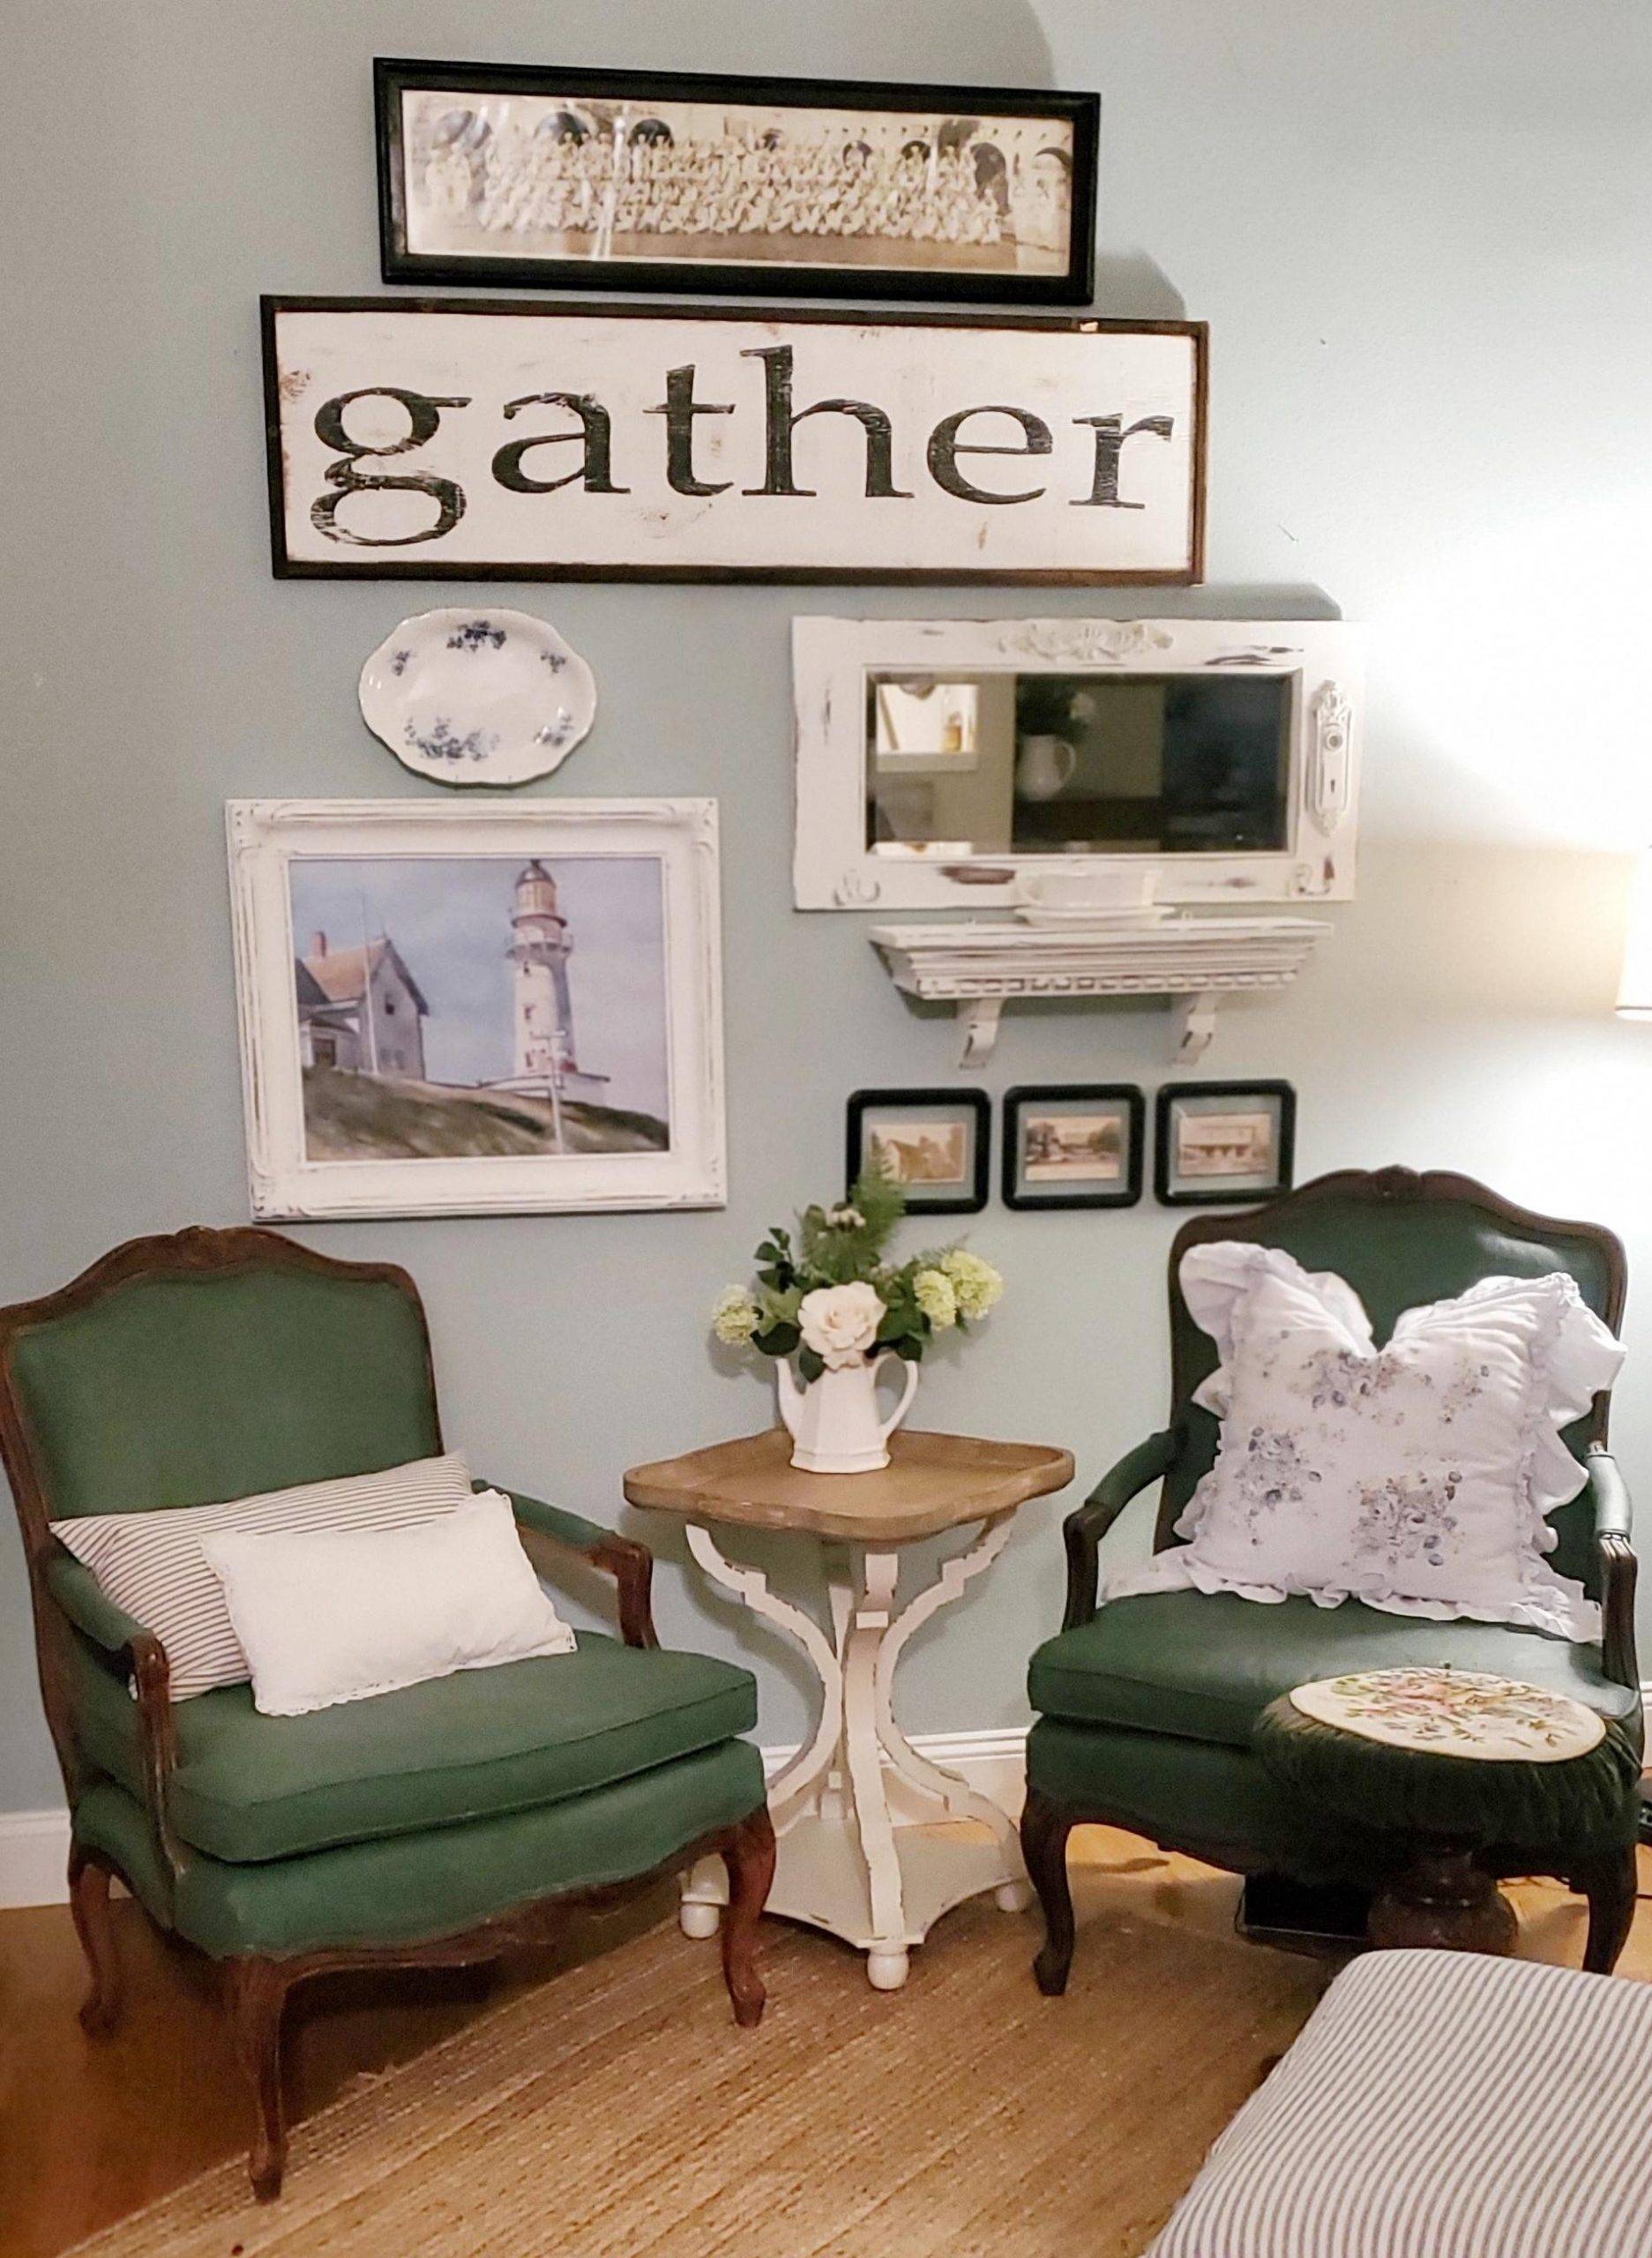
Here are the two French Provincial chairs in my living room.

I love how they turned out!
Better than I imagined!!
An up-close view of the arm.

It’s crazy how waxing the wood gave it a beautiful dark color like our antique sofa.

These French Provincial chairs will be beautiful additions to my Victorian Farmhouse-styled home.

And I hope this inspires you to paint a chair and get a new look!
Here is a link to another chair I painted with chalk paint.
And a link on how to combine the Victorian and Farmhouse styles.
Thanks for coming by Victorian Lane Farms