How To Makeover A Frame From Goodwill

Learn how to makeover a frame from Goodwill using chalk paint and sandpaper.
This post contains some affiliate links for your convenience. Click here to read my full disclosure policy.
You can make your own customized antique, shabby chic frame to display your art or photos.
I want to teach you how you can makeover a frame from Goodwill.
Have you ever tried to check out the price of frames at big box stores like Target, Walmart, or Homegoods?
I have.
They can cost well over $100 for four or five frames if you can find them on sale.
I had a big project I wanted to do to makeover my wall.
It would require way too many frames that I couldn’t afford.
I decided to give Goodwill a try.
It was astonishing the collection of frames I scored.
I found some beauties!
You can see them here.

I picked up quite a few that definitely needed some care.
In this post, I’m sharing how I took one of the frames and turned it into something that displays perfectly on my wall.
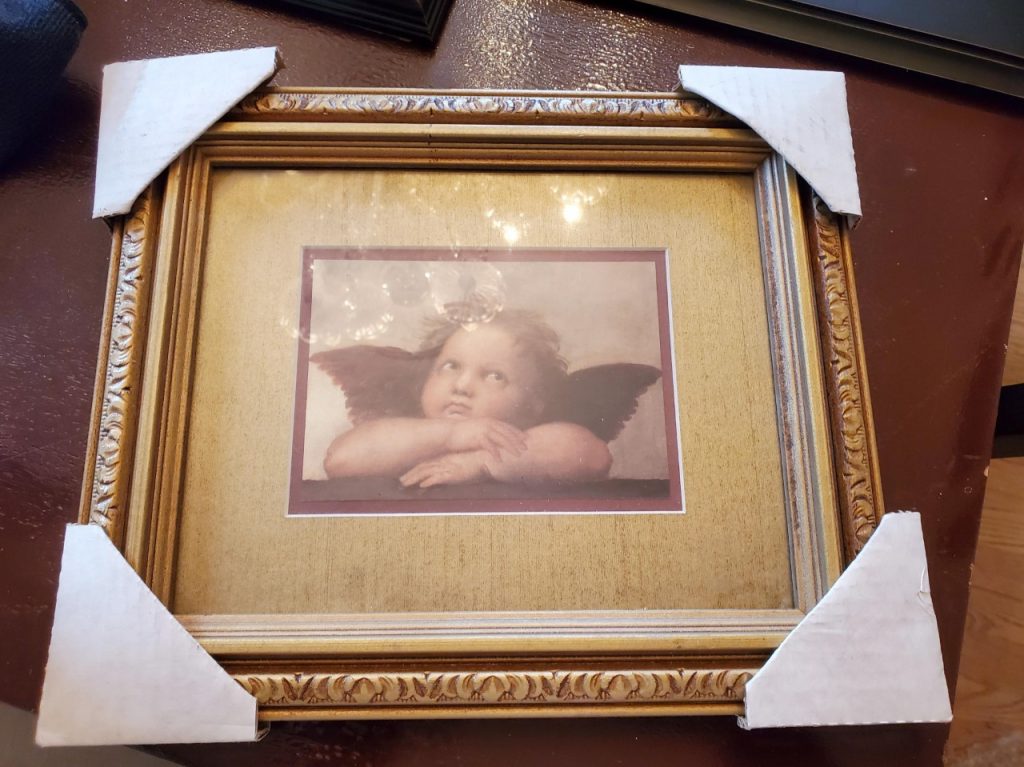
The frame below was a small investment. It cost me $1.99. Can you believe it?
If you’re a regular Goodwill shopper, you’re probably not surprised by how much I paid.
I’m not a frequent shopper.
This was a moment that definitely proved that thrifting is the way to go.
On my way to pay for these frames, I scored some other very priceless treasures.
They are one of my best purchases at a thrift store.
You can check out that story here.
Below I will take you step by step.
I will take you step by step through the process of painting a frame and finishing it by giving it a rustic, shabby chic look with some sandpaper. If you’d like to learn how, please follow along on how to makeover a frame.
Prep Time: 20 mins
Active Time: 20 mins
Total Time: 40 mins
Materials
- Goodwill Frame
- Folk Art Paint in Adirondack White
- 120 Grit Sandpaper
Tools
- Small Paint Brush – comes in a set.
- Scissors
- Pliers or Multitool
- Flathead Screwdriver – found one similar.
Instructions
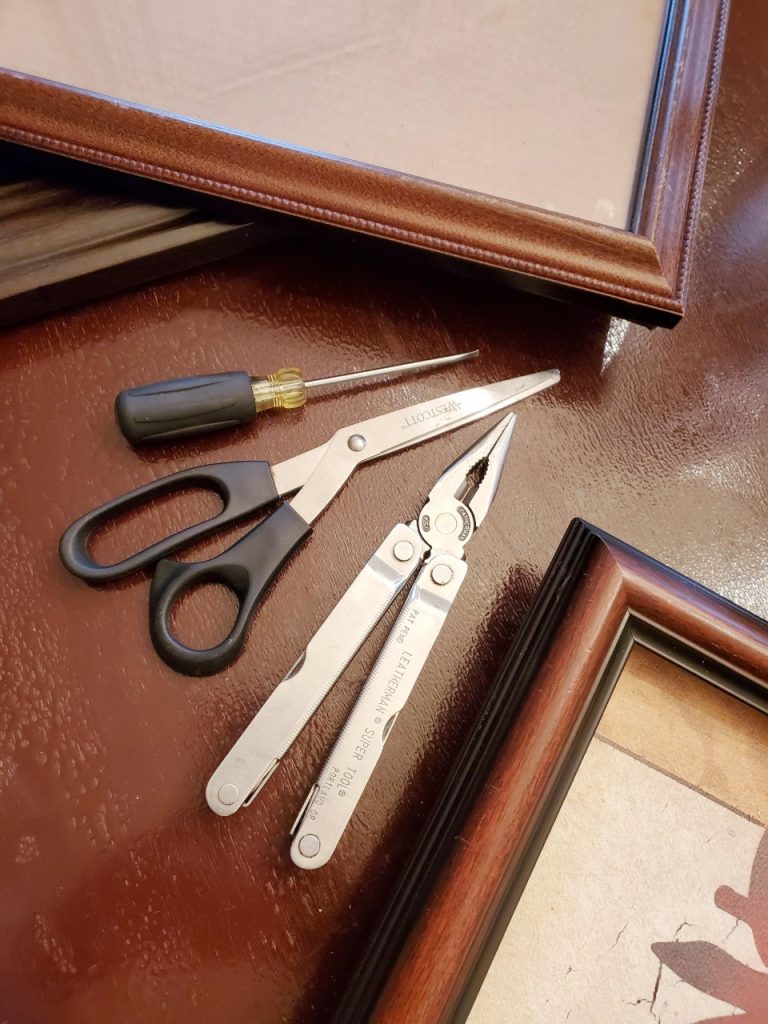
- First, gather all your tools. You will need a screwdriver, pliers, and scissors for this project.
- For this Goodwill frame, I replaced the art and needed to open up the paper backing. If yours has a similar backing, this is how to do it.
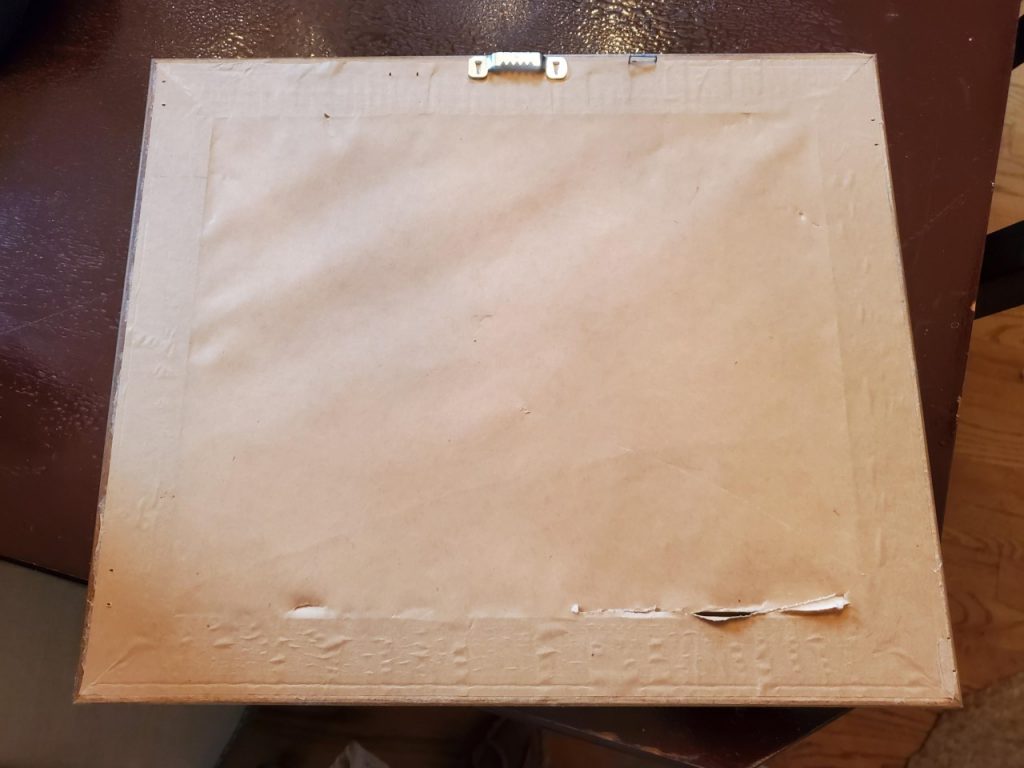
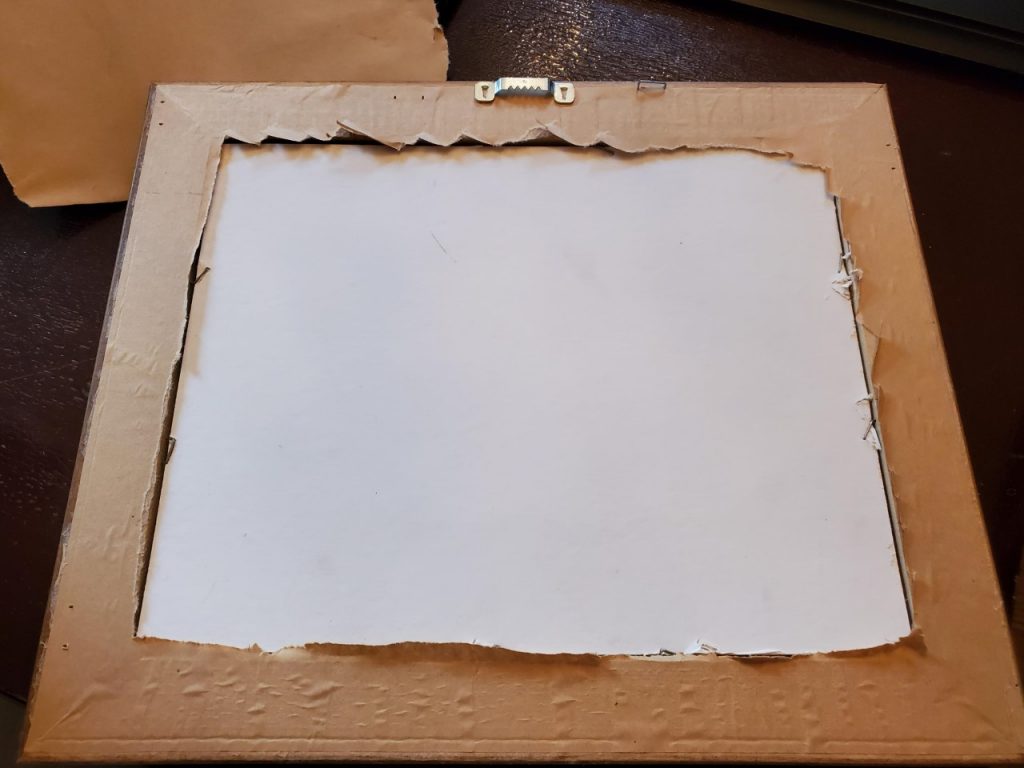
- Run your fingers across the back. Take your scissors and slide the tip to cut it open. Completely remove the backing. I taped the backing back together. You don’t have to do this step.
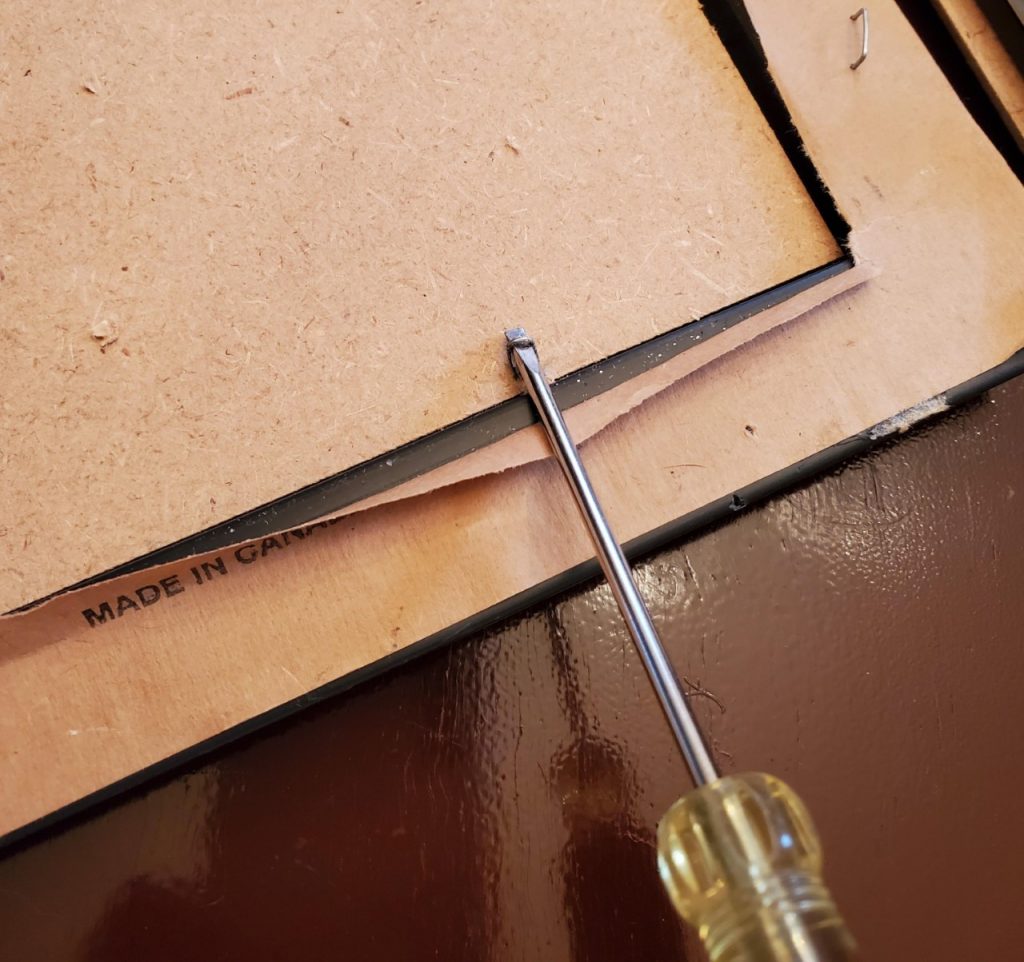
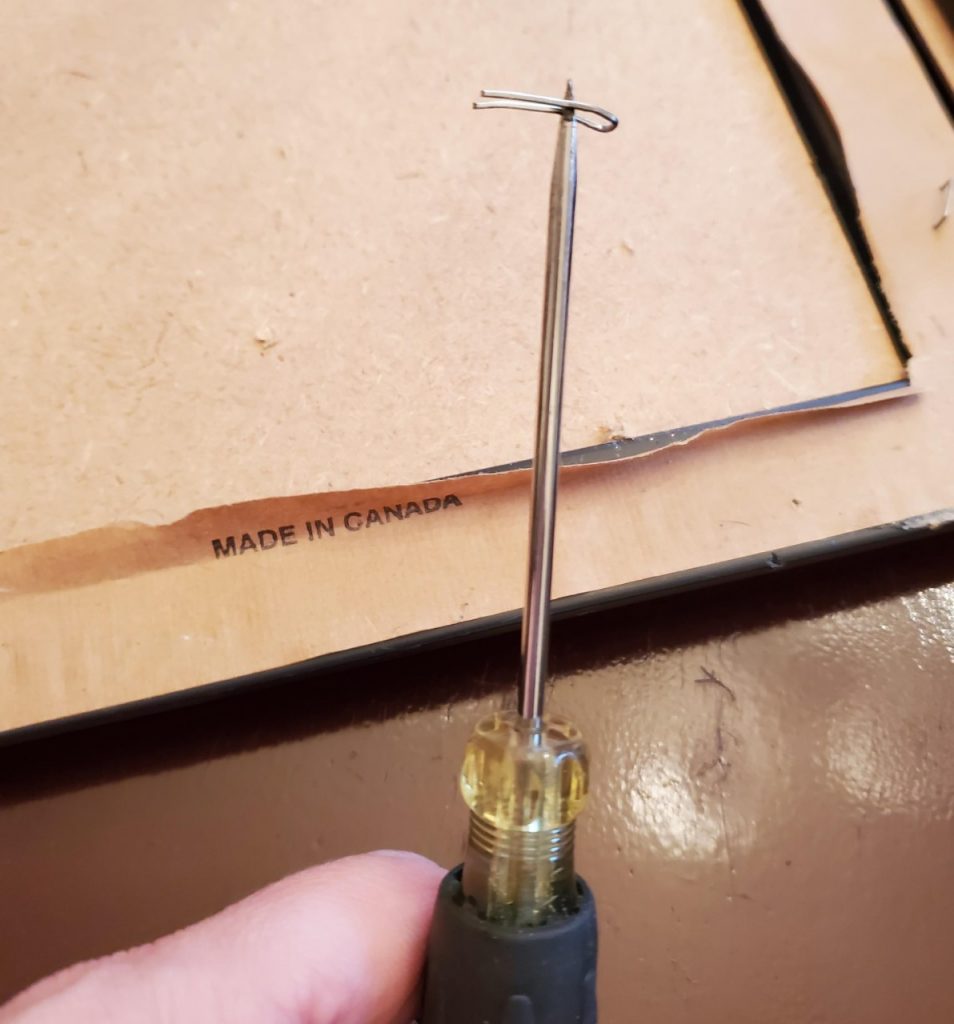
Use a screwdriver.
- If your frame has staples holding down the cardboard and art. You will need to remove them with a screwdriver by placing it underneath the staple and pushing down. Continue pushing downward, using the frame to make the staple come up. Use the pliers or multitool for stubborn staples that need to be firmly pulled out.
Stir paint.
- Open the lid of the Folk Art Chalk Paint. If you don’t have a stir stick, you can use your paintbrush to stir.
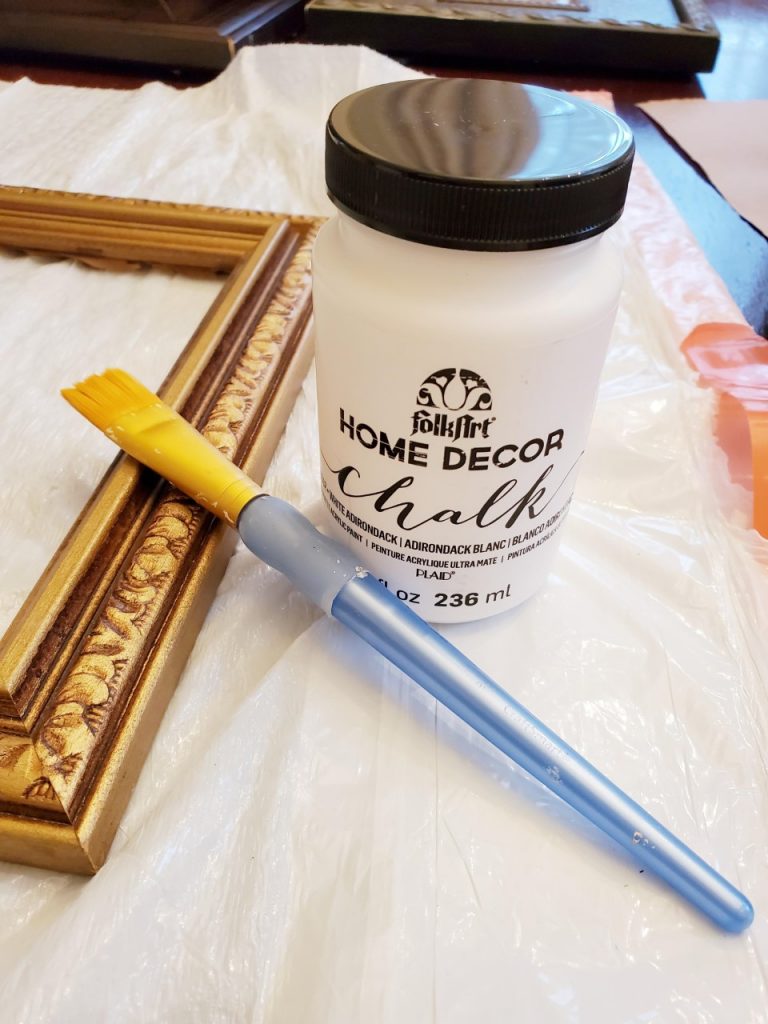
Apply the paint.
- You will need only a small amount of paint on your brush. Apply the paint by stroking across the frame. Make sure to look at the frame from all angles to get into the grooves and edges.

Dry paint.
- Let it dry for 20 minutes. Apply a second coat. Repeat this step if needed.
- You can let it fully dry overnight.

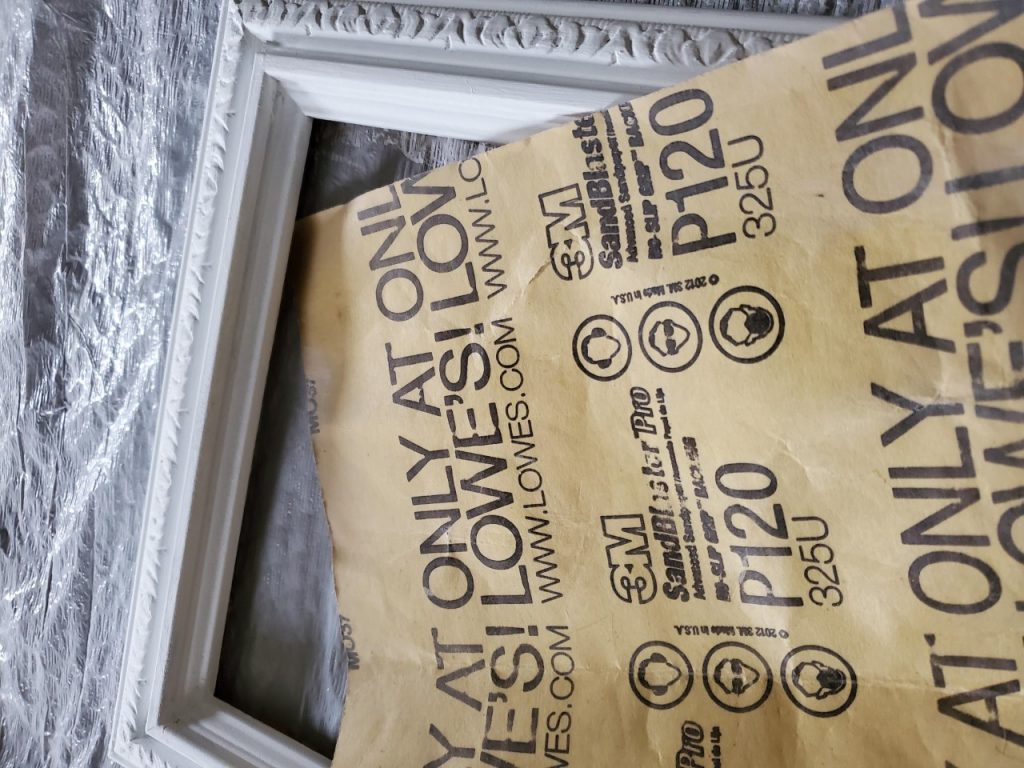
Now it’s time to sand.
- Take 120-grit sandpaper. Sand down the edges and any raised areas with designs or multiple layers. That’s the fun part of getting that old vintage look. The more you sand, the more chippy and worn it looks.
- You will need to go over it quite a bit to get the underside color to show through. Concentrate on small areas at a time.
- To make your frame look rustic, sand down the face of the frame.
Things to know.
- No need to apply lacquer or a clear finish. We want that matted, beautiful patina of chalk paint to be the star. This is why chalk paint is my favorite paint to use. It makes almost anything look fabulous!
- You can find prints like this by going to Etsy.com. Look up seller vckprints.
- If you need to have them printed, go to a Fed Ex print shop or any local print shop and pay 50 cents to $1.00 per print.
- You’re all done! Here is the finished makeover of a frame from Goodwill. I think it came out fantastic! How did yours turn out?
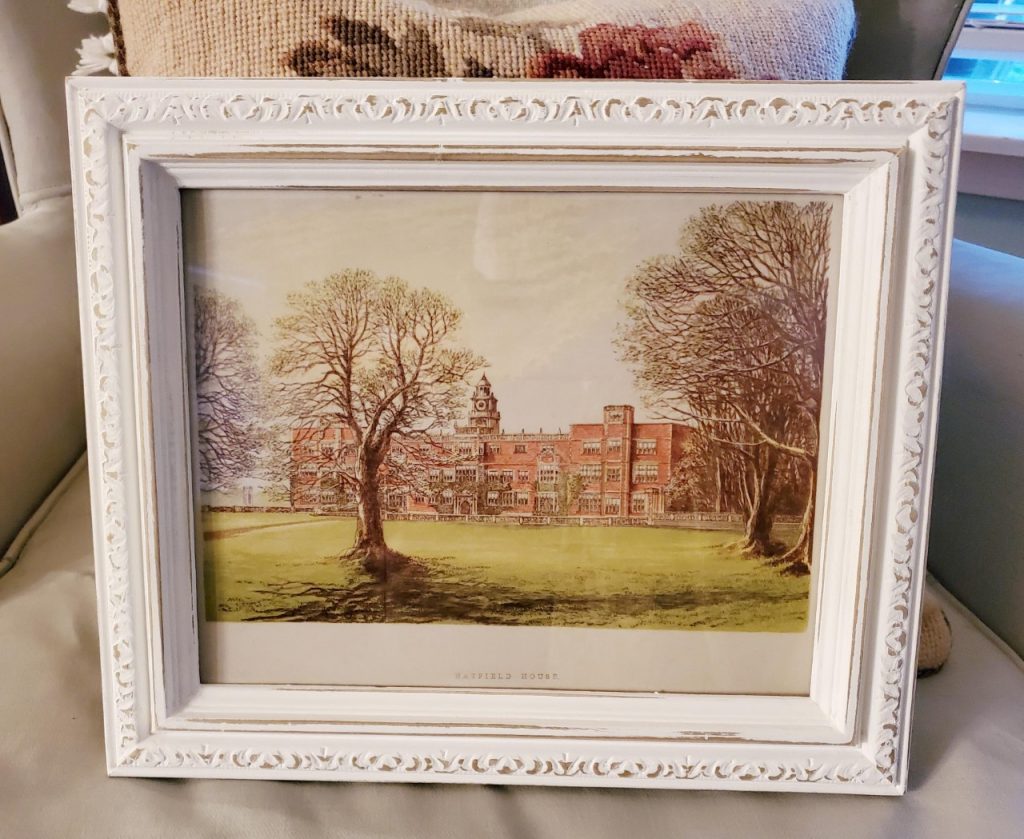
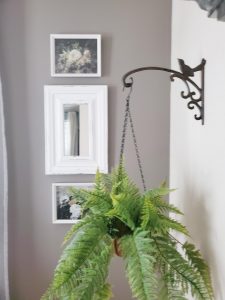
And here it is in its final landing spot! I love how it turned out!


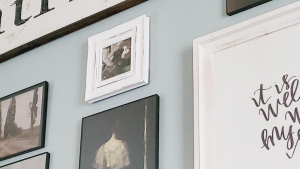
The frame on the bottom was from my Goodwill haul.
I painted it using this same method.
Both frames have prints I found on Etsy.
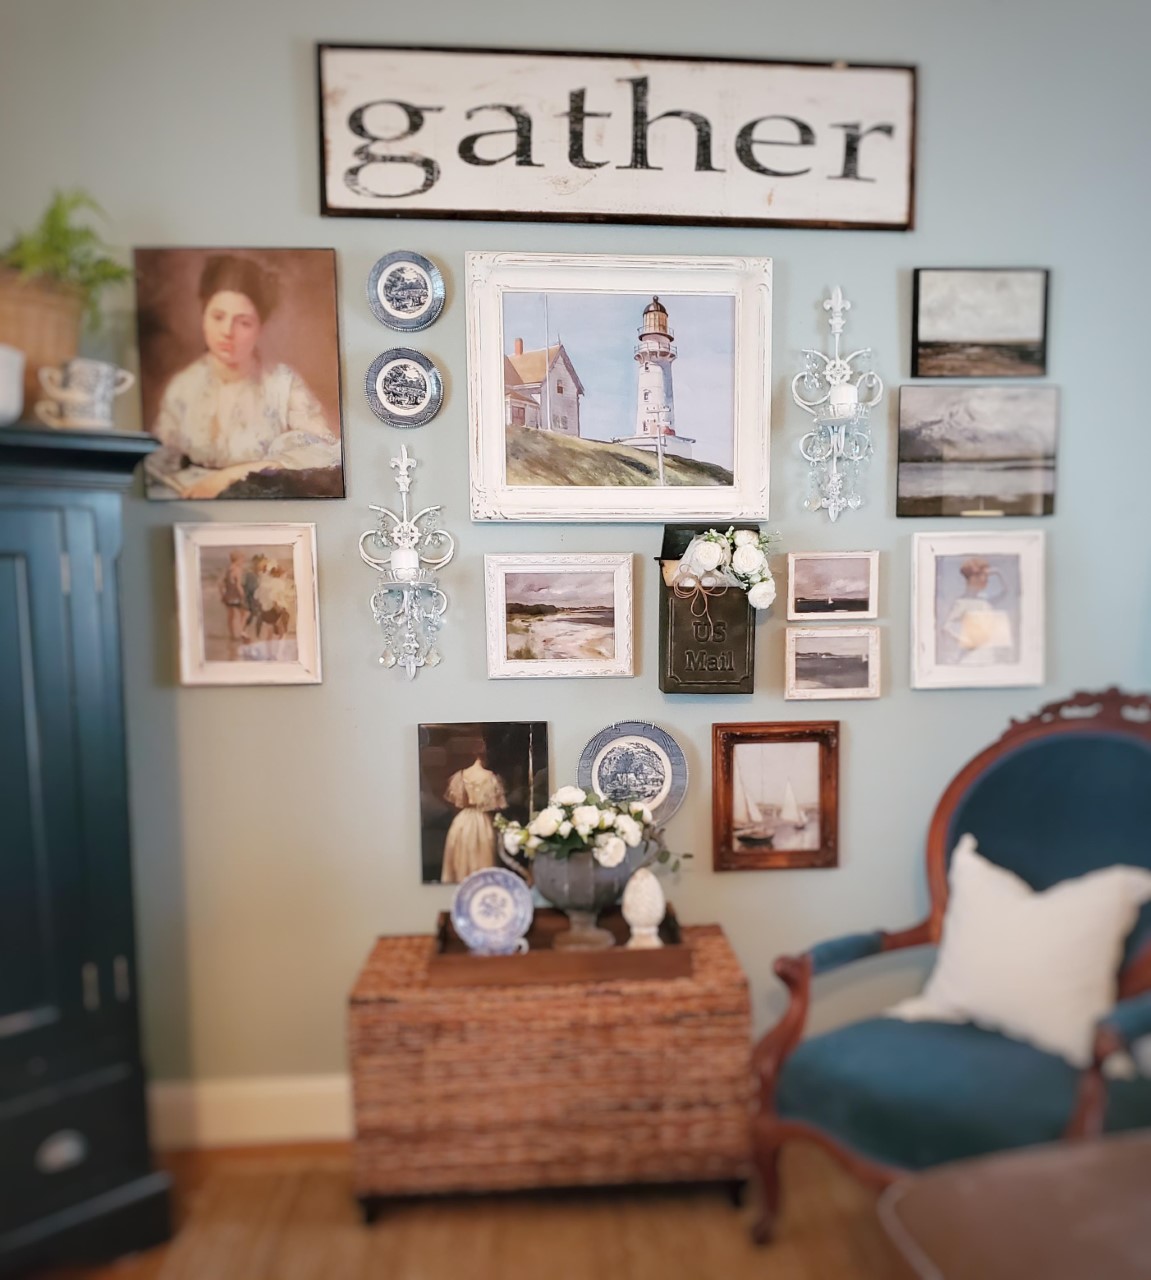
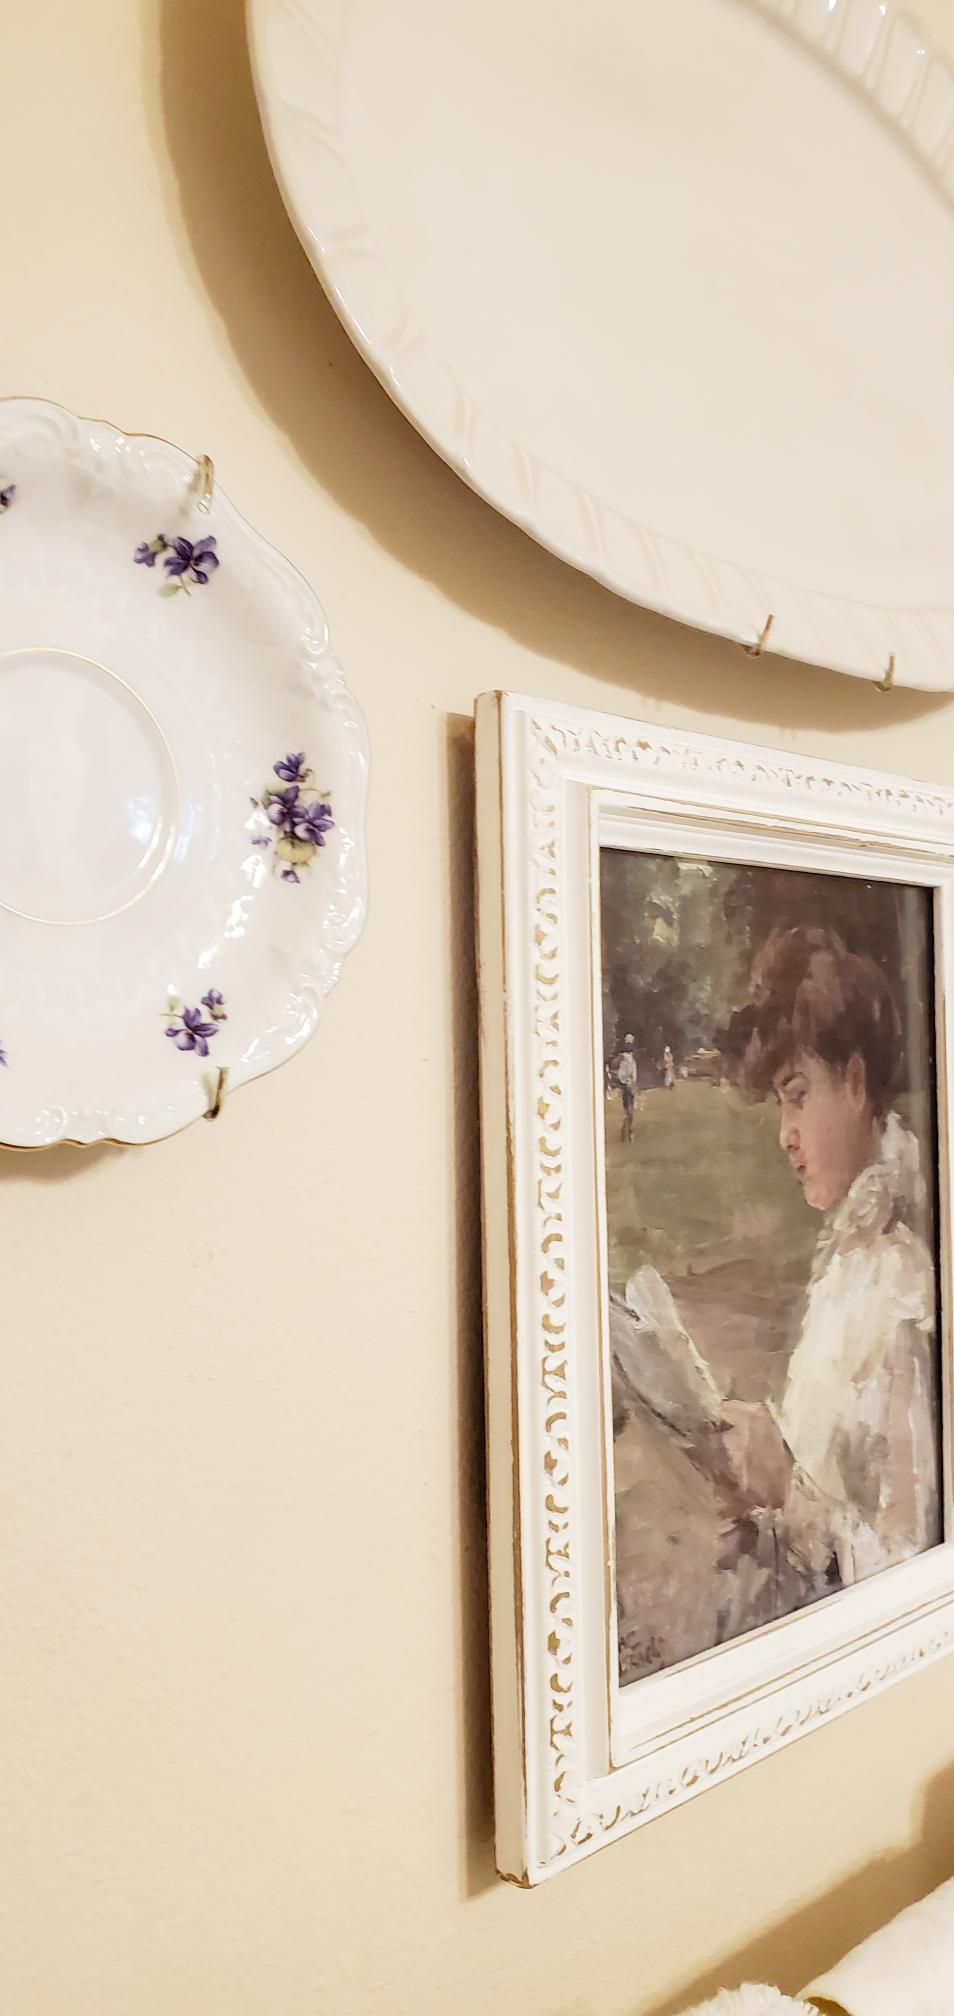
This frame has been moved around my home throughout the seasons.
It’s been on the gallery wall in my living room.
In the guest bathroom.
It has held up beautifully and was a great DIY!
Other frames I found at Goodwill.
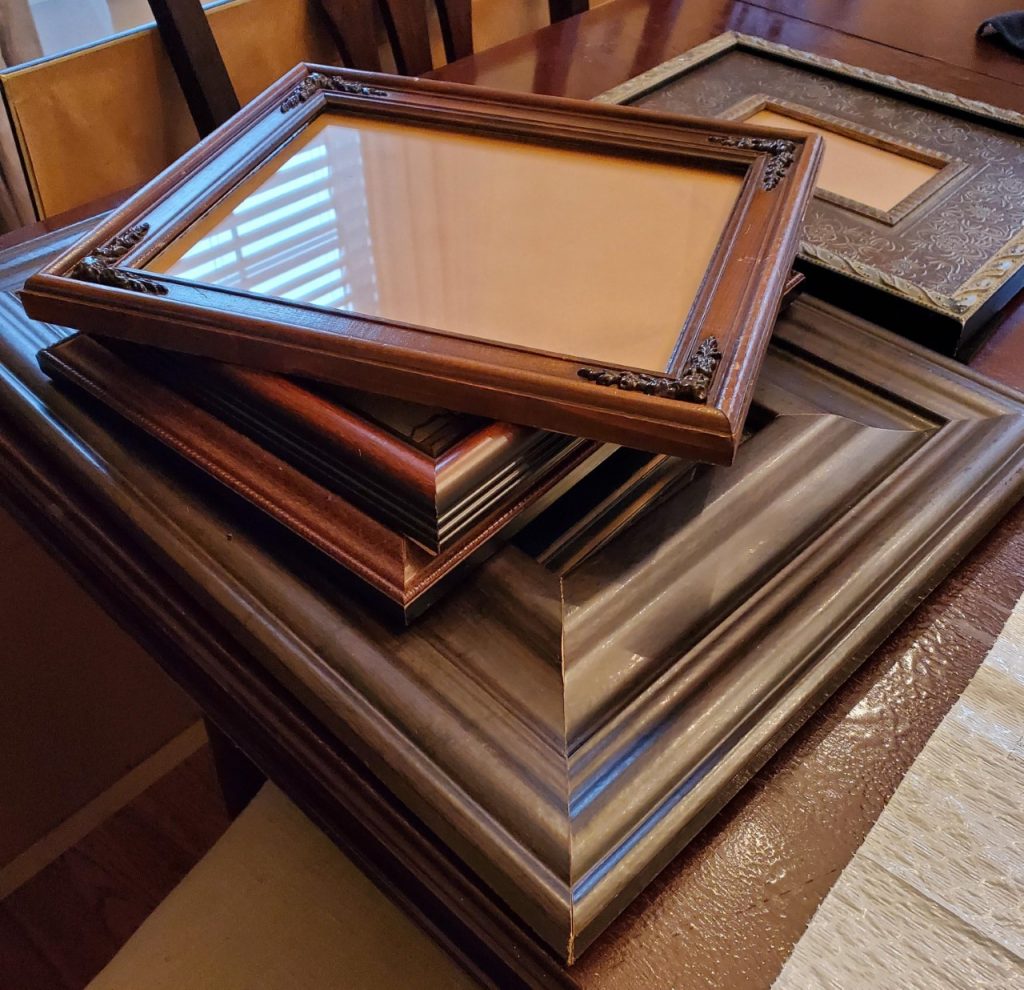
Look at that stack of frames!
That’s not even all of them. Two of the frames were huge.
Here they are on the wall going up our stairs.
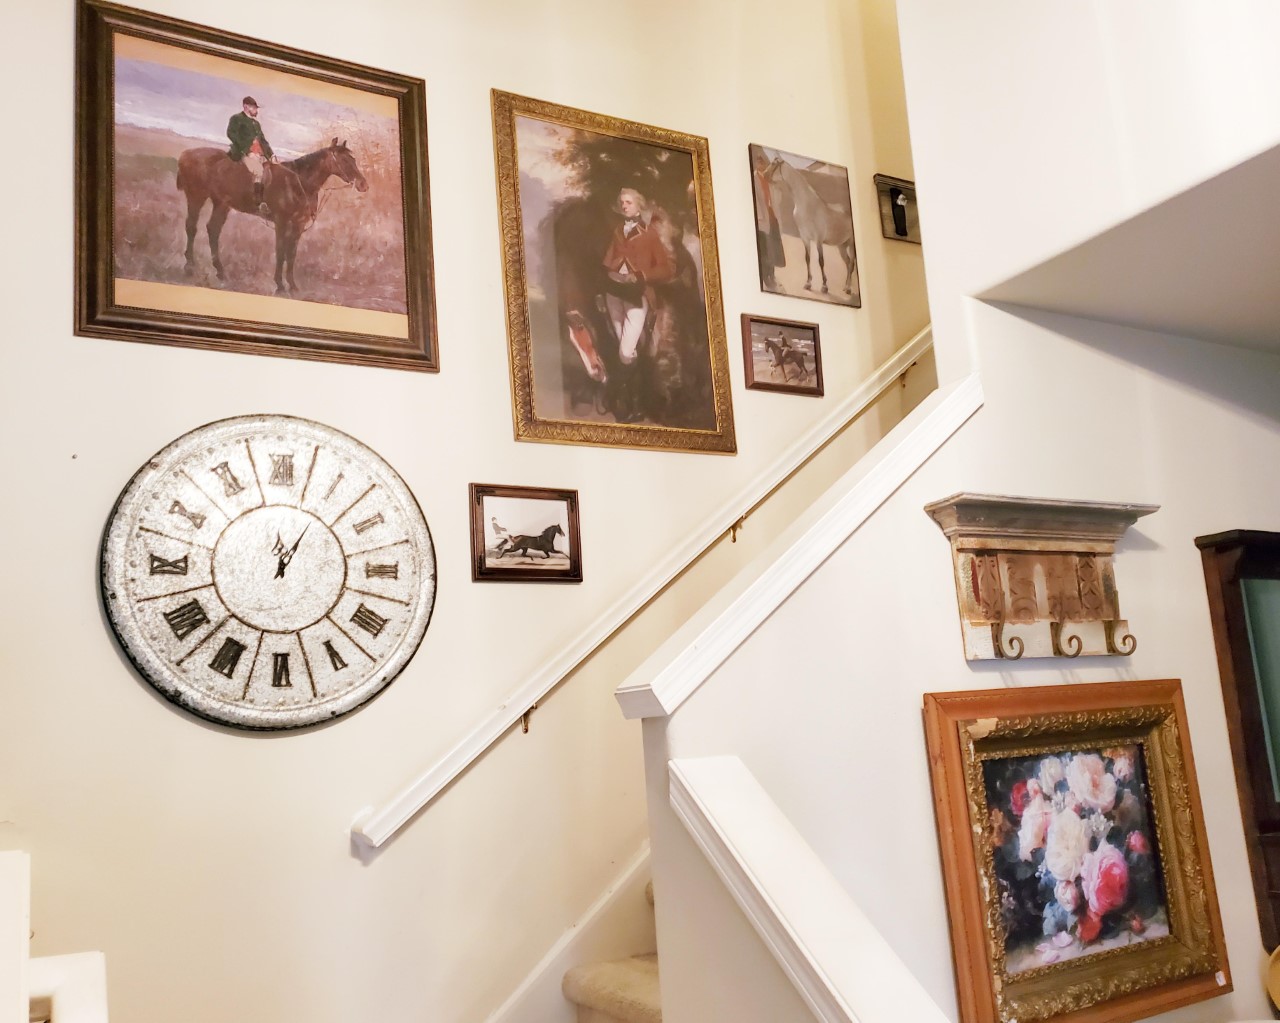
There were 11 frames in total that I found that day.
My favorite is the one on top.
The one on the bottom is a mirror.
You can see it fully painted in the photo below. It looks totally different.
Some other frames I painted with white chalk paint.
I hope you’re inspired to go thrifting and makeover a frame from Goodwill.
Or any local thrift store in your area.
It’s fun finding treasures and turning them into something beautiful to fit your style.
You can check out the other chalk paint makeovers. Follow this link for the antique fabric sofa makeover. And the fabric chair tutorial, here.
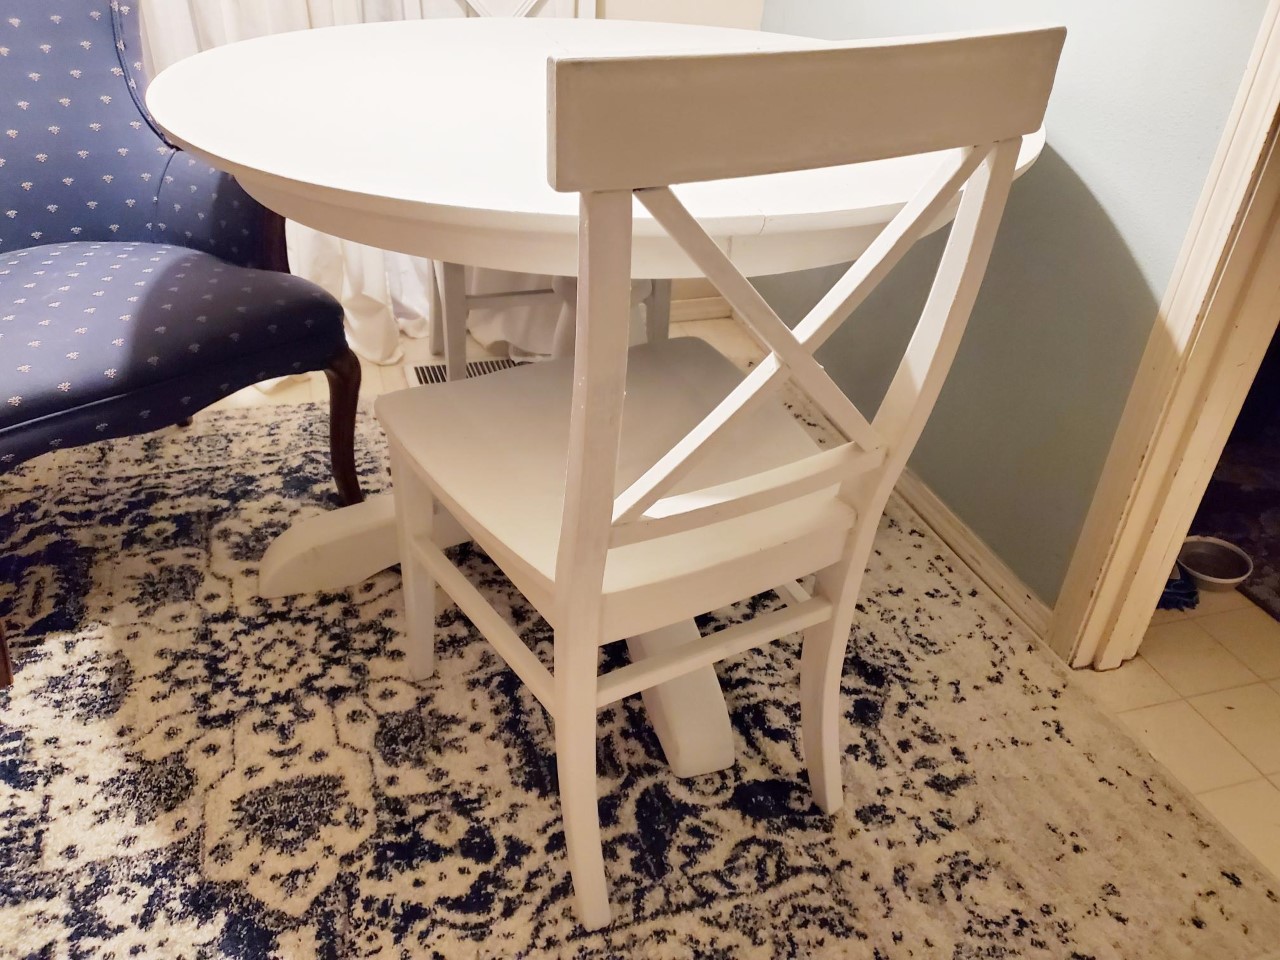
Take a tour of my dining room below from my YouTube channel. You will see this frame in this video.


One Comment